DSLR TEST PAGE
Some notes on my DSLR and SCT imaging setups
I recently acquired a Nikon D50. The following are four,
30min, dark frames taken at room temp, at ISO 1600, 800, 400, and
200. I used 'mode 3' the unofficial method for creating a true raw file
from a Nikon DSLR. Basically, you turn on Noise Reduction,
and then do a Bulb exposure, but when you end the exposure you
turn off the camera, using the off-on switch, before the dark frame can
be written to the raw file, this causes the camera to write the
unmodified raw file to the memory card.
click on the link to download the file:
DSC_0023.jpg, 30min darkframe @ ISO
1600
DSC_0024.jpg, 30min darkframe @ ISO
800
DSC_0025.jpg, 30min darkframe @ ISO
400
DSC_0026.jpg, 30min darkframe @ ISO
200
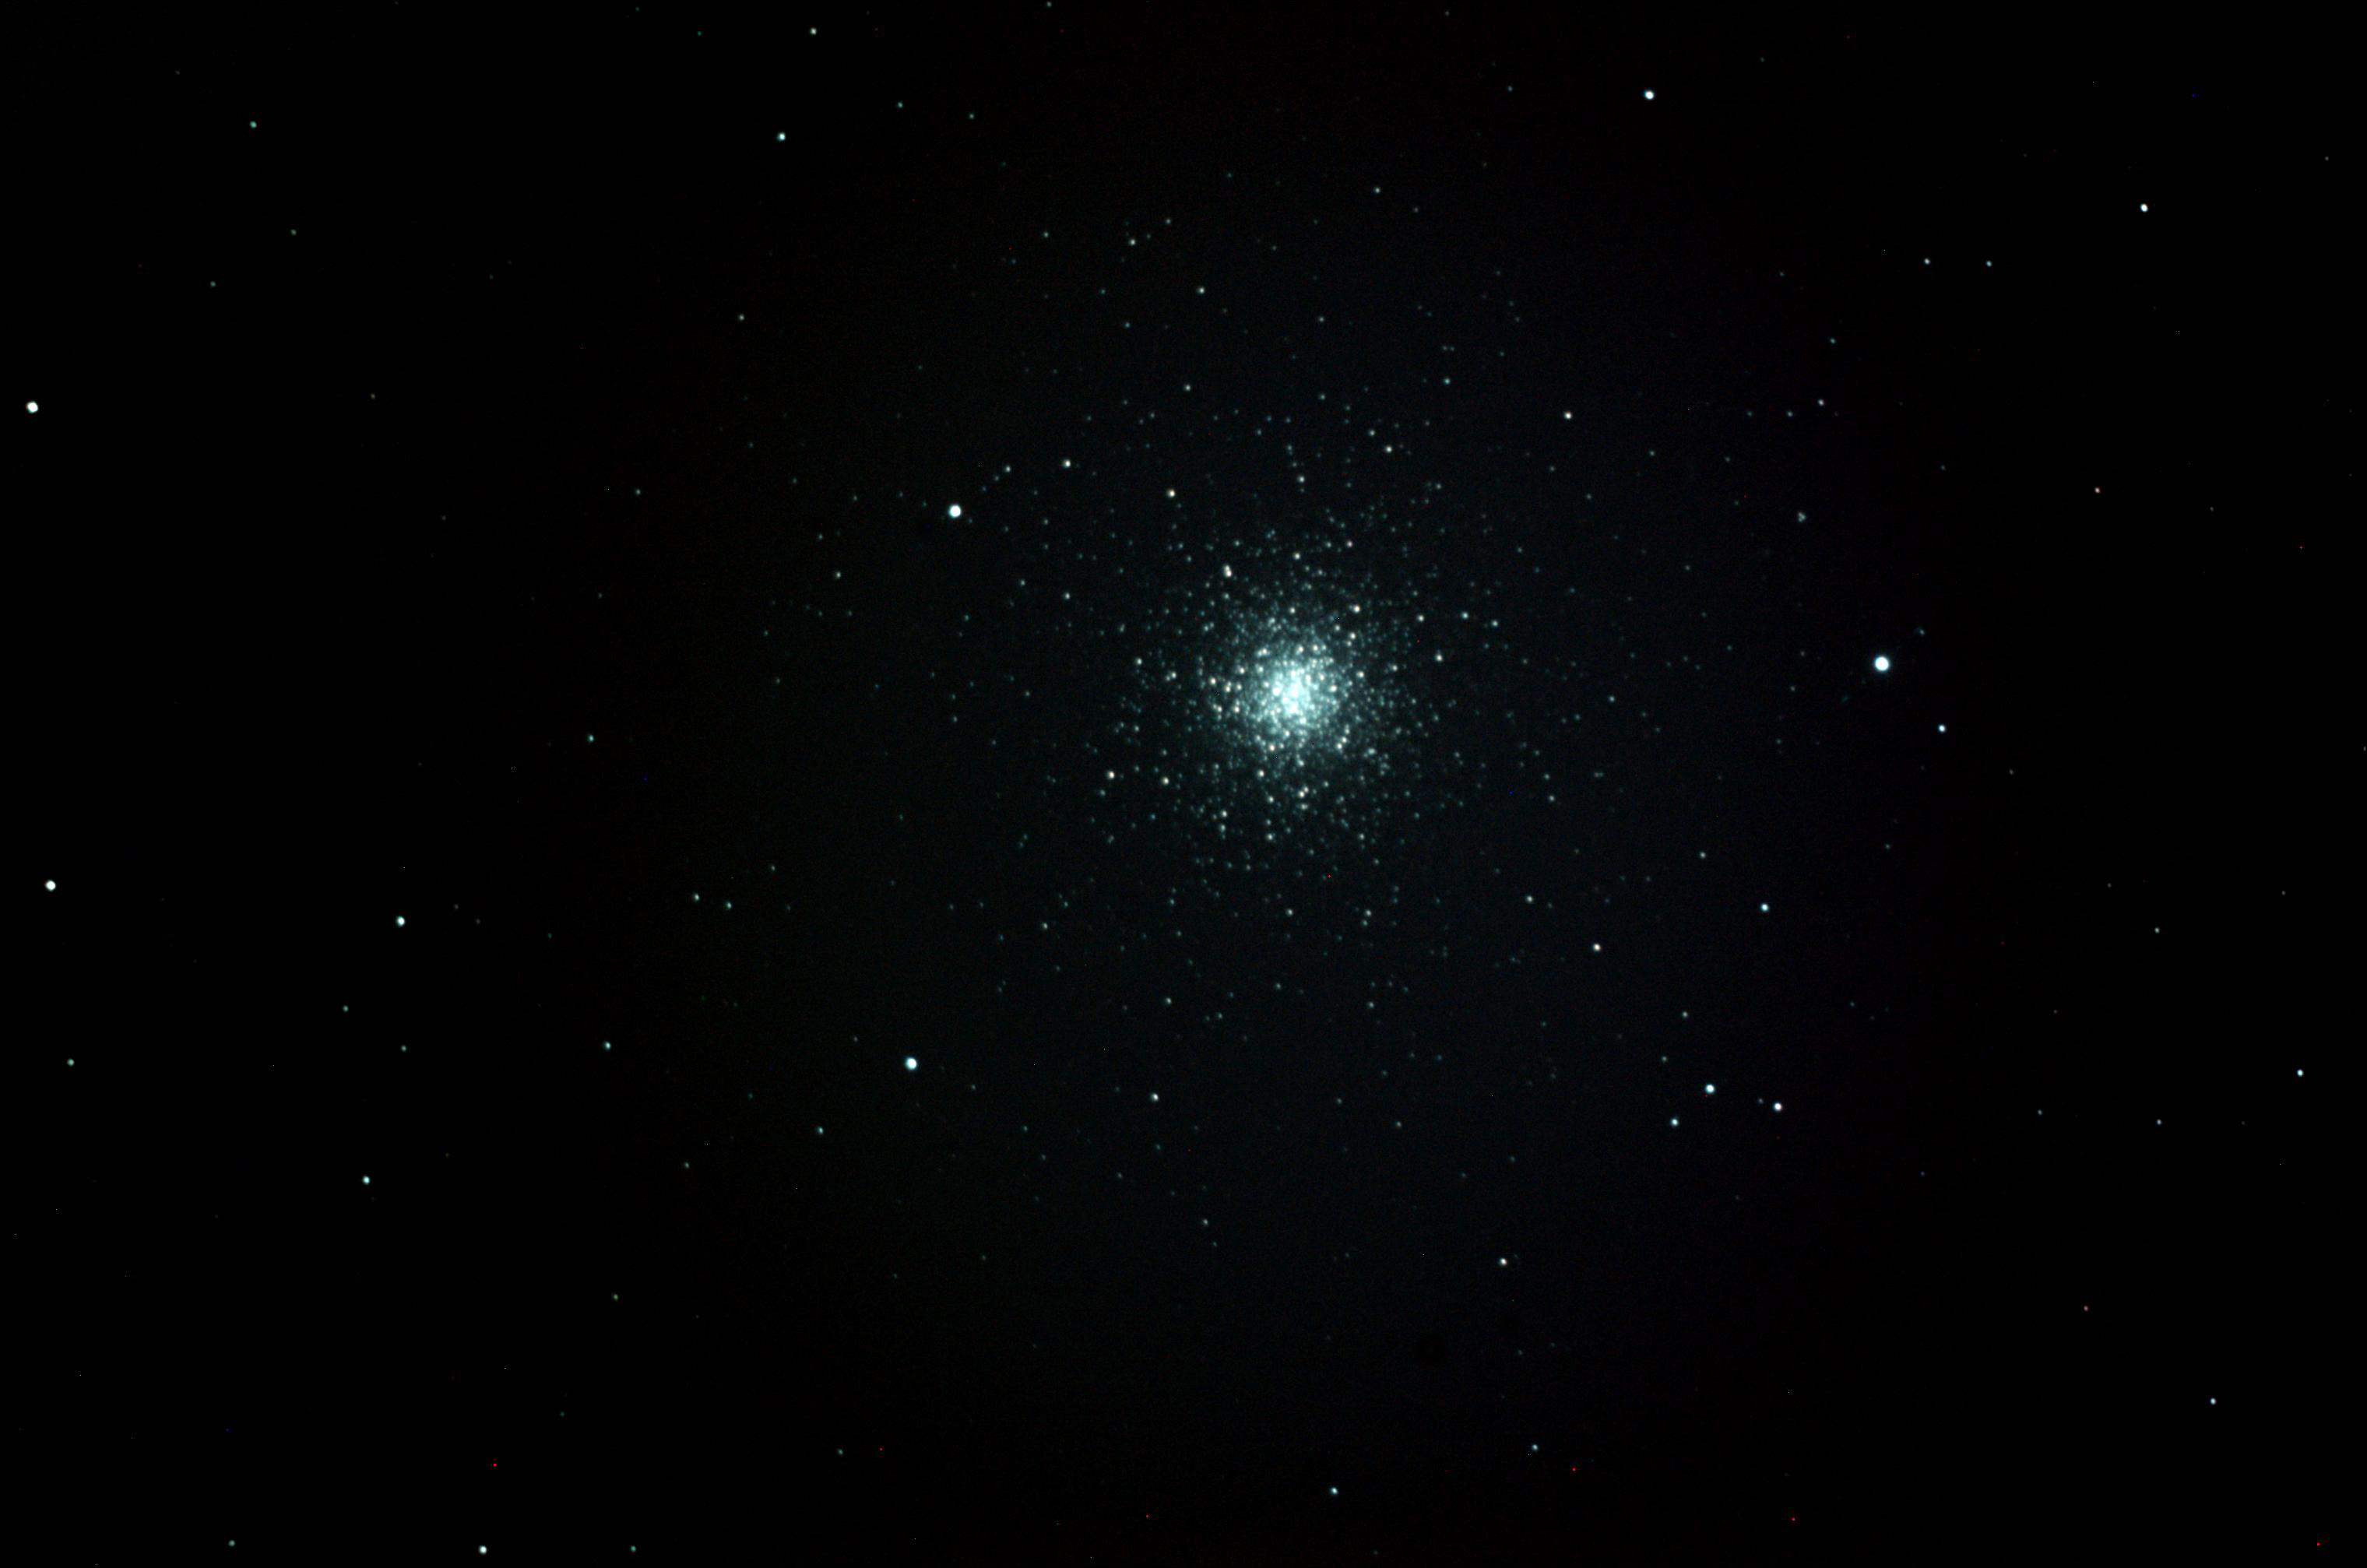
M 3, 30
minute exposure at ISO 200 - NO DARK SUBTRACTION- "mode 3"
M3, as above but dark subtracted.
Colour balance is off.
( this image converted to jpeg in Iris, threshold settings of 512 and 0
)
M 3, 30
minute exposure at ISO 400 - NO DARK SUBTRACTION- "mode 3"
( this image converted to jpeg in Iris, threshold settings of 1024 and
0.
)
M 3, 30
minute exposure at ISO 800 - NO DARK SUBTRACTION- "mode 3"
( this image converted to jpeg in Iris, threshold settings of 2048 and
0. Fog caused autoguider to lose tracking
)
These last four images were taken with an 10" Meade F6.3 OTA@f6.3 with
a
Baader MPCC
and Orion LPR, 0c.
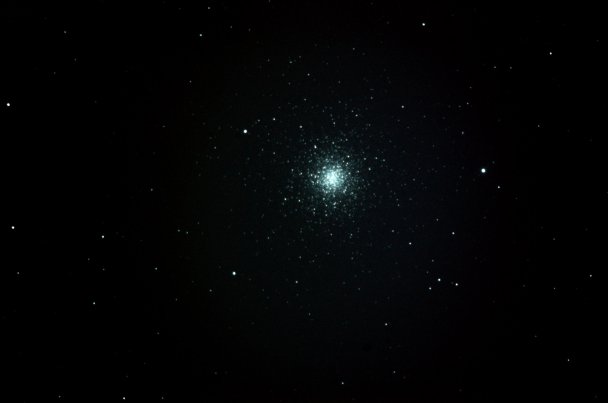
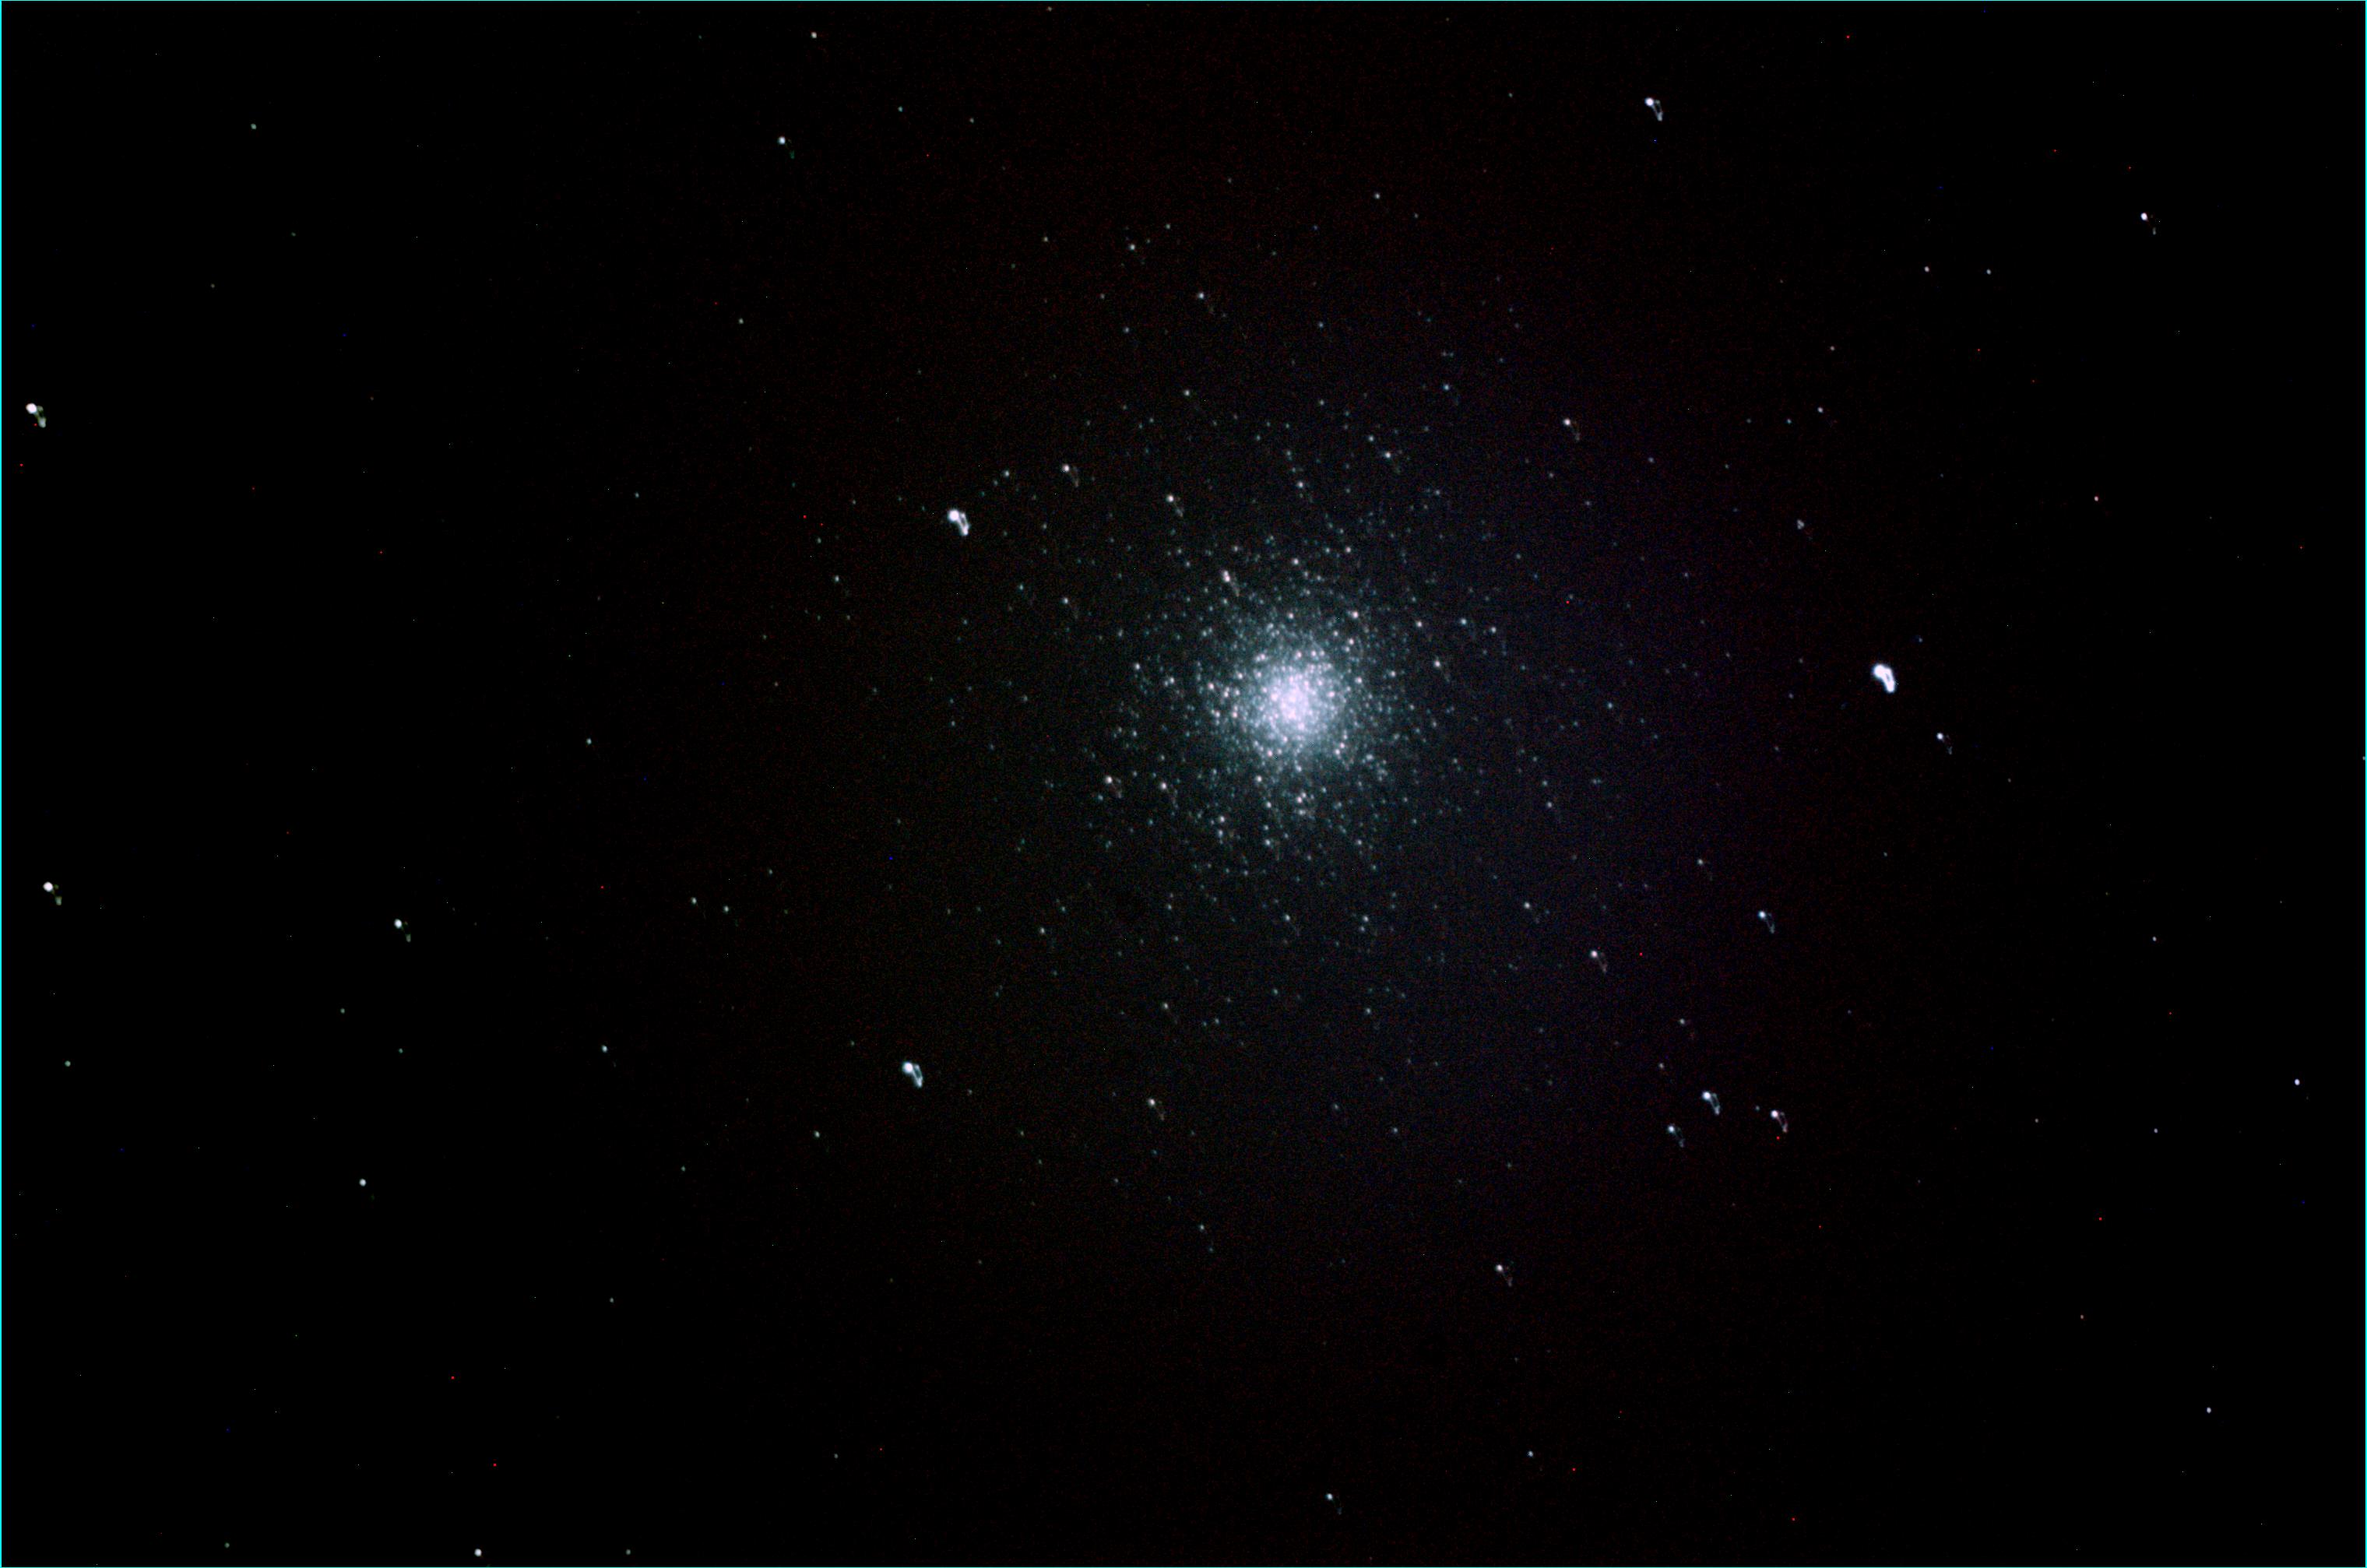
This is M3, a single 1800sec exposure at ISO 400, dark frame subtracted
and digitally developed in IRIS. A few hot pixels
were removed in Photoshop 5. I used an Orion LPR filter which seems to
add about 4 stops to the exposure time. I would
guess that the same image could be obtained under dark skies, with no
Orion LPR in 4 to 5 minutes. Click on the image to
see a high-res 2000x3000 image.
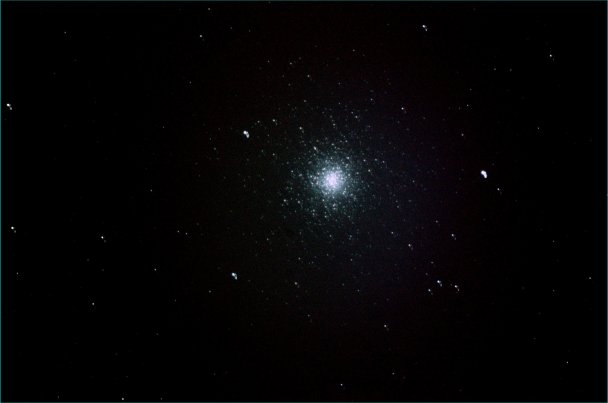
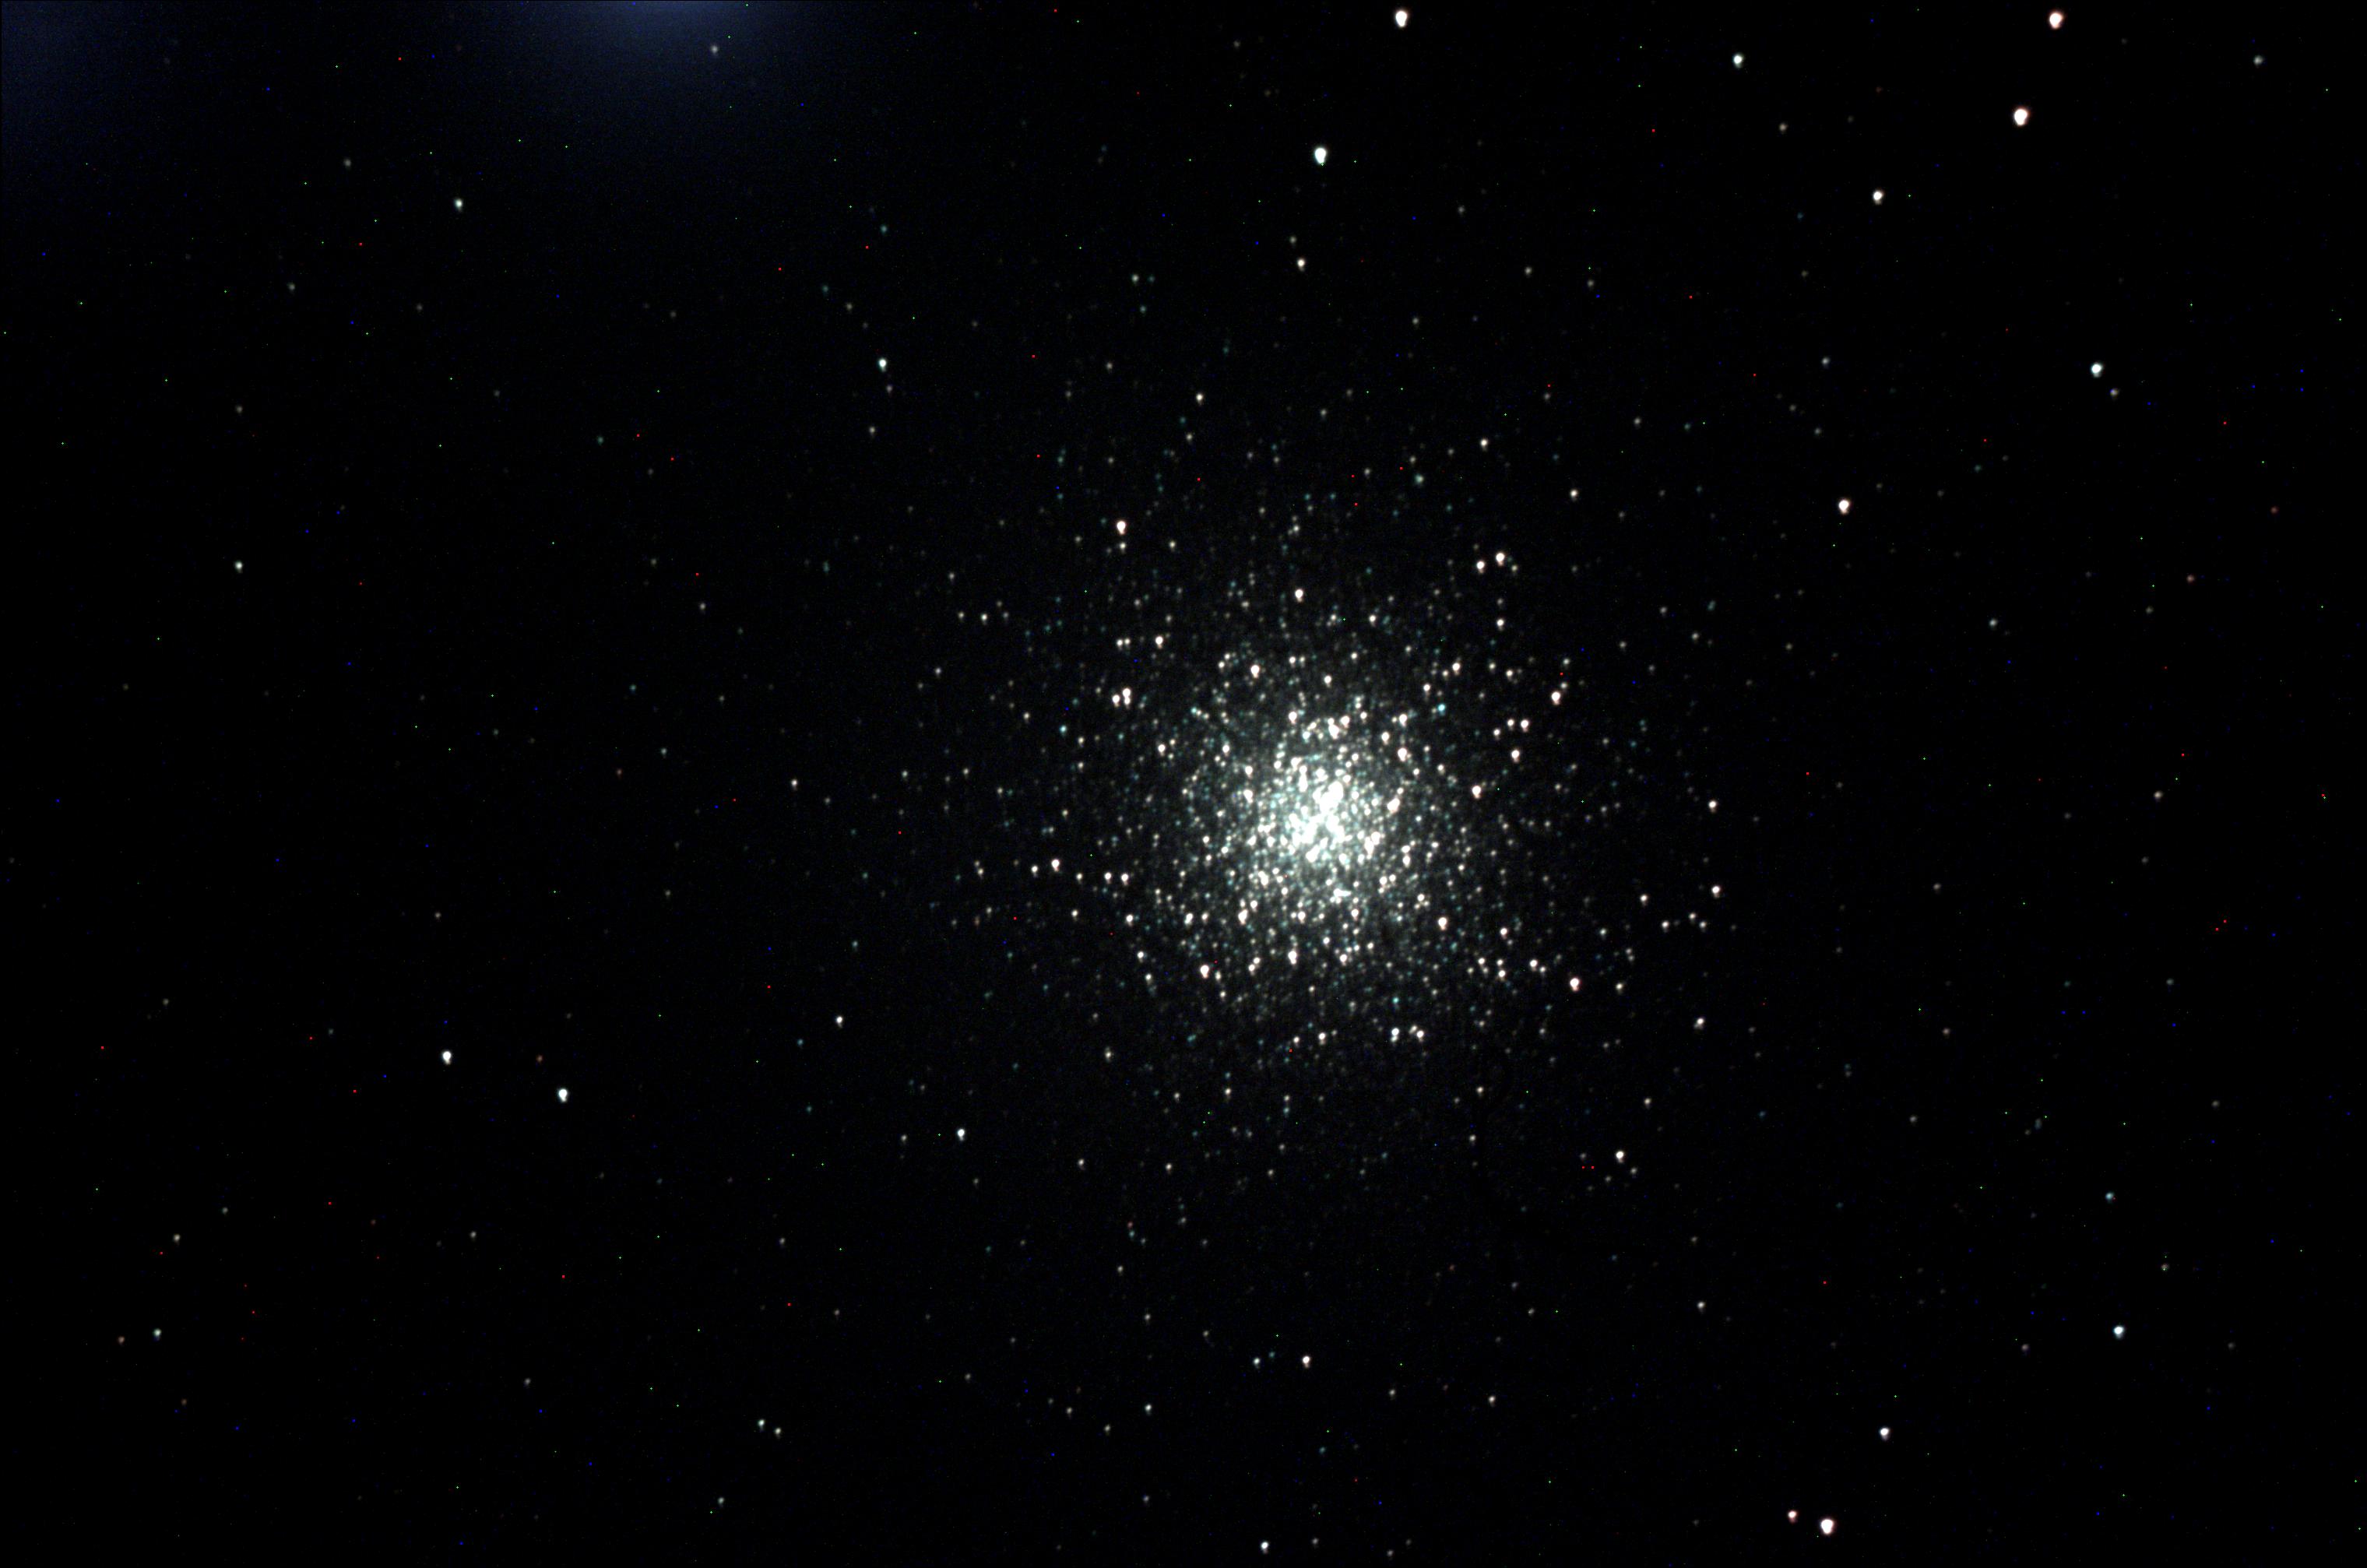
M3, again but at ISO 800. Processing as above but I used a different
colour balance, which seems more 'natural'.
Click on the image for a high-res 2000x3000 image. As explained above
the autoguider lost track due to some fog
rolling past the scope.
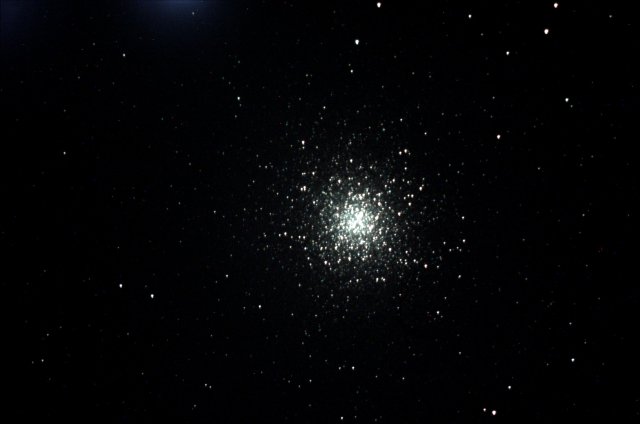
M13, taken with my modified D50. 530 seconds with an LPR filter. ISO400.
No
dark frame or processing except as noted below. 'Mode 3'.
This D50 has had the IR blocking filter removed.. This image was
converted to jpeg format in IRIS, with visualization settings of 512
and 0.
The image was also dynamically stretched in IRIS to bring out the core
while preserving the other detail, and I used the 'black' command
to set the black point.I used a 10" f10 OTA @ F11, with a Baader
Coma Corrector and an Orion Deepsky filter.
I guided the image using a 500mm F8 CAT mirror lens and an MX-516
using Astroart 3 and CCD plugin 3.70.
I am having issues with primary mirror shift in my SCT (I
believe) with this setup so I
may revert to an OAG. However, I can certainly recommend this above
guiding setup if you have fixed optics.
The modified D50, is probably the most sensitive, non cooled, Bayer
filtered, CCD imager available.
Click on the image for a high-res version.
I think you will agree that this camera has exceptionally low
noise!

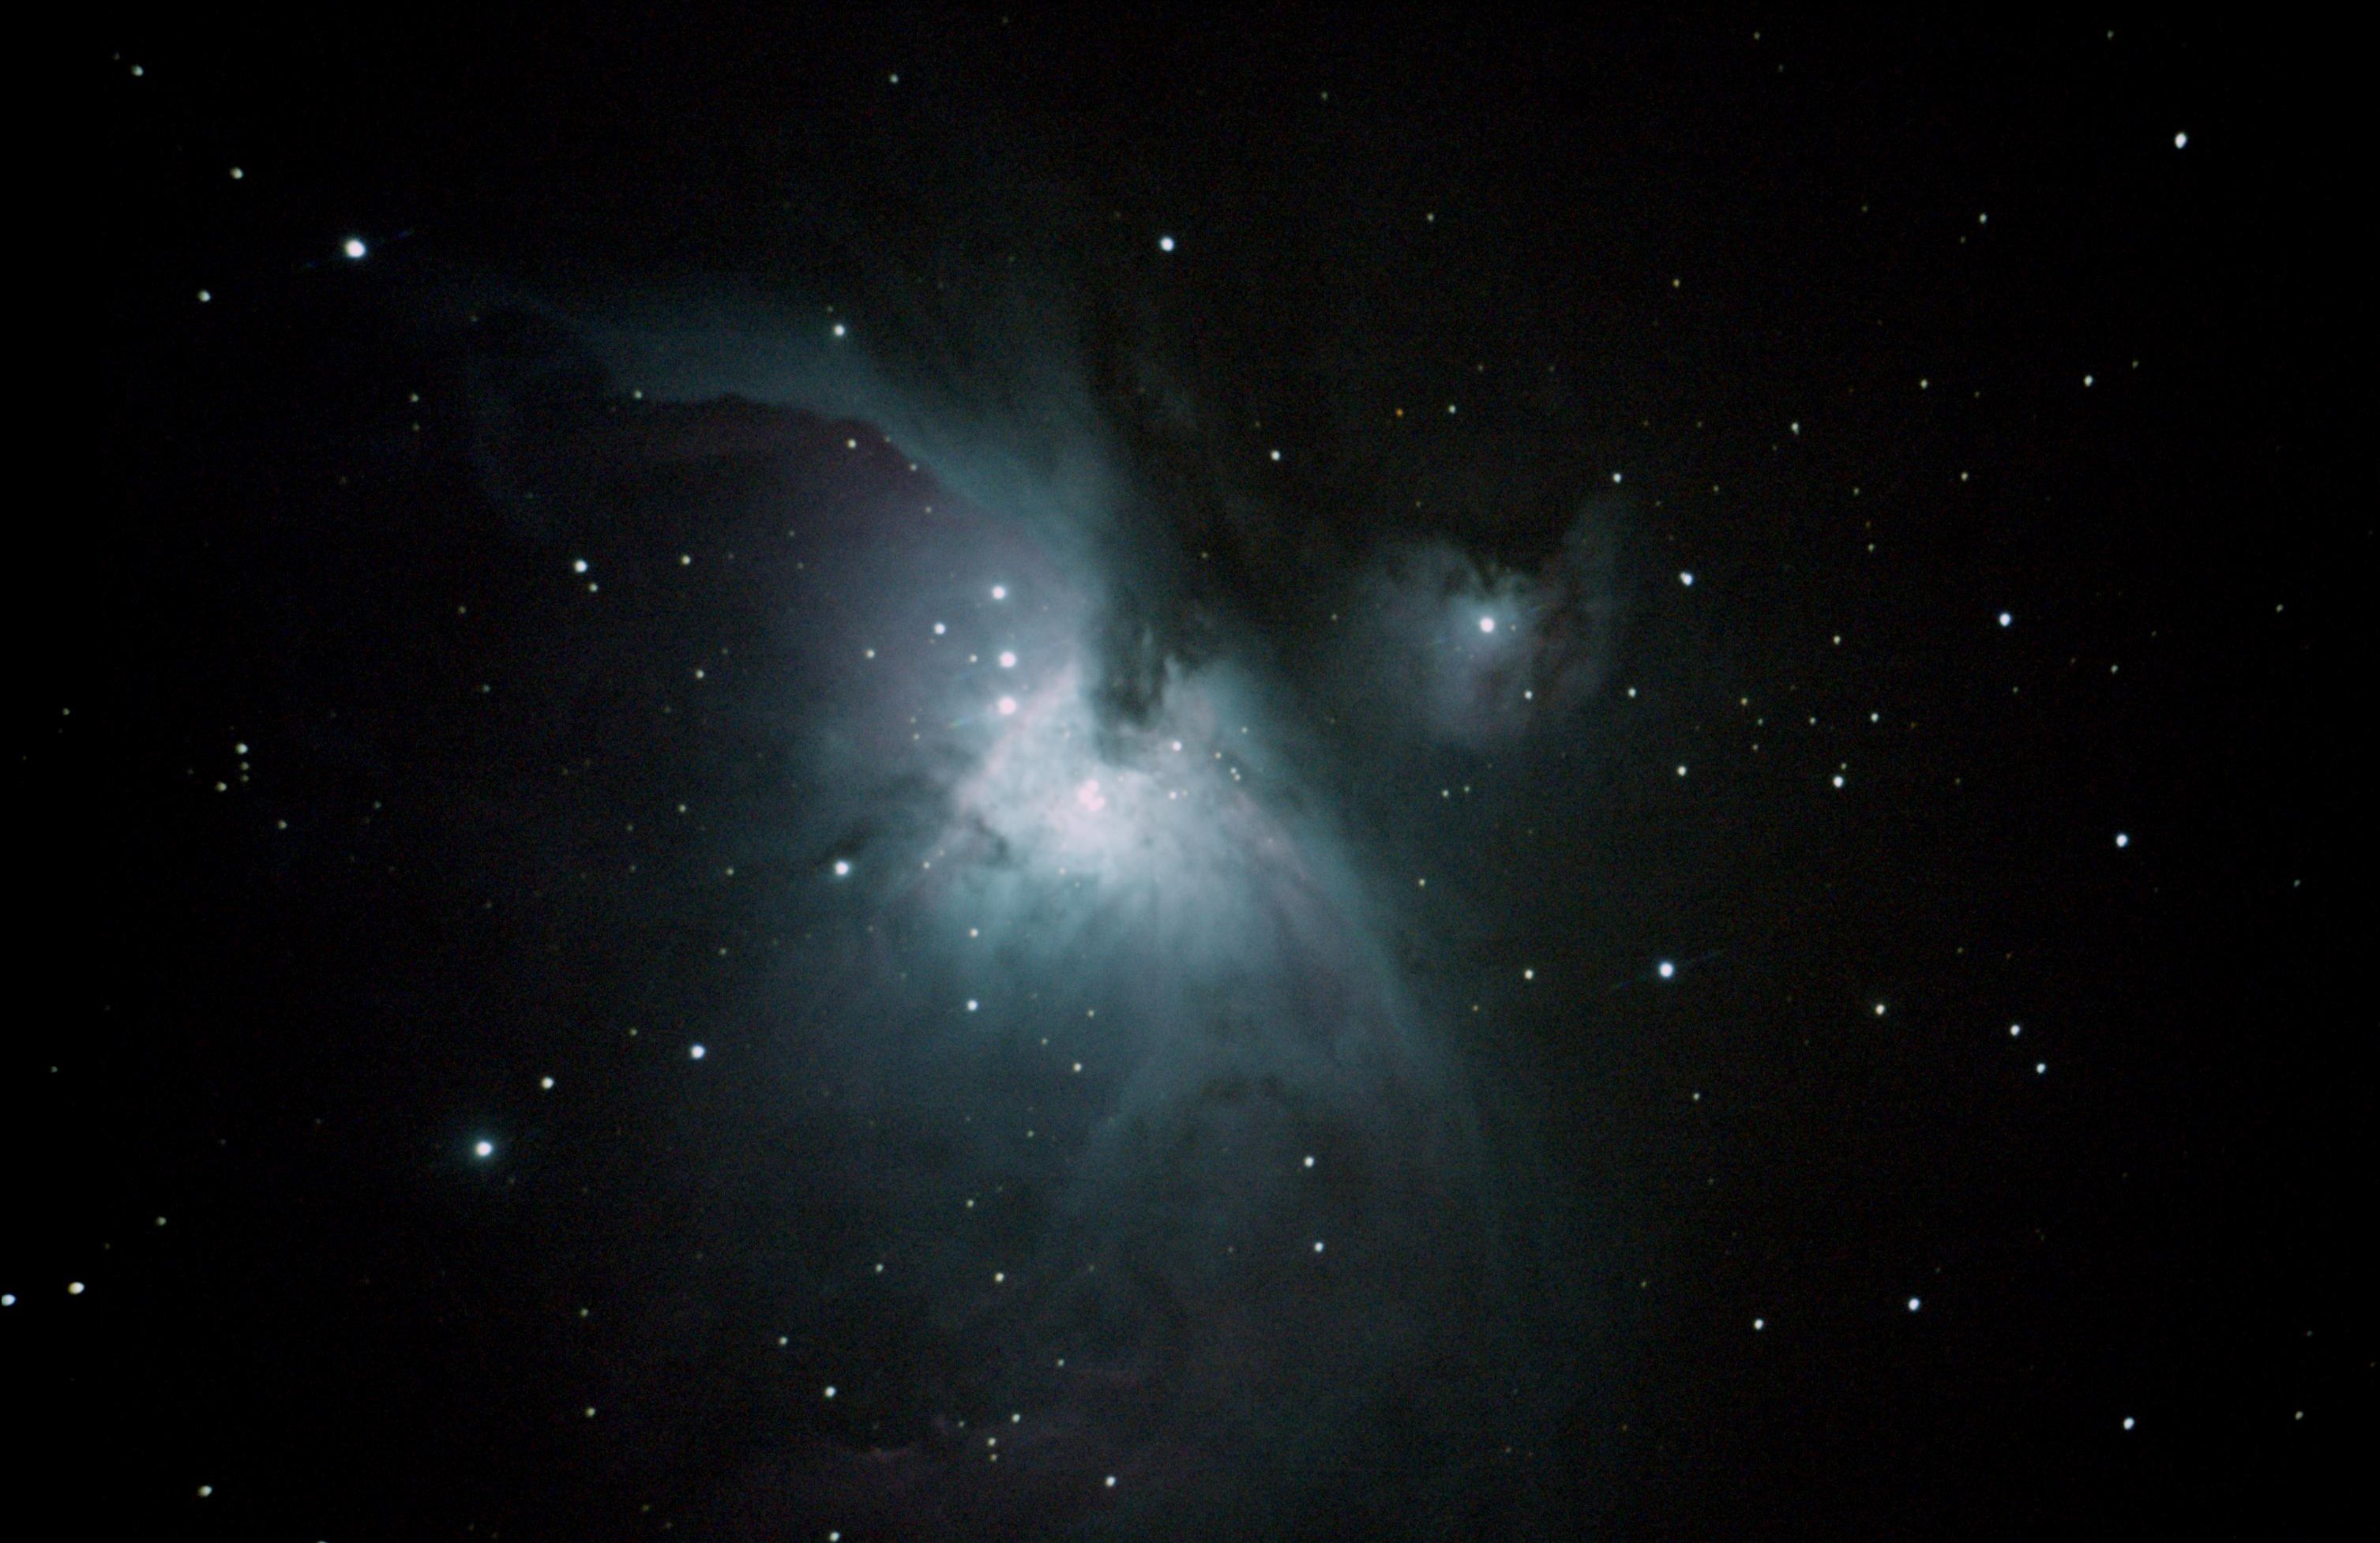
M42 - a stack of 6 exposures. 1 each at ISO 200,400,800 and 3 at 1600,
all 30sec each with in camera noise reduction, total 3 minutes
exposure. Images aligned and stacked in IRIS.

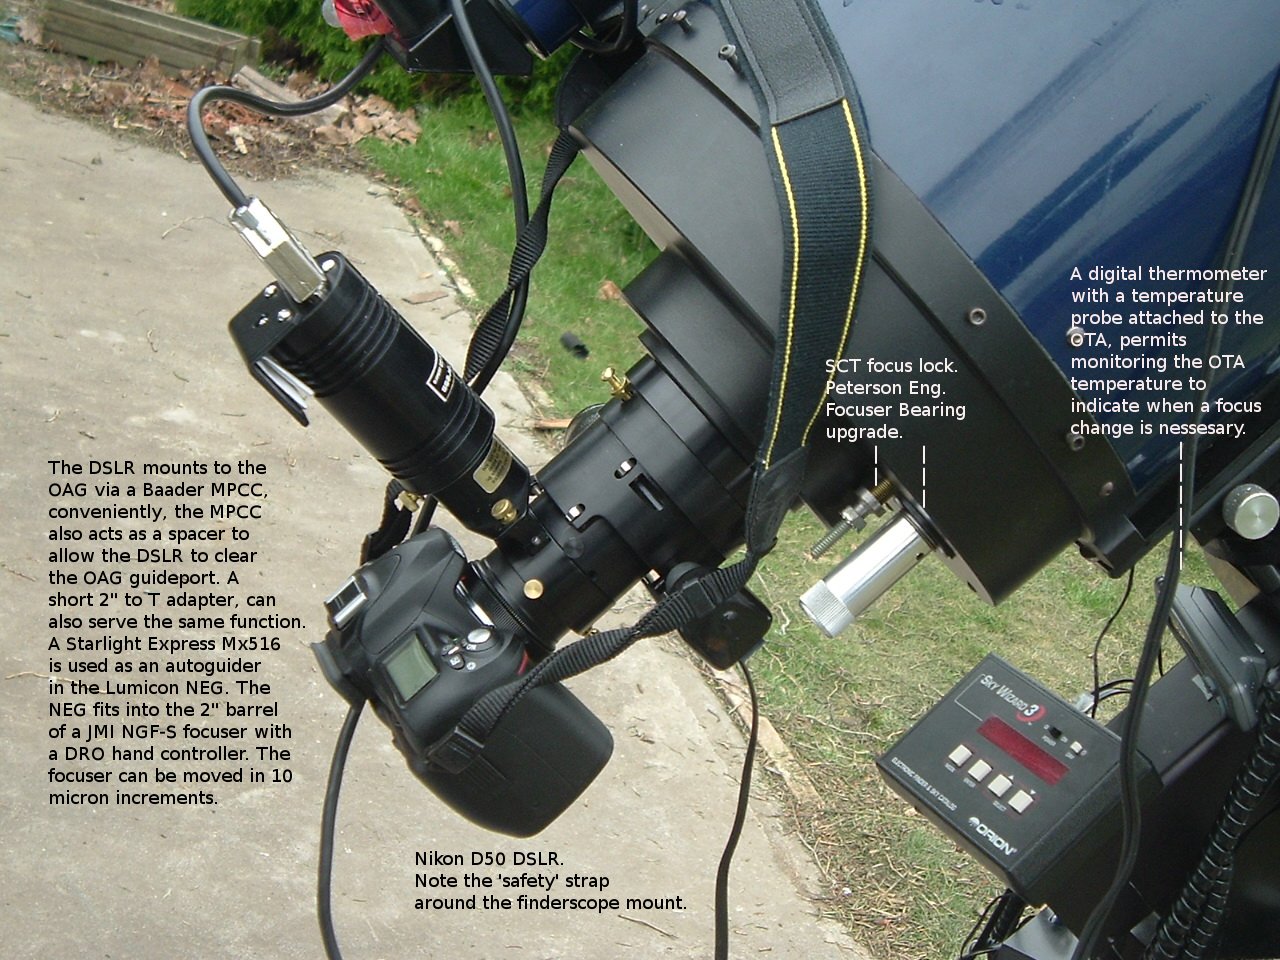
An annotated view of my DSLR imaging setup. Click on the image for a
high-res view.
At the current time, I use an EQ-6 Synscan and a Celestron CI-700
Mount. I use the CI-700 when there is a possibility of moderate winds.
The CI-700 is somewhat more stable than the EQ-6 because the
CI-700 was designed for a heavier payload, but also, because it is
mounted on a HD steel tripod.
I use both a Meade 208XT, and a Starlight Express MX516, CCD cameras as
autoguiders. Both guide equally well. The 208XT can function as a
"standalone" autoguider because it has a CPU built into the camera
head, which can analyze images, and issue guiding commands,
autonomously via its built in, electronic relays. The Mx516 requires a
PC to do the image analysis and issue the guiding commands via, a
serial
port connected, relay box. In some ways, the Meade 208/216XT CCD
cameras were the most sophisticated autoguiders ever sold, but
the Mx516 has two major advantages; it has a much larger imaging chip,
and can bin (combine) its more numerous pixels, into 2x2 or 3x3 sized,
larger, more sensitive pixels. This allows for a much greater range of
guide stars which becomes very important when imaging through a 10" F10
OTA. The Meade 208XT covers only 3.3 x 4.6 arc minutes at 2500mm EFL.
The Mx516 covers 5 x 6.7 arc minutes at the same EFL, and its binned
pixels allow guiding on much fainter stars. The 208XT is ideally suited
for use with a separate guide scope, which can be aimed independently
of the imaging OTA, to overcome its lack of on-board binning
capability, which is its only real fault, as an autoguider. My Lumicon
NEG OAG, allows the autoguider to compensate for imprecision in the
telescope drive, long term atmospheric refraction, and image shift due
to tilting of the telescope optics. Mirror tilt (also known as mirror
flop) is a common problem on SCTs as the mirror can tilt even when the
mirror assembly is locked down, because the primary mirror sits on a
soft rubber, "dough nut". The mirror cell cannot be too firmly
locked
in place or the mirror will be distorted. An OAG is the only real
solution to this problem, unless you keep the image exposure times
relatively short. ***UPDATE*** I have begun using an Mx716, in place of
the Mx516, when using an OAG. The Mx716 gives about a 6 x 7.6 arc
minute field at 2800mm EFL, which is the typical true FL of the 10" F10
Meade OTA when used with an external focuser and a OAG, as pictured
above. I find that the Mx716 will allow guiding on about 90% of initial
OAG FOVs, if I allow a 2.5sec integration time.
I have had my 208XT, and Mx516, and Mx716, 1.25" barrels machined to
precisely
match the focus points of my Nikon SLR/DSLRs. I have also calculated
the amount that my F10 SCT focus position changes due to
expansion/contraction with changes in
temperature (about 170 microns per degree,centigrade). I monitor the
temperature change via a digital thermometer which has an external
sensor attached to the OTA, and then adjust the motorized JMI NGF-S DRO
focuser, in real time, to compensate for temperature change. This
sounds daunting, but it's actually quite easy after you work out a
method to monitor the temperature of the OTA and a way to adjust the
focus in such precise increments. A fully automated, temperature
compensating, focuser would be a very useful device. I also have a JMI
NGF-SE with DFC, a non-motorized focuser with an analogue focus
position indicator. It can be used to compensate for temp change
in between images, as it also indicates focuser position to about 10
micron accuracy. Of course, being able to adjust the focus in precise
amounts is useless if your OTA has significant, non-temperature
related, focus shift. Many Meade SCTs have significant amounts of
backlash in their focuser assemblies and the mirror will shift
position, axially, (mirror sag) destroying the focus. A simple 1/4"
bolt can be used as mirror lock, however, this will tend to pull the
mirror cell out of collimation unless the focuser backlash can be
eliminated. The Peterson Engineering focuser thrust bearing upgrade,
removes most of the Meade SCT focuser backlash and permits retaining
good collimation, even with the mirror lock, at least in my experience.
Focusing a DSLR in 4 easy steps. Click on the images for high-res views.
One) Make a modified Hartmann mask:
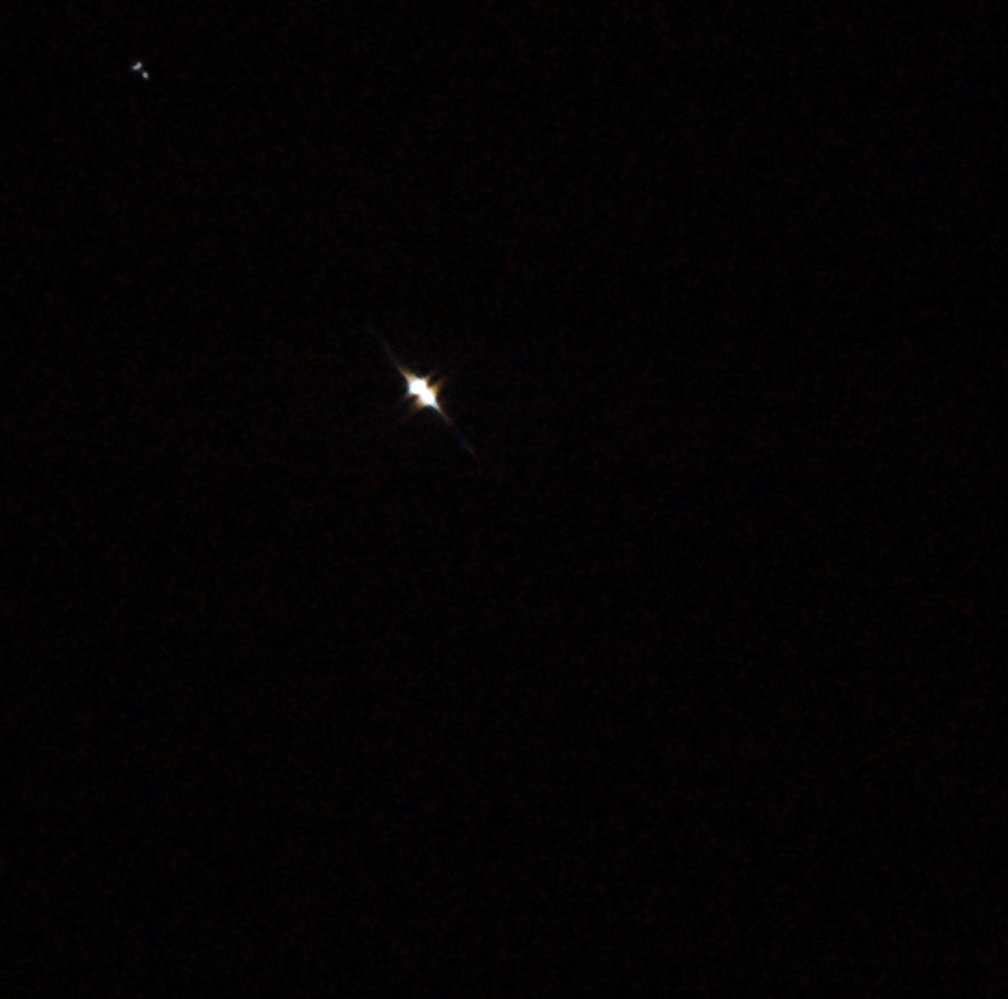
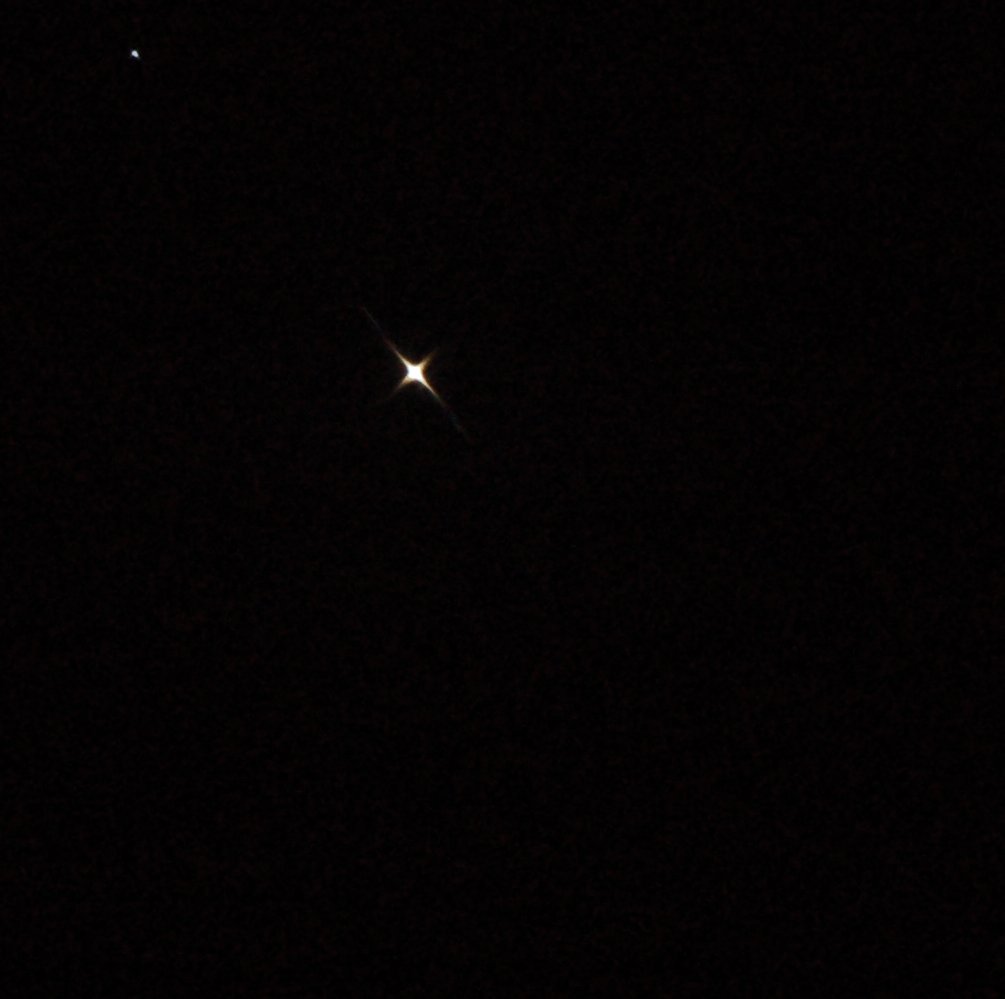
Two) Pick a bright star and focus the DSLR thru the view finder. Pop
the mask on your OTA and take an image:
Three)
Close, but not in focus! Tweak your focuser, take another
image:

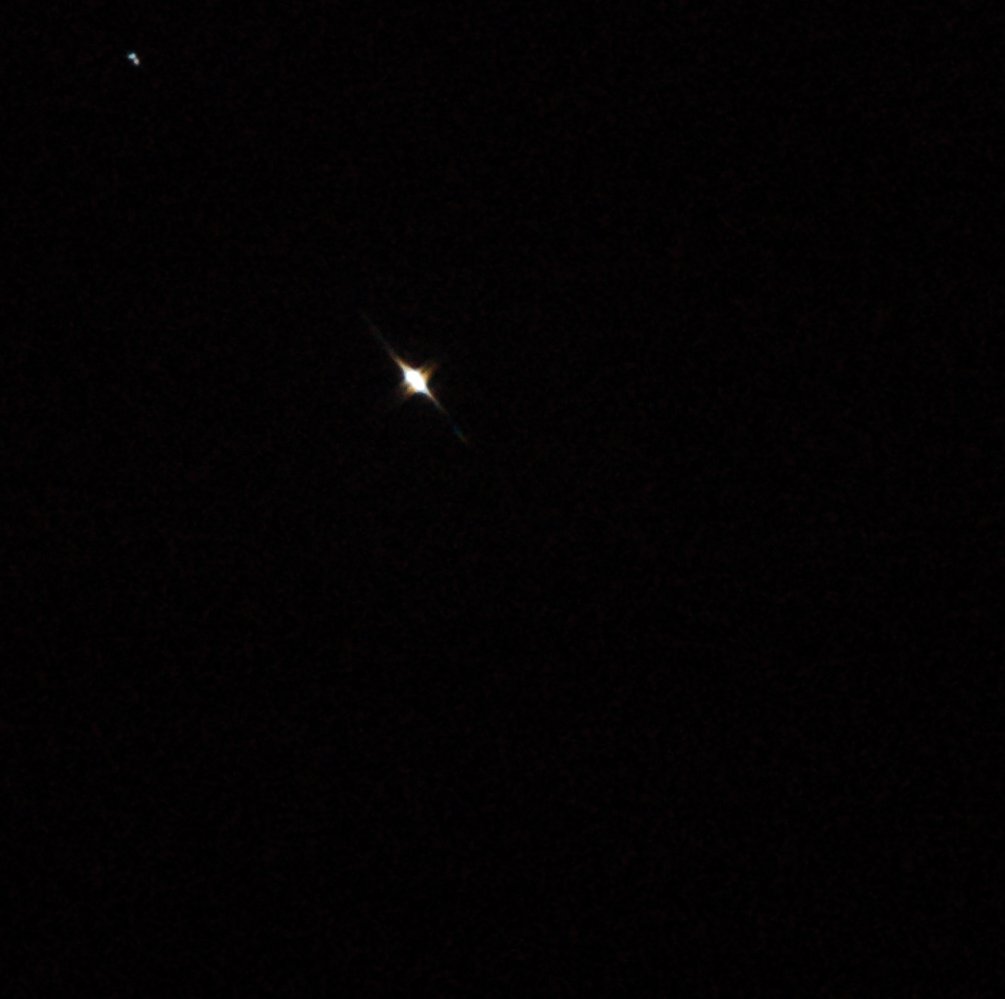
Four) Better, but not yet in focus...tweak the focuser a bit more, take
another image:
Perfect!
This method was suggested by Manfred Mrotzek
on the APML
mailing list.
May 2006, update on focusing: I now use a STI CVF2 focuser, in addition
to the above. I find that the crosshair focusing screen and the
Hartmann mask make a great combo. I can achieve repeat focusing with
20-40 micron accuracy, much better than either method used by itself.
HOME