I have recently acquired some
new equipment including an EQ-6 Skyscan GOTO GEM and a new Meade 10"
F6.3 OTA. This OTA has really nice optics and I usually use it with my
EQ-6 mount. I also picked up a SBIG ST-7E CCD camera. Using a F6.3 R/C
I can get a 29 minute FOV diagonally on the ST-7 with 1.8 arc/sec
pixels, which is ideal for deep sky imaging. I'll be updating this page
frequently with both old and new images.
NEW!
Nikon D50 Images:
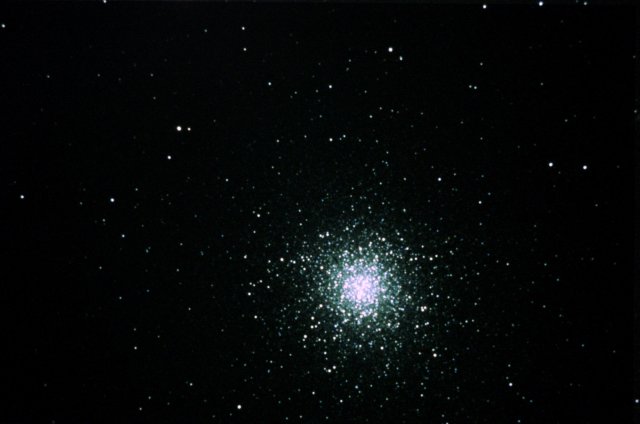
M13 - Stack of 1012sec + 853sec + 1666sec = 59:31 (all mode 3)
Dark subtracted and digitally stretched in IRIS with visualization
settings of 2048 0 and deconvolution (RL2 15 0). The 3 images were aligned and stacked in RegiStar.
Meade 10" F10 SCT @ F11 on a EQ-6 Skyscan, autoguided via
a Mx716 and a Lumicon OAG, with a Lumicon Coma Corrector.
Taken at Portal, Arizona (ASV), May 20 2006.
Click on the image for a high-res version.

M22 - Modded (No IR Filter) D50 Single 1800sec image at ISO200, scope and guiders details as above. Dark subtracted and digitally developed,
and converted to Jpeg in IRIS. Colour balance is unaltered from the camera.
Click on the image for a high-res version.
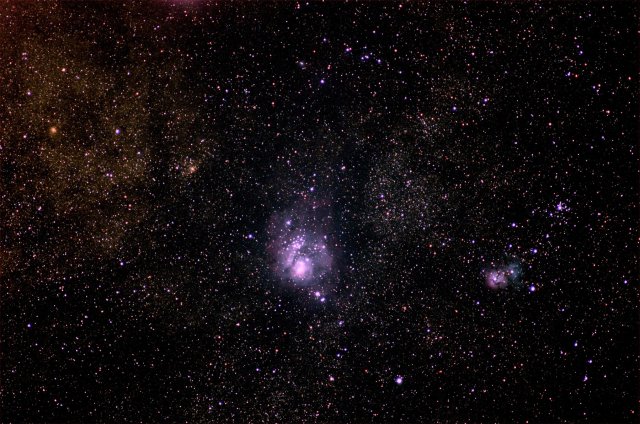
M8 and M20. Unmodded D50. 699.3sec (Had to end exposure due to twilight!) with a Nikkor 300 f4.5 (non-ED), ISO 800. Mode 3 with no dark subtraction, black point set, colour balanced, and digitally developed in IRIS. Click on the image for a high-res version.
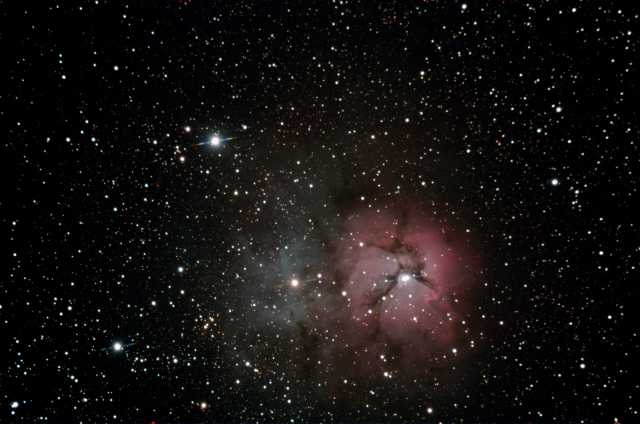
M20. IR modded D50. A single 30min exposure with a 10" F6.3 OTA @F7. Dark subtracted,
digitally developed, colour balanced (crudely) and deconvolved (RL2 10 0) in IRIS. May 29 2006 at Portal Arizona (ASV).
Click on the image for a high-res version.
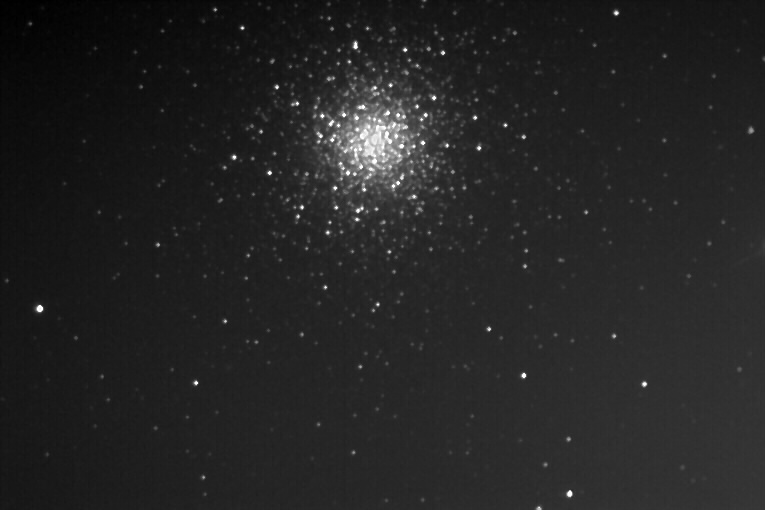
Here's a few sample ST-7E images:
This is a 10 minute self guided shot of M3.
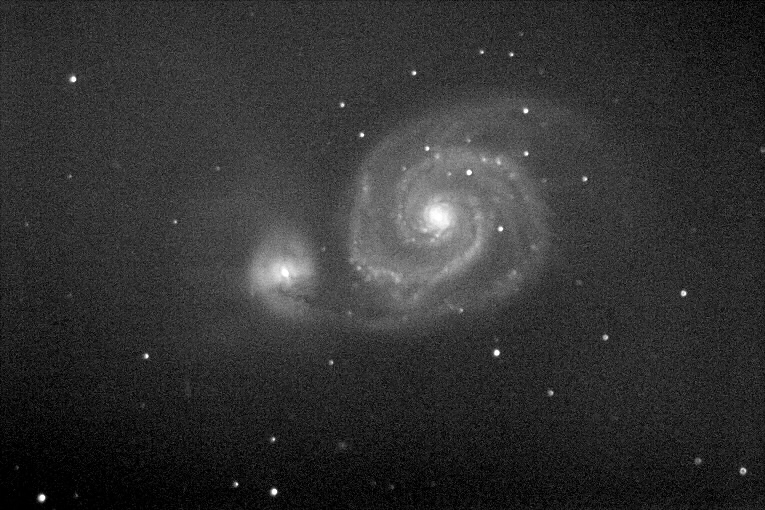
This is a 10 minute self guided shot of M51.
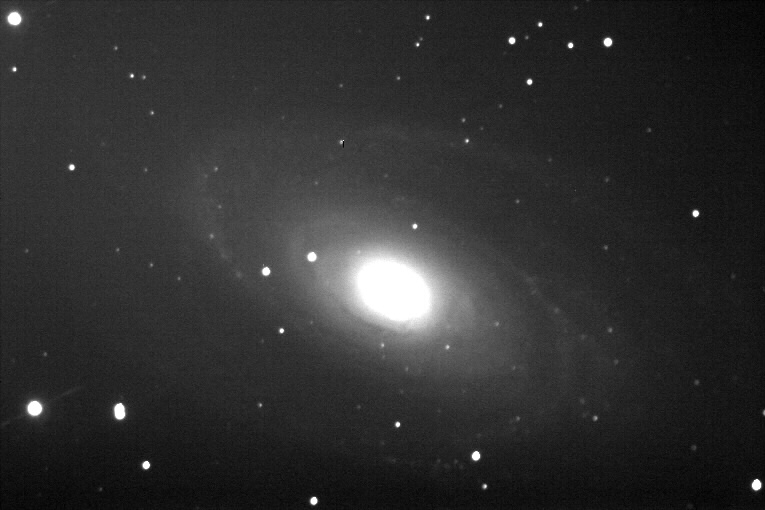
This is a single 20 minute exposure of M81. It shows the tracking potential of the EQ-6 Skyscan mount.
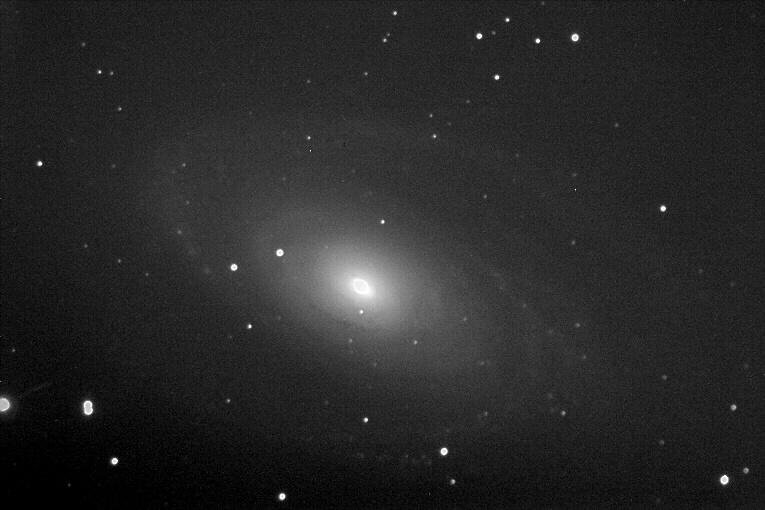
This is a stack of a 10 minute and a 20 minute integrations of M81.
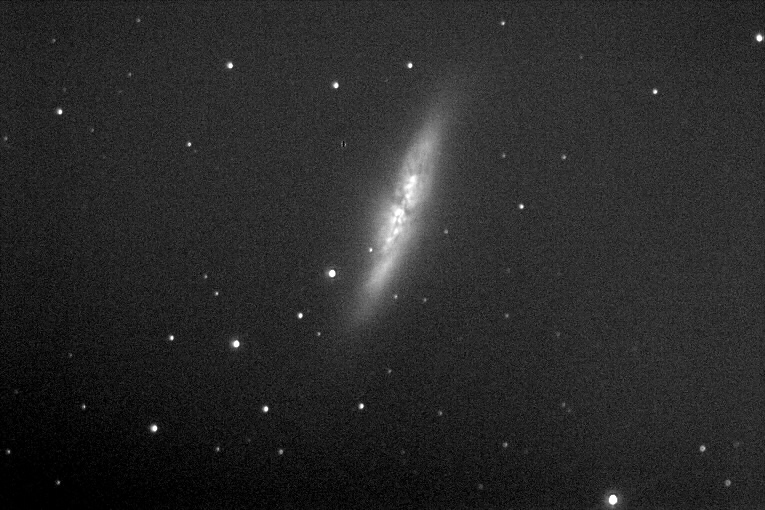
A five minute shot of M82.
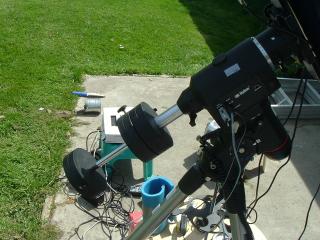
A close up of the EQ-6 Skyscan and a comparison to the CI-700. The EQ-6 Skyscan is a primo mount for an econo price. The EQ-6 tripod is acceptable for lightweight OTAs but it does the mount an injustice. A solid pedestal mount is on my shopping list.

An image of my pier mount for the EQ-6. This is an Antares Pier, that I modified to allow the EQ-6 to mate to it. I used the EQ-6 1/2 Pier adapter and drilled some new holes to make everything fit. I then added the ready-rod struts for more stability, and I drilled holes for locking pins, to ensure that the quick release latchs at the base of the pier did not come loose. The net result is that the stabilty is about the same as with a retracted tripod, but it has the advantage of having wheels, so that I can roll the scope under the eave of the house for protection against the weather. Click on the image for a high-res version.
I have since modified the standard EQ-6 tripod, by adding a plywood tray/spreader table, and added new, stainless steel, bolts to the altitude and azimuth adjusters. The above image shows these changes. The mount is now extremely stable, almost to the point of challenging my CI-700. Click on the image for a high-res version.
Close up of the new bolts. The new altitude bolts are much stiffer, and do not bend under load. I have torqued down the altitude pivot bolt, so that the mount will not move even when the OTA is removed, and with the new hex-head altitude bolts I can easily move the mount in precise increments using a wrench or rachet. The new azimuth, socket head screws, allow me to really tighten the tripod centre bolt. Now, using an Allen Key, I can still move the mount easily in azimuth with the new screws. Click on the image for a high-res version.
Close up of my new counter weight shaft. The shaft itself is a stock EQ-5 20mm shaft. An aluminum shaft adapter/extension was machined, which fits into the original shaft collar. The extension/adapter has a threaded shaft on the mount side of the CW collar which was designed to lock it in place, without any need to alter the existing CW collar. Update: the internal CW shaft adapter thread has been reduced to 1/2" and a slightly rounded 1/2" nut locks the adapter rigidly in place, internally. The original shaft collar is unaltered. The original EQ-6 CWs are already machined to fit a 20mm shaft, so you only have to pop out the plastic reducer inside the CW to fit them onto the new EQ-5 style shaft. If you would like to obtain one of these adapters and an EQ-5 CW shaft send an e-mail to: Seamus Dunne at seamus@xtcfx.ca
I've put together some photo-essays with an old quickcam with info about using a 2" visual back, Lumicon NEG, and the JMI NGF-SE. I also demonstrate how to reduce the back-focus requirements of a JMI focuser when using an F6.3 R/C. At the Bottom of the next page you will find links to some other photo-essays including the use of a Coma Corrector with SCTs and some periodic error test results for an Eq-6 Skyscan mount and a CI-700.
Home Page
NEW!
Nikon D50 Images:

M13 - Stack of 1012sec + 853sec + 1666sec = 59:31 (all mode 3)
Dark subtracted and digitally stretched in IRIS with visualization
settings of 2048 0 and deconvolution (RL2 15 0). The 3 images were aligned and stacked in RegiStar.
Meade 10" F10 SCT @ F11 on a EQ-6 Skyscan, autoguided via
a Mx716 and a Lumicon OAG, with a Lumicon Coma Corrector.
Taken at Portal, Arizona (ASV), May 20 2006.
Click on the image for a high-res version.
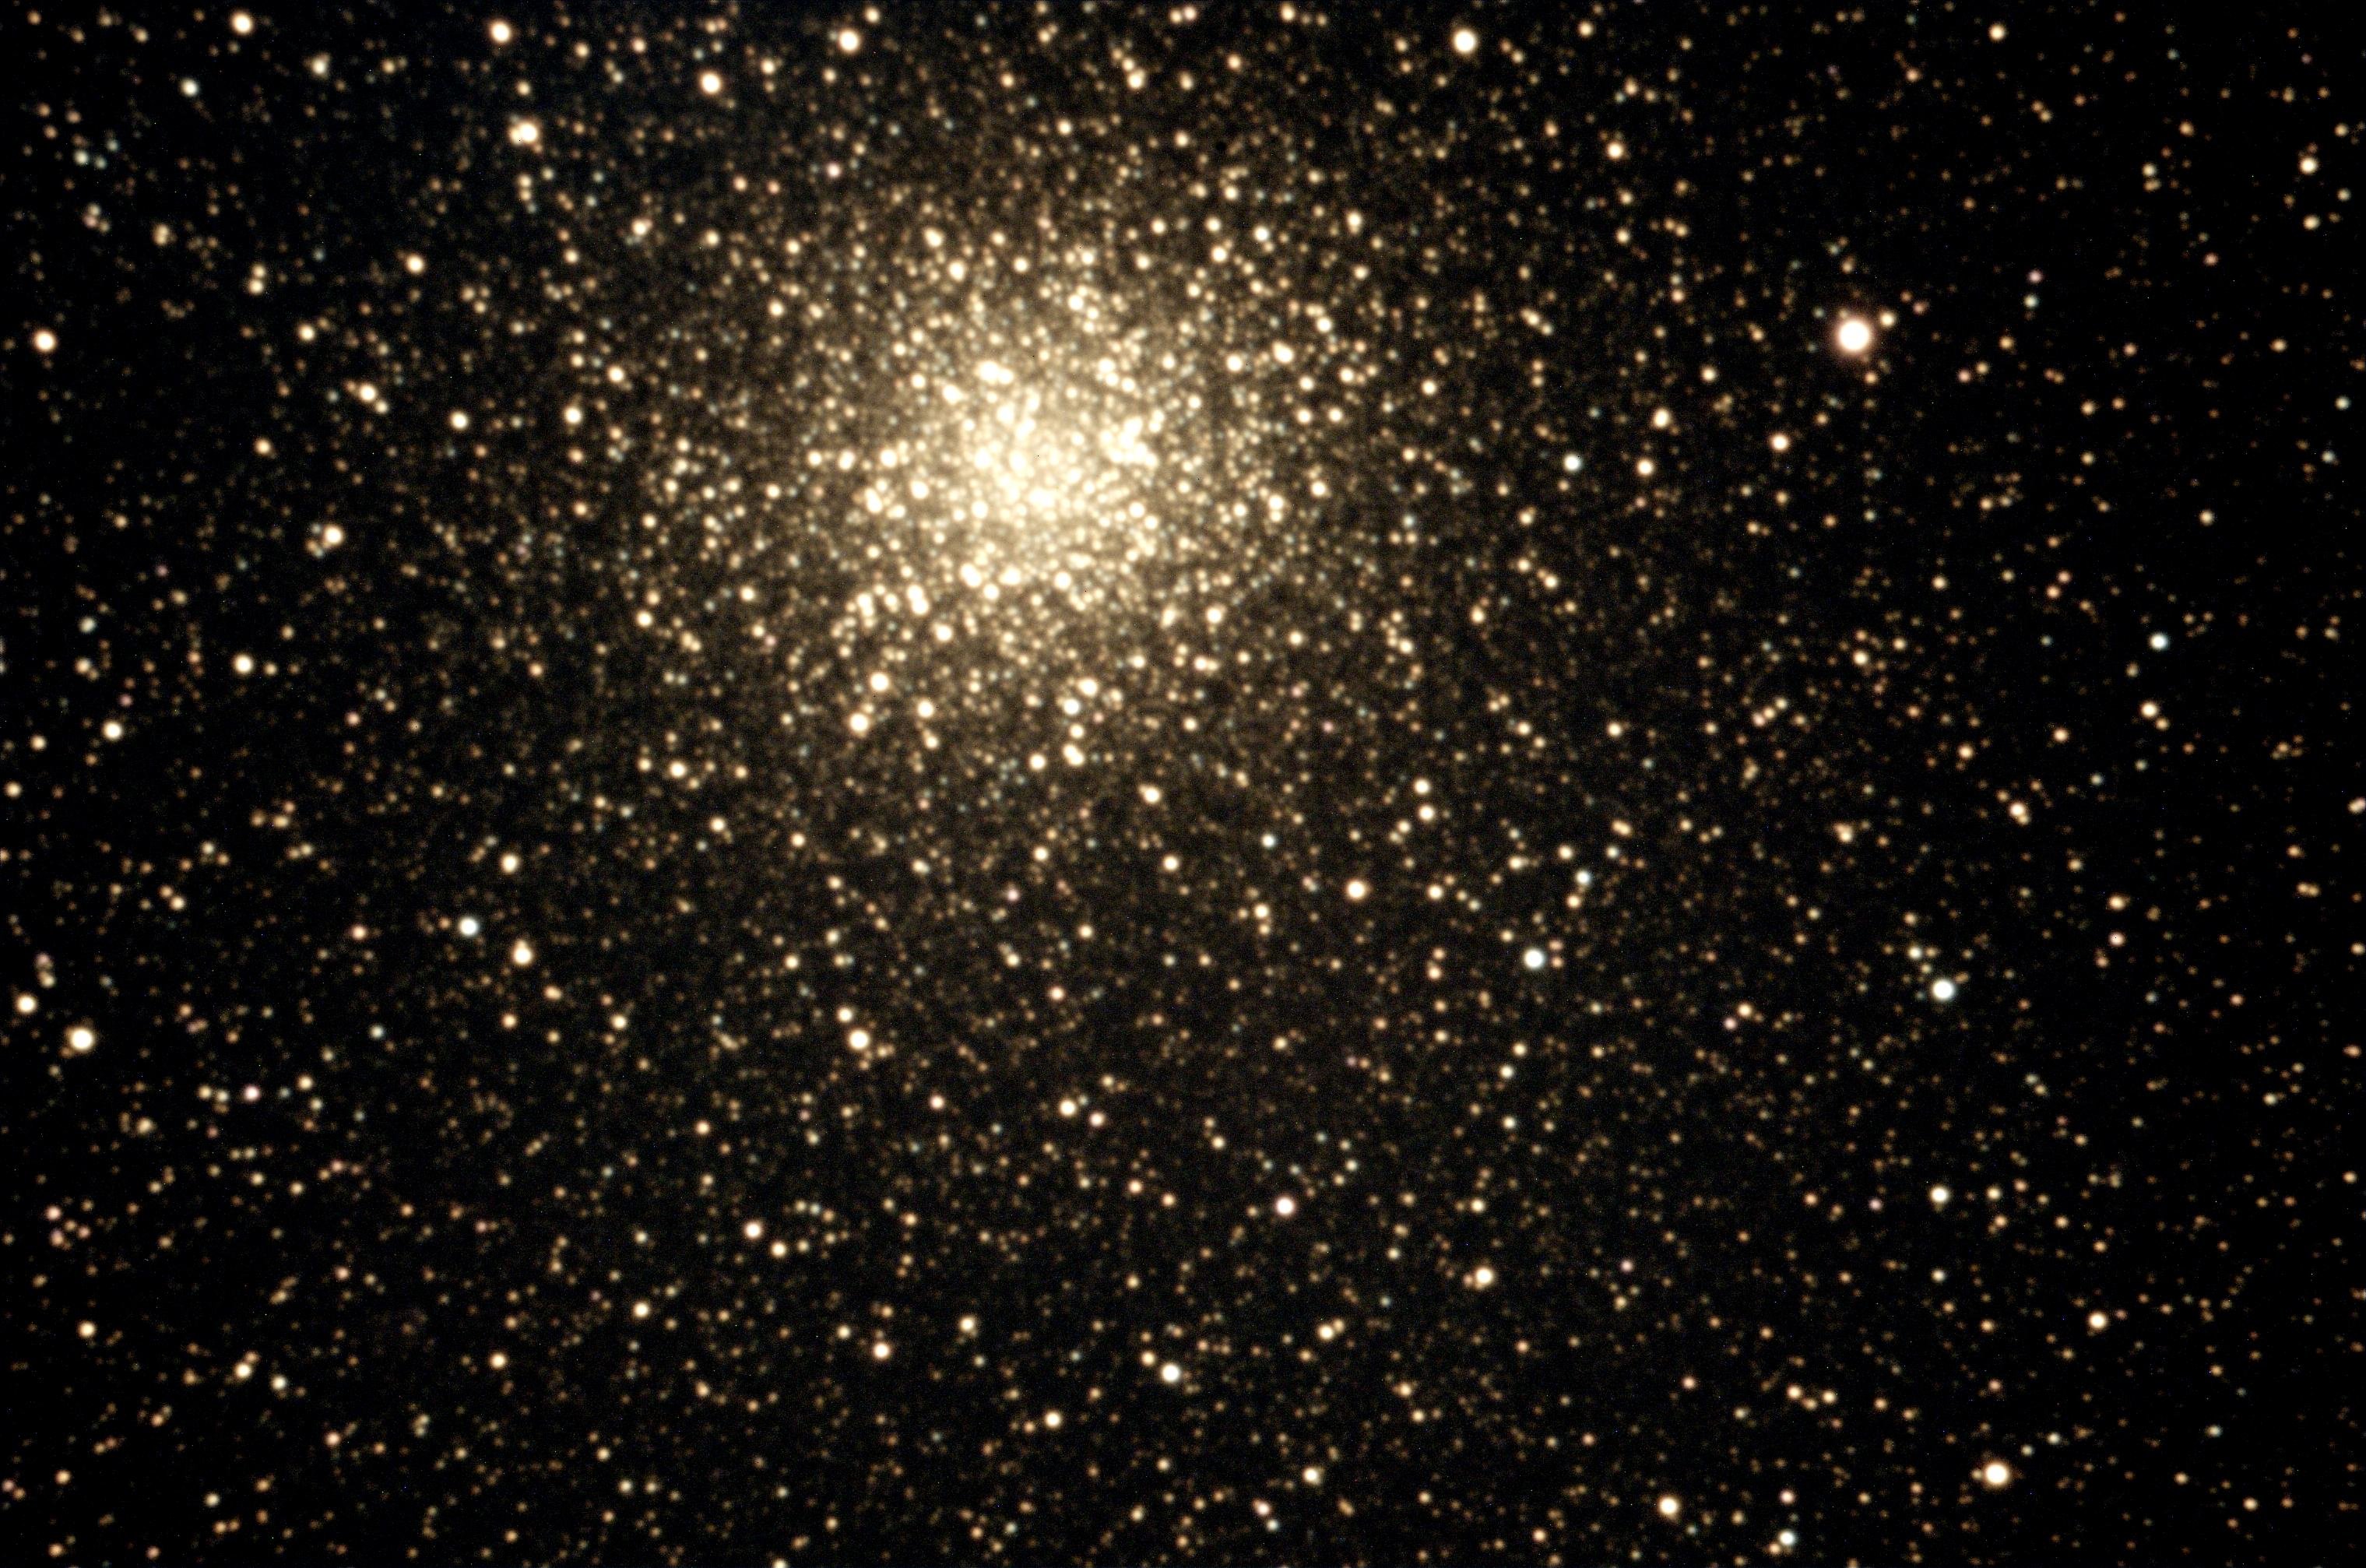
M22 - Modded (No IR Filter) D50 Single 1800sec image at ISO200, scope and guiders details as above. Dark subtracted and digitally developed,
and converted to Jpeg in IRIS. Colour balance is unaltered from the camera.
Click on the image for a high-res version.

M8 and M20. Unmodded D50. 699.3sec (Had to end exposure due to twilight!) with a Nikkor 300 f4.5 (non-ED), ISO 800. Mode 3 with no dark subtraction, black point set, colour balanced, and digitally developed in IRIS. Click on the image for a high-res version.
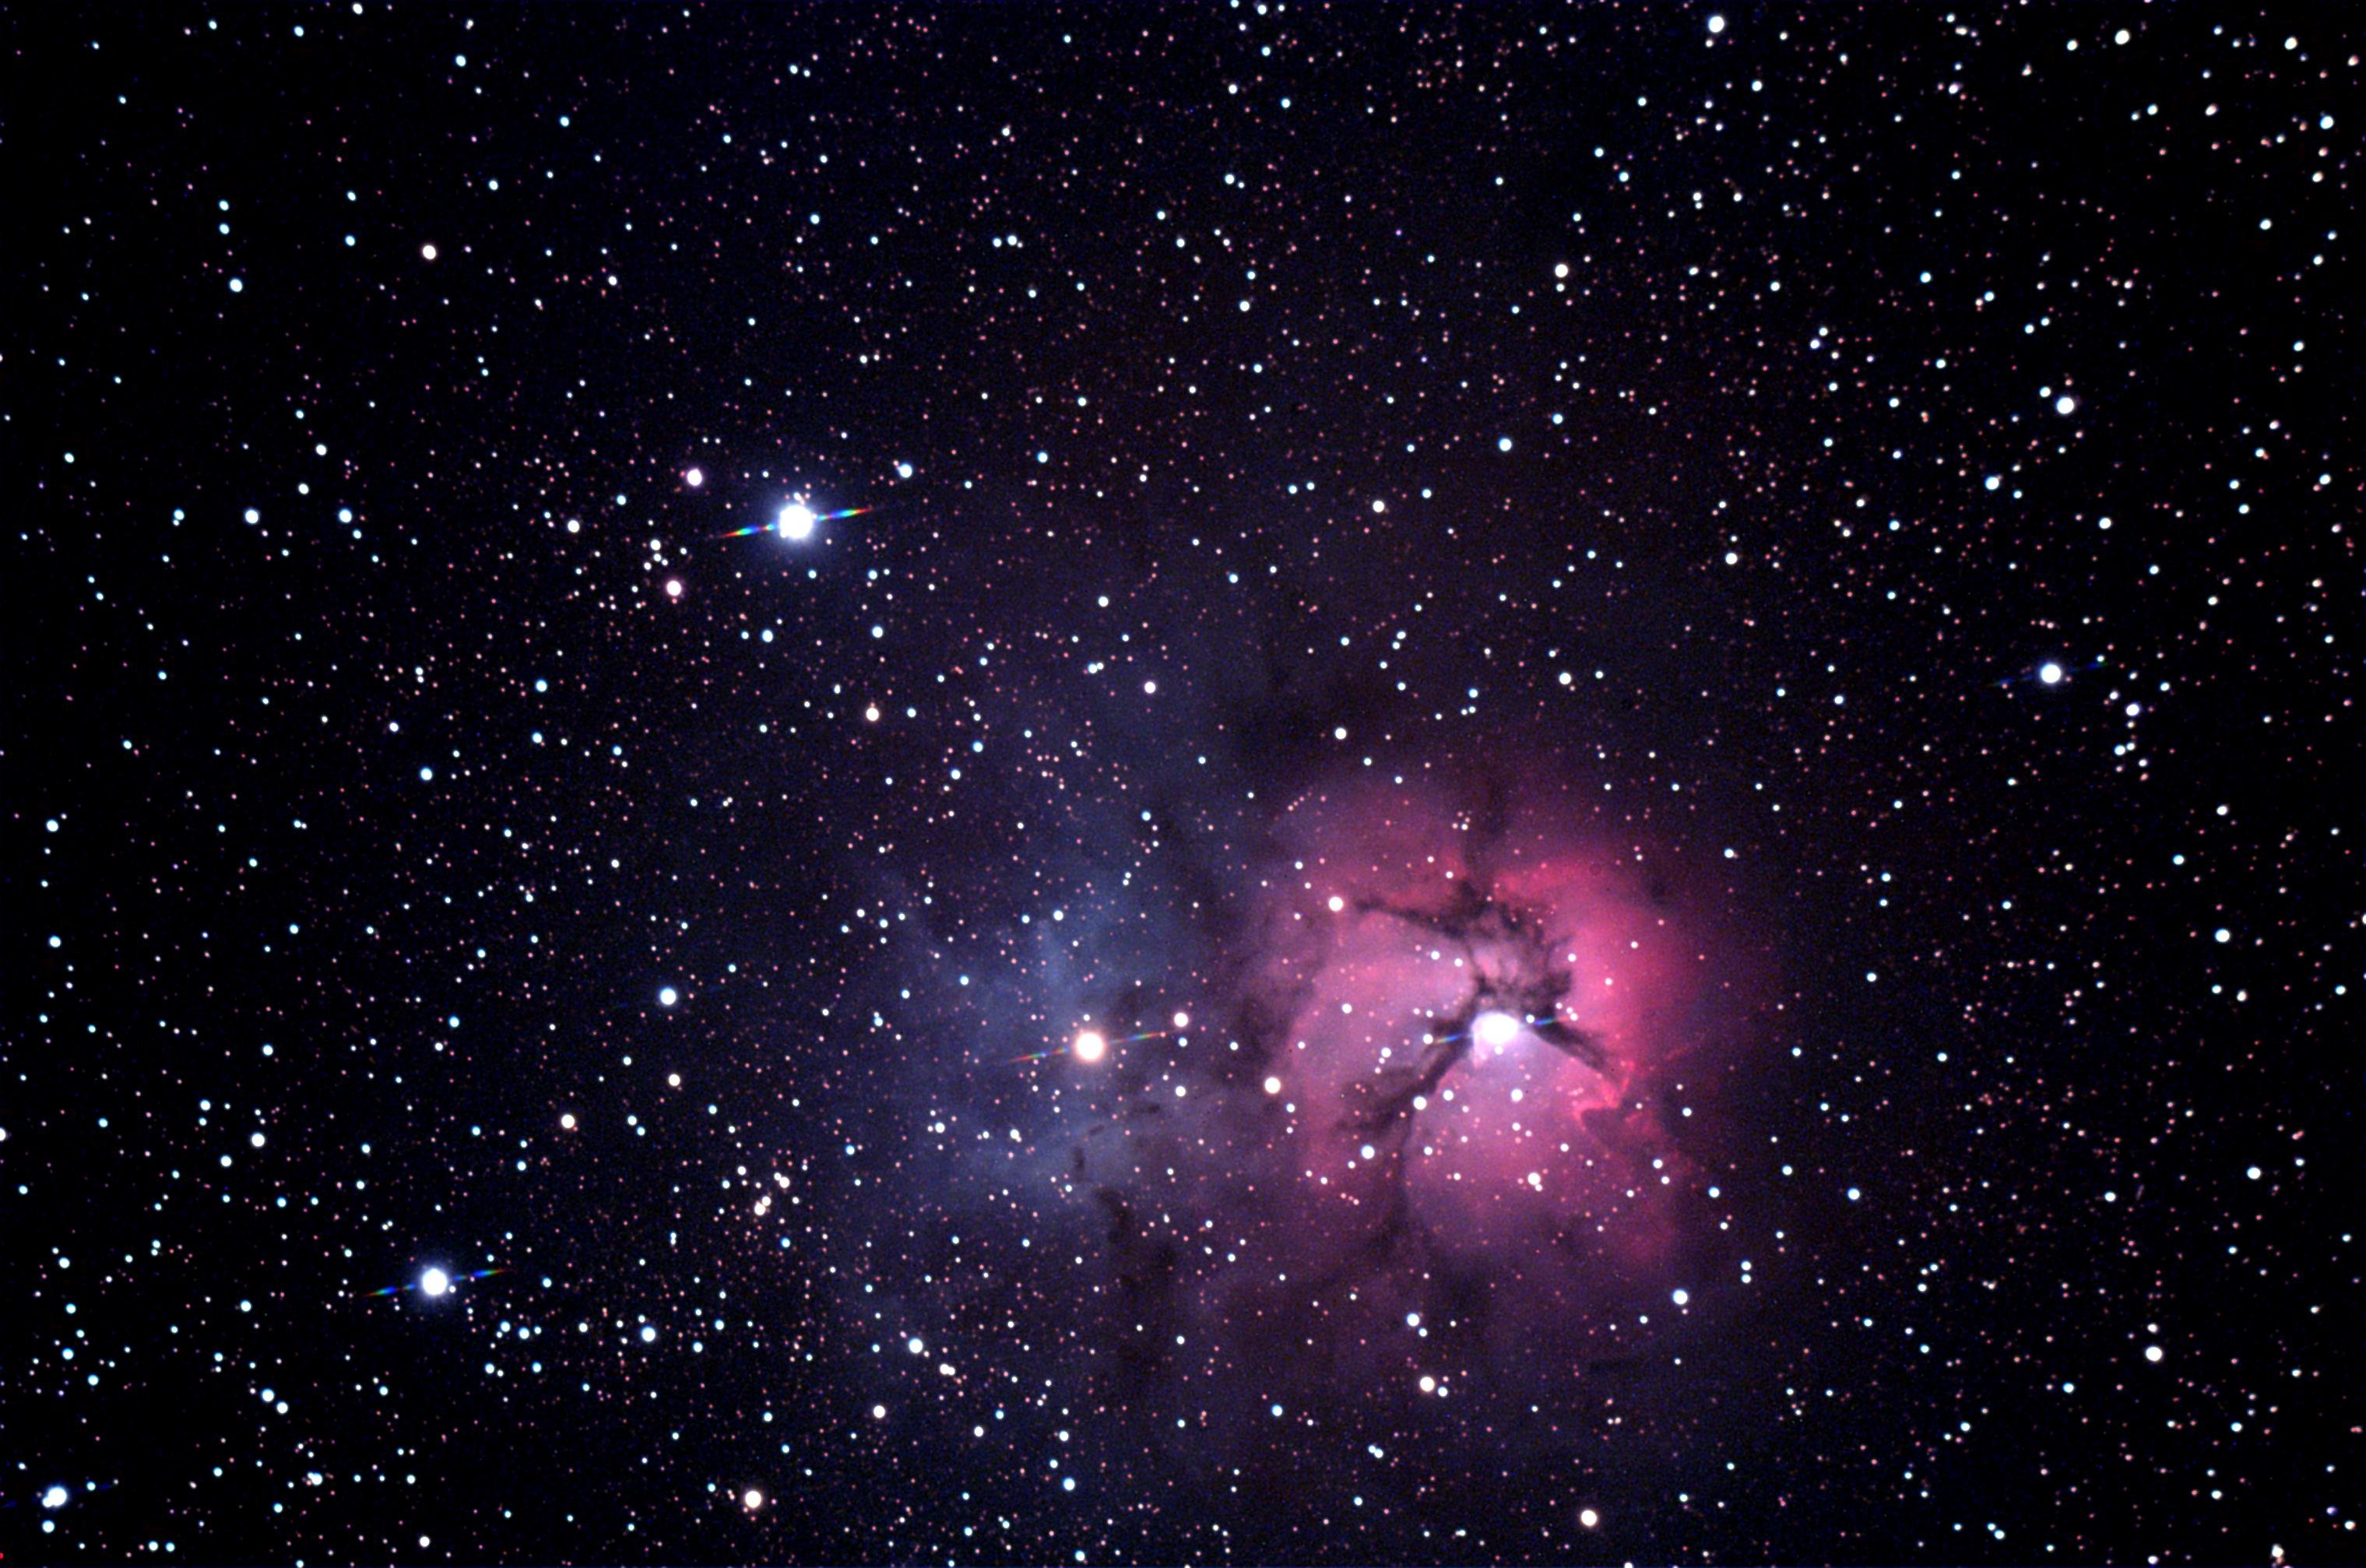
M20. IR modded D50. A single 30min exposure with a 10" F6.3 OTA @F7. Dark subtracted,
digitally developed, colour balanced (crudely) and deconvolved (RL2 10 0) in IRIS. May 29 2006 at Portal Arizona (ASV).
Click on the image for a high-res version.
Here's a few sample ST-7E images:
This is a 10 minute self guided shot of M3.
This is a 10 minute self guided shot of M51.
This is a single 20 minute exposure of M81. It shows the tracking potential of the EQ-6 Skyscan mount.
This is a stack of a 10 minute and a 20 minute integrations of M81.
A five minute shot of M82.
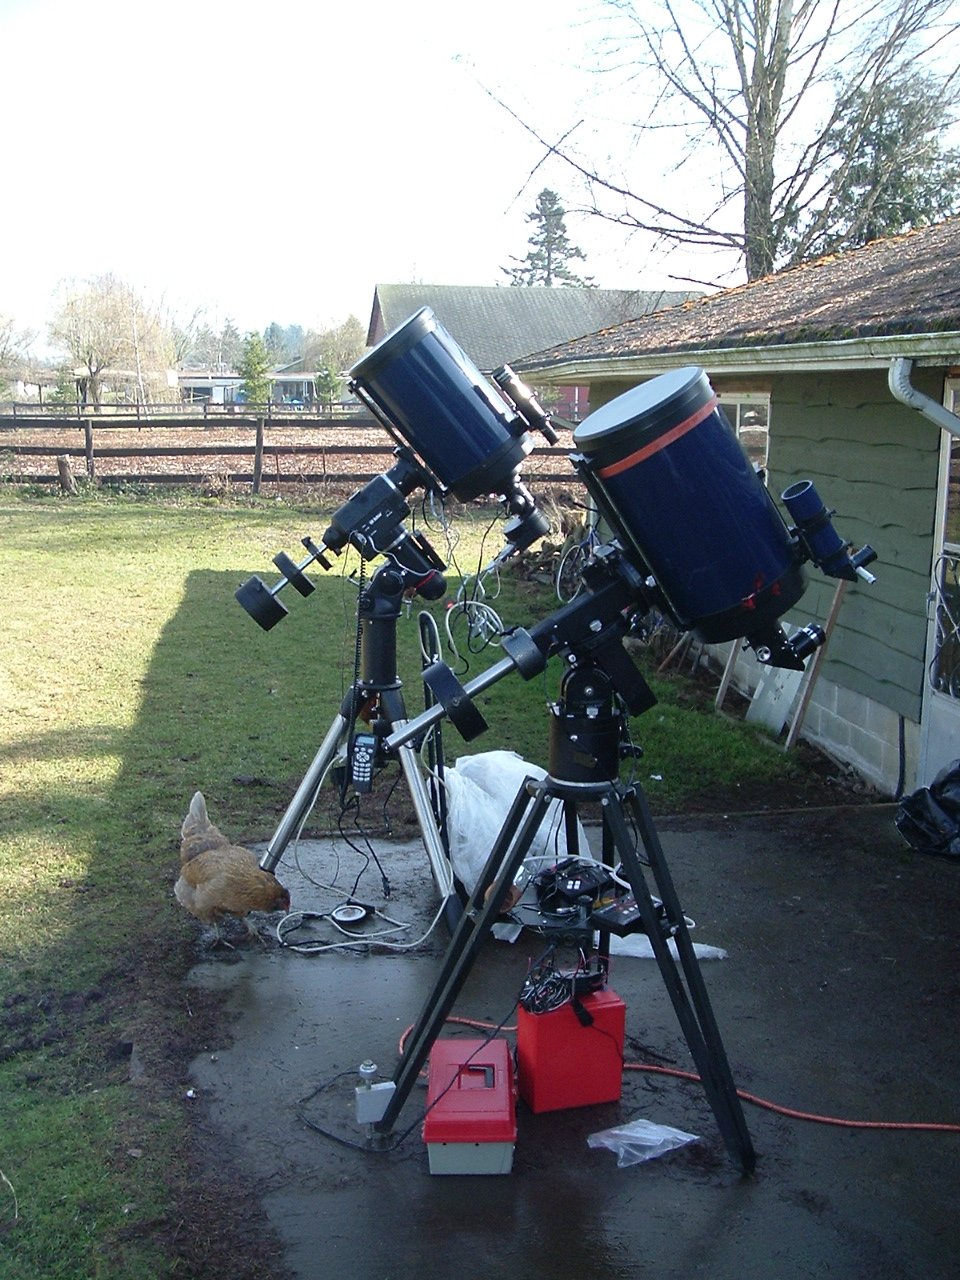
Here's a shot of my equipment
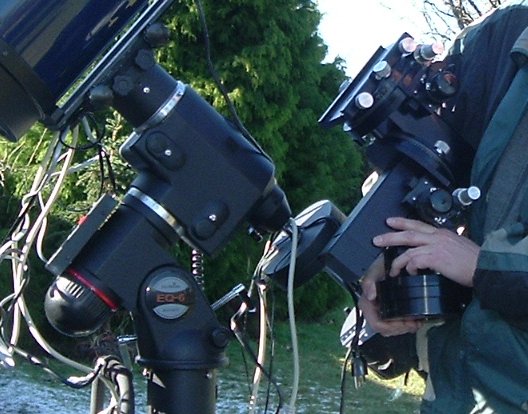
A close up of the EQ-6 Skyscan and a comparison to the CI-700. The EQ-6 Skyscan is a primo mount for an econo price. The EQ-6 tripod is acceptable for lightweight OTAs but it does the mount an injustice. A solid pedestal mount is on my shopping list.
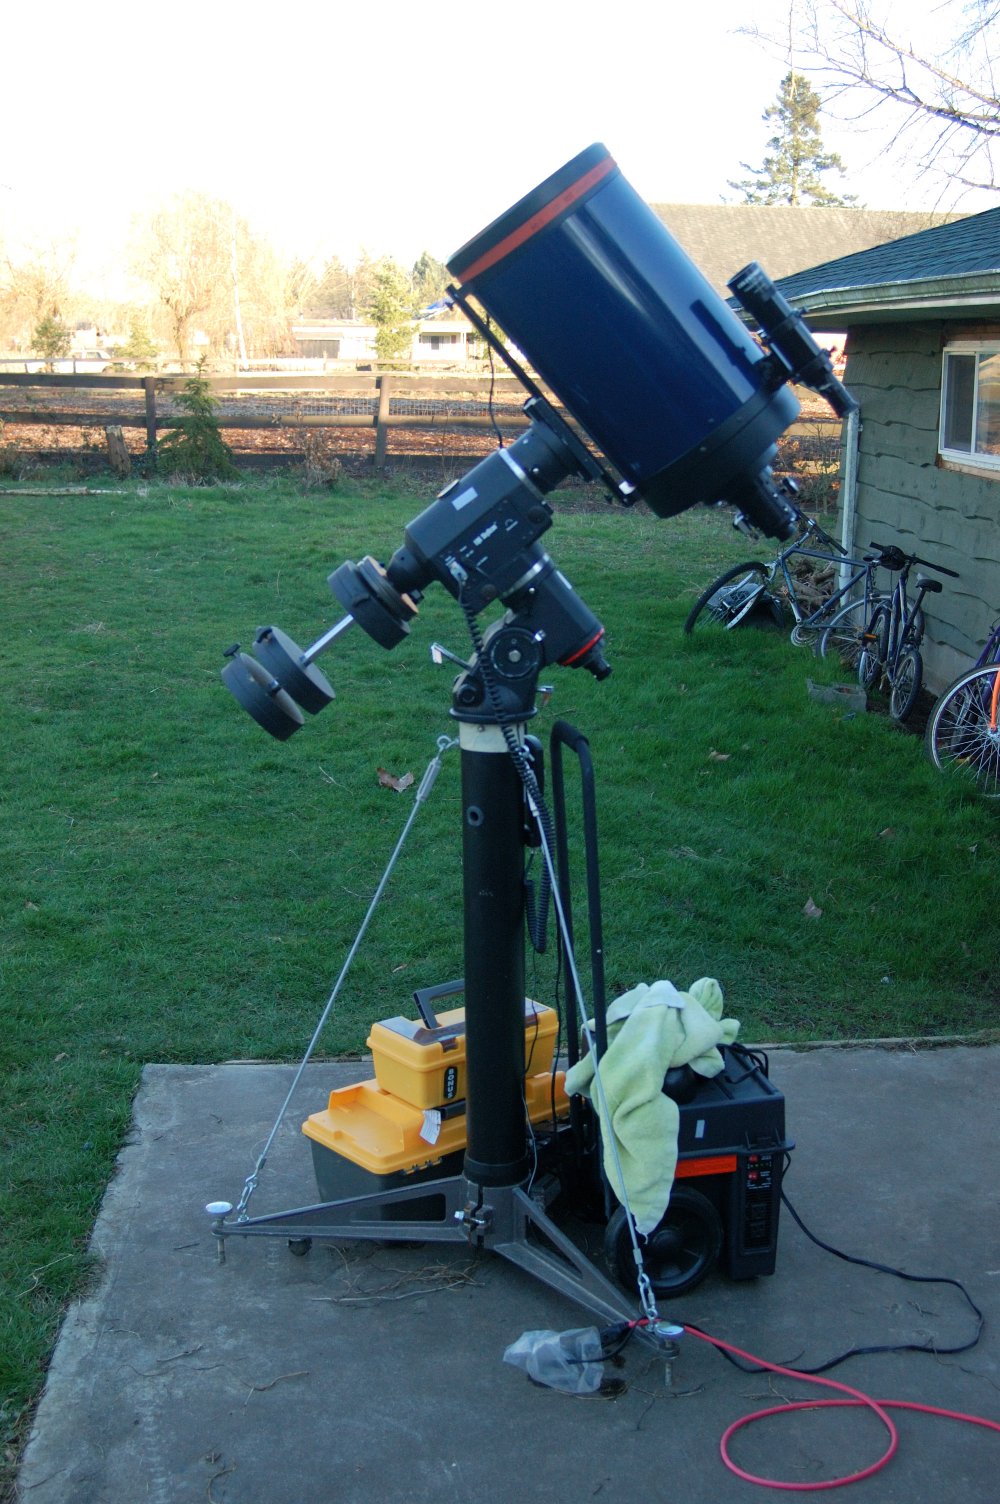
An image of my pier mount for the EQ-6. This is an Antares Pier, that I modified to allow the EQ-6 to mate to it. I used the EQ-6 1/2 Pier adapter and drilled some new holes to make everything fit. I then added the ready-rod struts for more stability, and I drilled holes for locking pins, to ensure that the quick release latchs at the base of the pier did not come loose. The net result is that the stabilty is about the same as with a retracted tripod, but it has the advantage of having wheels, so that I can roll the scope under the eave of the house for protection against the weather. Click on the image for a high-res version.

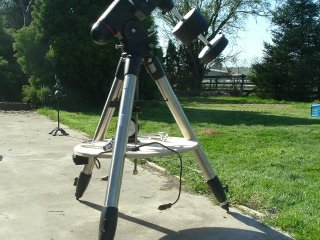
I have since modified the standard EQ-6 tripod, by adding a plywood tray/spreader table, and added new, stainless steel, bolts to the altitude and azimuth adjusters. The above image shows these changes. The mount is now extremely stable, almost to the point of challenging my CI-700. Click on the image for a high-res version.

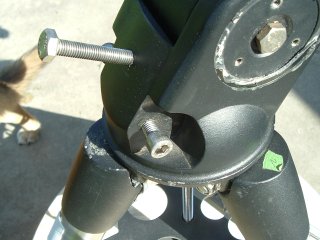
Close up of the new bolts. The new altitude bolts are much stiffer, and do not bend under load. I have torqued down the altitude pivot bolt, so that the mount will not move even when the OTA is removed, and with the new hex-head altitude bolts I can easily move the mount in precise increments using a wrench or rachet. The new azimuth, socket head screws, allow me to really tighten the tripod centre bolt. Now, using an Allen Key, I can still move the mount easily in azimuth with the new screws. Click on the image for a high-res version.
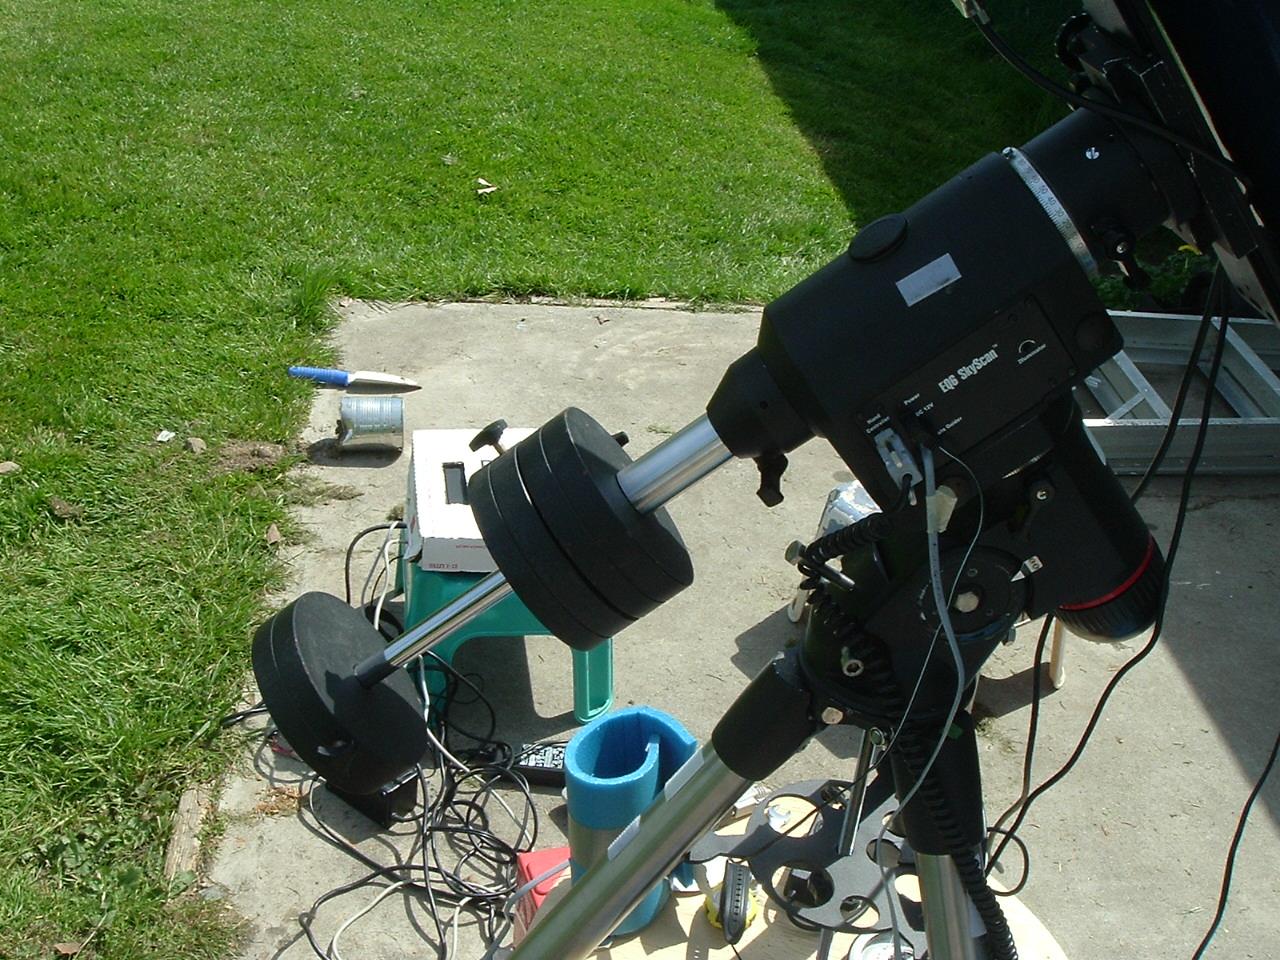
Close up of my new counter weight shaft. The shaft itself is a stock EQ-5 20mm shaft. An aluminum shaft adapter/extension was machined, which fits into the original shaft collar. The extension/adapter has a threaded shaft on the mount side of the CW collar which was designed to lock it in place, without any need to alter the existing CW collar. Update: the internal CW shaft adapter thread has been reduced to 1/2" and a slightly rounded 1/2" nut locks the adapter rigidly in place, internally. The original shaft collar is unaltered. The original EQ-6 CWs are already machined to fit a 20mm shaft, so you only have to pop out the plastic reducer inside the CW to fit them onto the new EQ-5 style shaft. If you would like to obtain one of these adapters and an EQ-5 CW shaft send an e-mail to: Seamus Dunne at seamus@xtcfx.ca
I've put together some photo-essays with an old quickcam with info about using a 2" visual back, Lumicon NEG, and the JMI NGF-SE. I also demonstrate how to reduce the back-focus requirements of a JMI focuser when using an F6.3 R/C. At the Bottom of the next page you will find links to some other photo-essays including the use of a Coma Corrector with SCTs and some periodic error test results for an Eq-6 Skyscan mount and a CI-700.
Home Page