Discrete Symmetry: Lesson Two
Objectives
Big Idea – We can describe, measure, and compare spatial relationships.
- to build on students' knowledge of line symmetry and develop students' reasoning with properties of symmetry
- to develop an understanding of reflectional symmetry (e.g., what you do on one side, you do on the other)
- to develop students’ positional language (e.g., beside, on top of, under, in front of, up, down, away from, toward)
Overarching Aims:
1. The moving of the squares helps students see the functional relationship between a square and its image.
a. For example, you might hear students say, “If you move the blue square along the line, then the other blue square will move along the line.”
2. Informal descriptions of properties that coordinate students’ visual impressions with geometric language.
a. Students’ initial descriptions might be “One side of the line is the same as the other”.
b. Students’ may see the spaces between the squares as ‘white squares’.
c. Students’ will gain an awareness that there are differing lines of symmetry. In this lesson: vertical, horizontal, and oblique.
d. Students will gain an awareness of the property of equidistant. You might hear them say, “A square on one side of the line should be the same distance away from the line as a square on the other side of the line”
e. Students will gain an awareness of the property of perpendicularity. You might hear them say, “A square on one side of the line should be at the same level as a square on the other side.”
f. Students might express these ideas through gestures as well as words.
You do not need to teach the formal property names but help the students begin to articulate their visual awareness.
Activity – Whole Group
Working with the first sketch
Encouraging use of the language developed in lesson one (along, away, toward the line of symmetry), have the students review by exploring moving the squares along the vertical line of symmetry in the Broken Symmetry Machine file.
Working with the remaining sketches
These sketches portray a different type of line symmetry – vertical, horizontal, and oblique – with squares showing on only one side of the line of symmetry.
The students are to predict and create what the other side of the line should look like.
The final sketch allows for further exploration as the students attempt to recreate letters of the alphabet.
Assessment – Individual or Partner
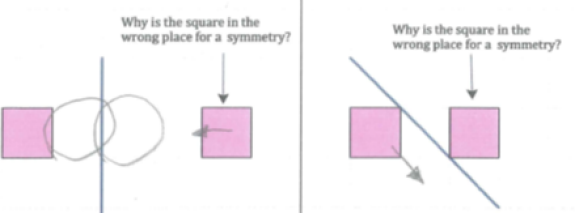
- Have the students describe how this asymmetric diagram could be make symmetric.
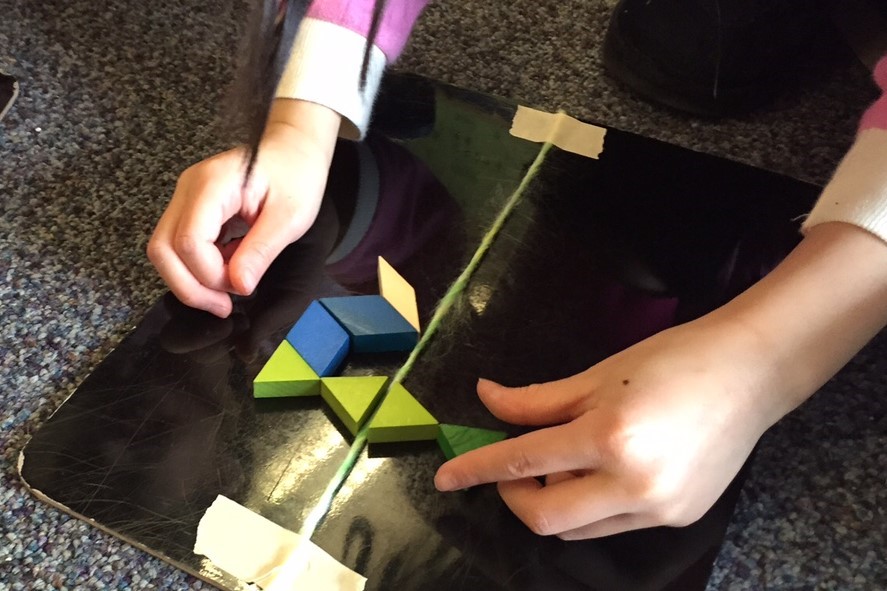
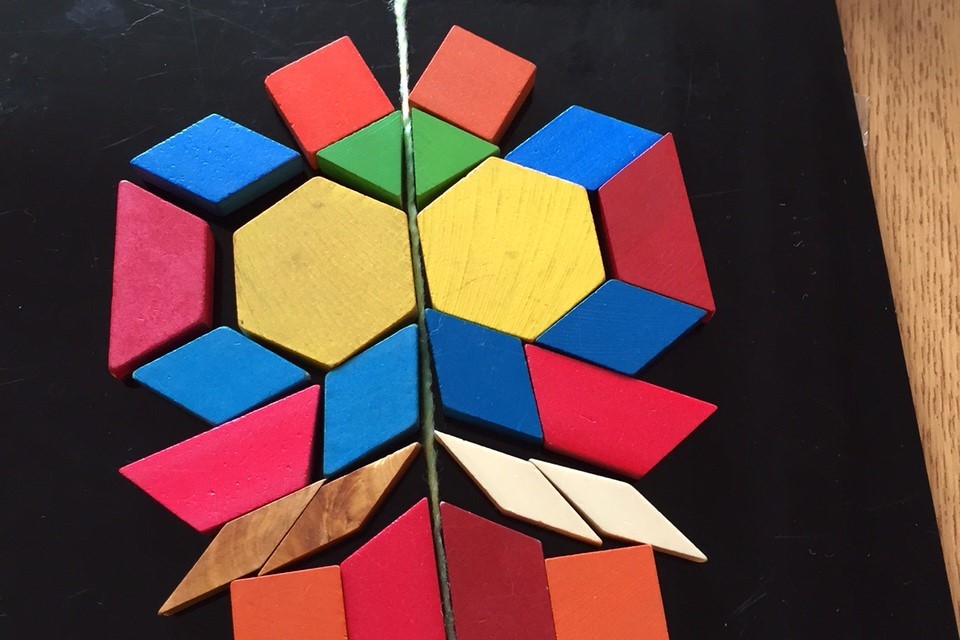
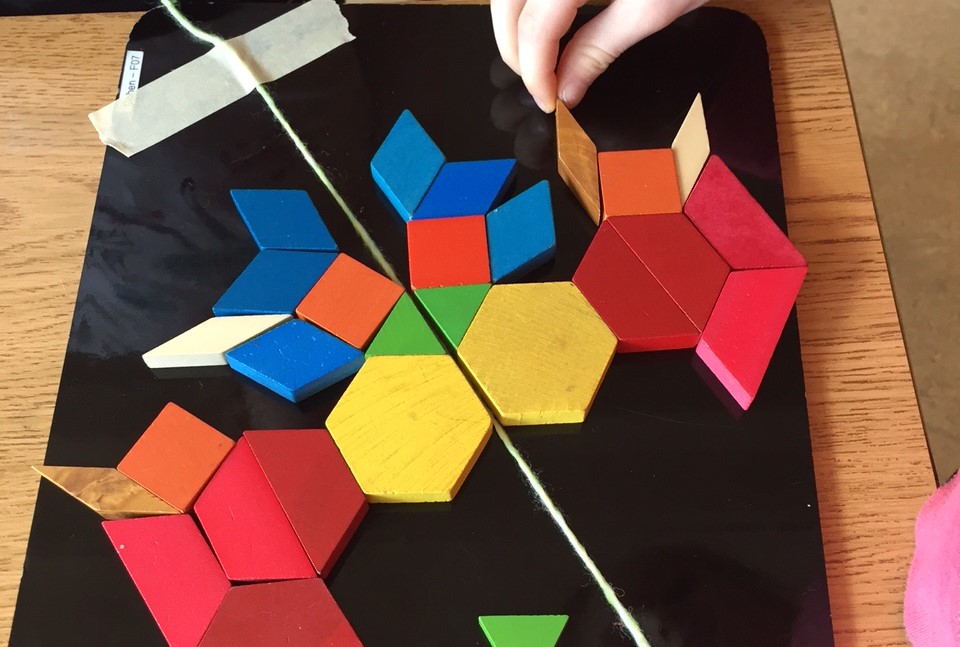
- Have the students create their own symmetric images using pattern blocks, each utilizing a different line of symmetry.
Sample Student Work