San Francisco Photos 14
California, USA
OC 1935 to 1944 (Market St. Railway)
7 SE 1941 to Present (Muni)
![]()

![]()
California, USA
![]()
![]()
 Flyer 5057 turning from Presidio St. to Sutter St. on route 4. Photo
by Peter McLaughlin. 2003.
Flyer 5057 turning from Presidio St. to Sutter St. on route 4. Photo
by Peter McLaughlin. 2003.
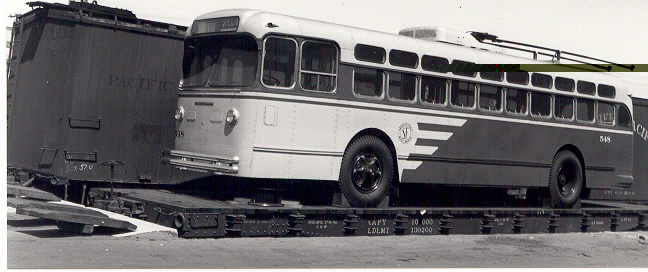 Baby Marmon-Herrington 548 being unloaded after shipment from the M-H factory
in Indianapolis. The baby Marmons were 40 feet long and this batch was the
only batch of baby Marmons ever manufactured.
Baby Marmon-Herrington 548 being unloaded after shipment from the M-H factory
in Indianapolis. The baby Marmons were 40 feet long and this batch was the
only batch of baby Marmons ever manufactured.
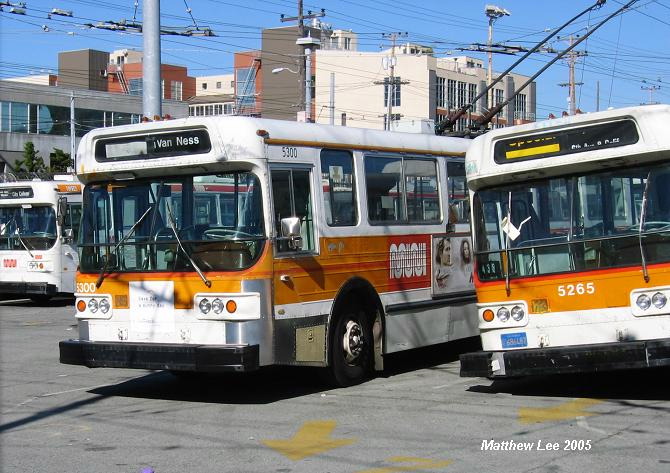 Flyer 5300 resting at Garage have been touched up here and there. This is
an indication that Flyers might be around longer than originally anticipated.
It is unclear what the future of 5265 was. Photo by Matt Lee, FE 2005.
Flyer 5300 resting at Garage have been touched up here and there. This is
an indication that Flyers might be around longer than originally anticipated.
It is unclear what the future of 5265 was. Photo by Matt Lee, FE 2005.
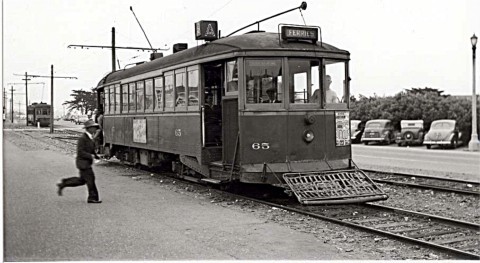 Muni Car 65 signed for route A at Fleischacker Zoo. It is not clear
how this car got to the Zoo, as route ended at Golden Gate Park, before its
demise in 1932.
Muni Car 65 signed for route A at Fleischacker Zoo. It is not clear
how this car got to the Zoo, as route ended at Golden Gate Park, before its
demise in 1932.
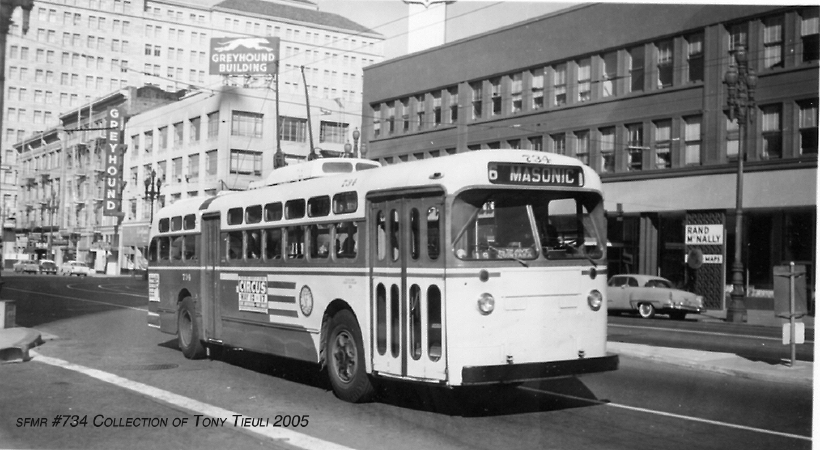 Marmon-Herrington 734 on Market Street. Photographer and date unknown.
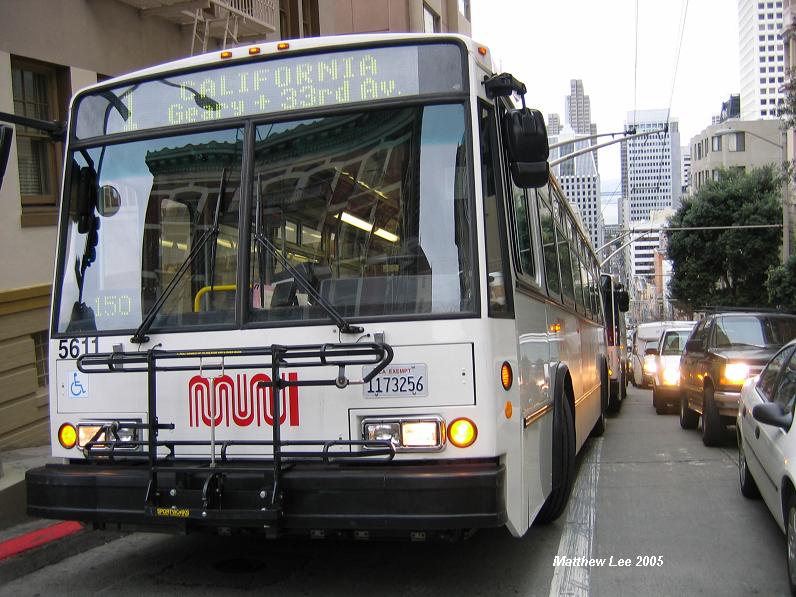 Two ETIs on Route 1 on Clay St. in bound. Photo by Matt Lee. 20 FE 2005.
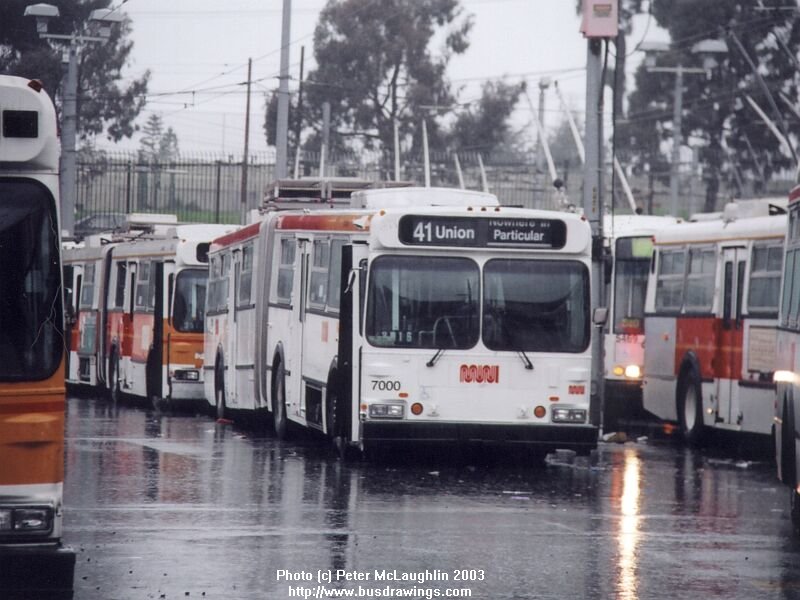 New Flyer 7000 at Potrero Garage. Note the paint scheme. Photo by Peter McLaughlin. DE 2003.
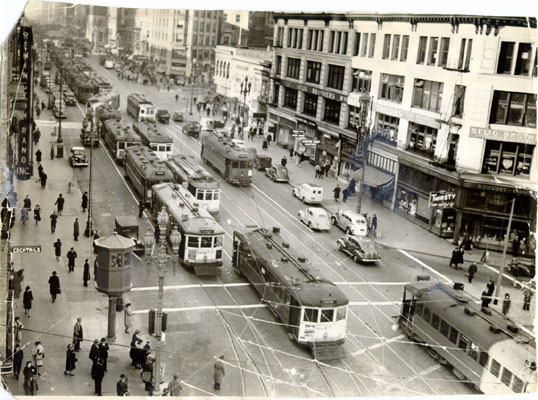 The 'roar of the four.' Taken in the late '30s, Market Street was busy and very interesting. This situation lasted until about 1947, when streetcar lines were being diseaselized and some cases later electrified. Today there are four tracks of trolleybus overhead, but it just doesn't come to the 'roar of the four' days. Photographer unknown.
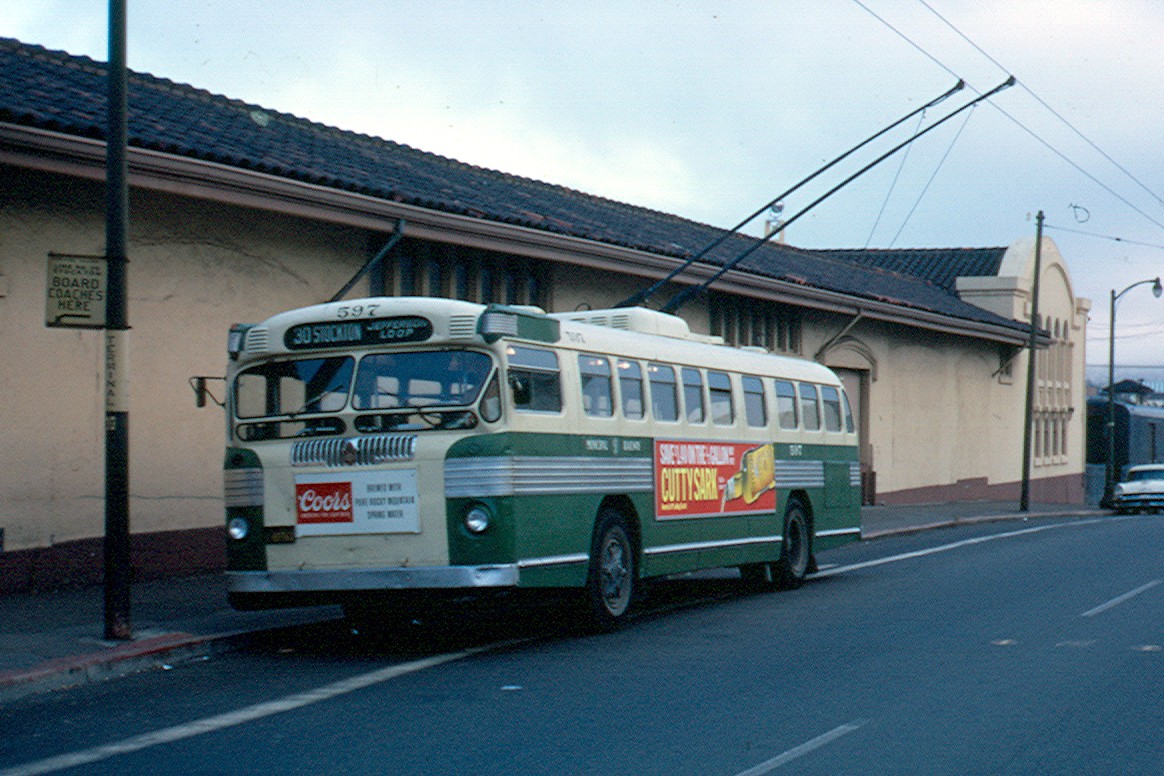 Twin Coach 597 at the Fourth and Townsend terminal. Photographer unknown.
6 FE 1968.
Twin Coach 597 at the Fourth and Townsend terminal. Photographer unknown.
6 FE 1968.
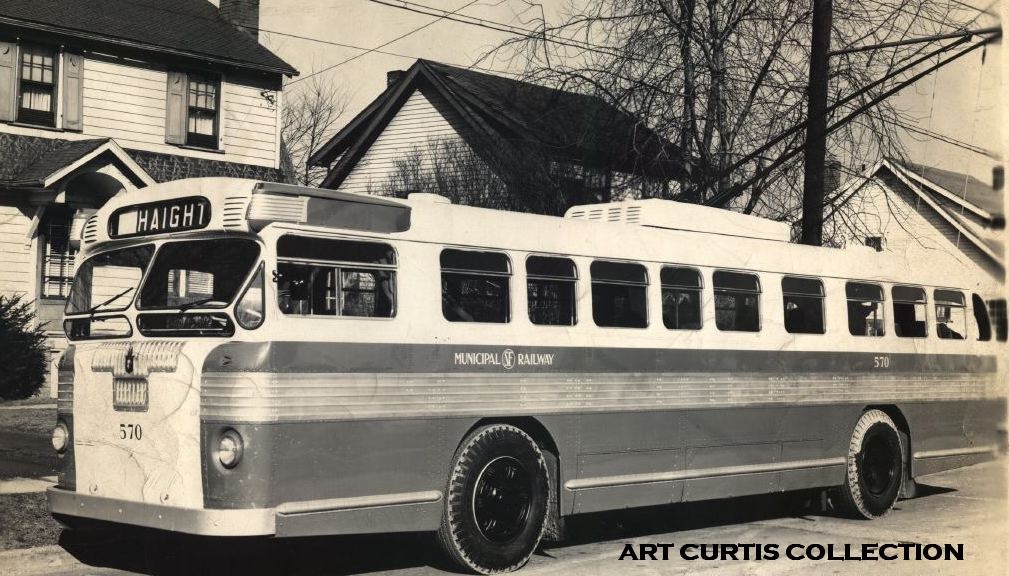 Brand new Twin Coach being tested either in Youngstown, OH, or in Akron
OH. The Twincoach factory was located in Kent, OH, between Youngstown and
Akron. Photographer and date unknown, though it was probably taken in 1948.
Brand new Twin Coach being tested either in Youngstown, OH, or in Akron
OH. The Twincoach factory was located in Kent, OH, between Youngstown and
Akron. Photographer and date unknown, though it was probably taken in 1948.
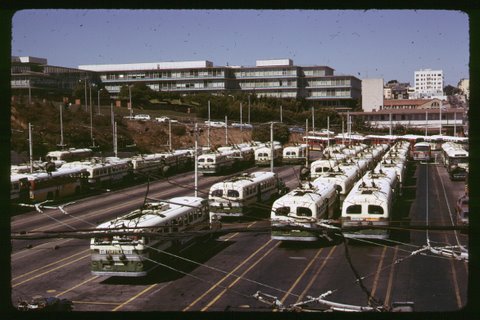 Twin Coaches line up at the Presidio Garage. Photographer and date unknown.
![]()
![]()
This page last updated 26 FE 2009