Creating a Calendar Note
Outlook Web App
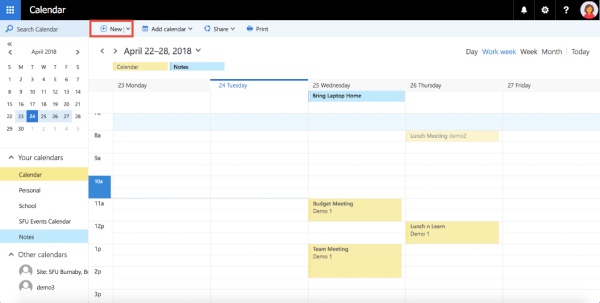
Learn how to create a new calendar for notes and how to book notes into your default calendar in the Outlook Web App (OWA).
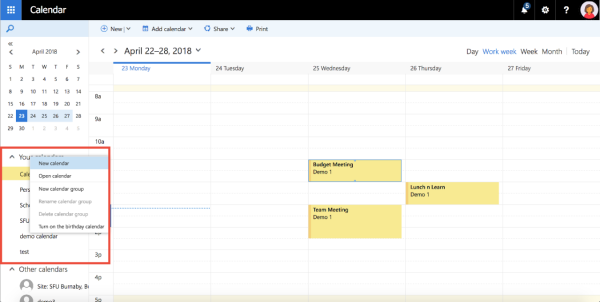
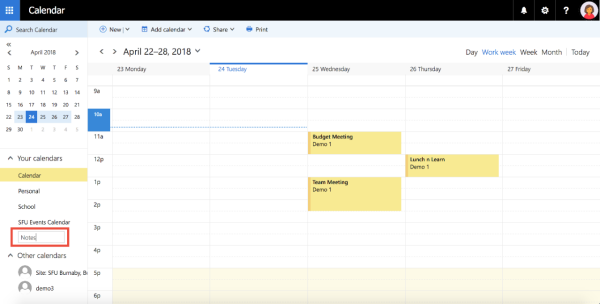
2. This will add a box at the bottom of your calendar list, where you can type in the name of your new calendar. Hit Enter when you are done to finish creating the calendar.
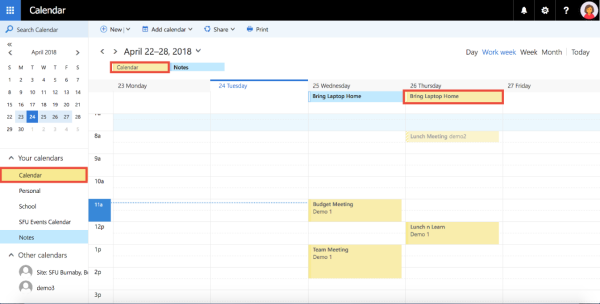
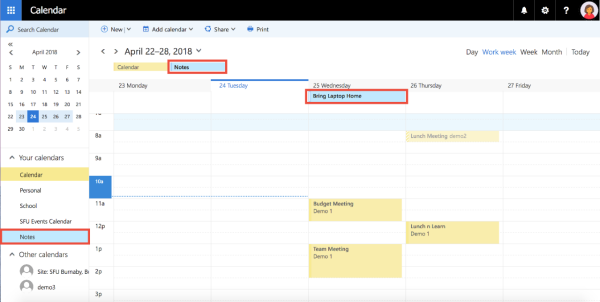
3. You can now enter appointments into this calendar as notes and they will appear overlaid with your other calendars. Note that only your default calendar reports free/busy information and therefore these notes will not interfere with your free/busy. You can ensure they are booked in the notes calendar by checking the colour of the appointment and ensuring it matches the colour of the notes calendar.
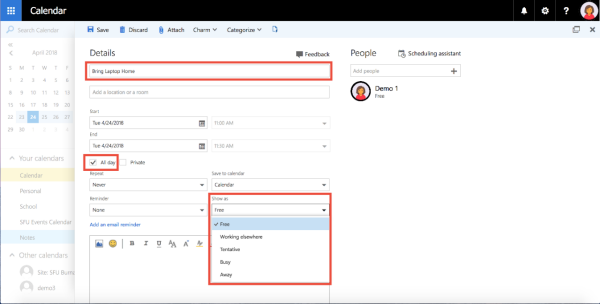
2. Type the name of your note in the appointment title field. If you would like your note to show up at the top of the calendar for that day, check the All Day checkbox. To ensure that the note does not interfere with your free/busy information, set the appointment to show as Free.
3. When you are finished editing the details of your note, click Save.
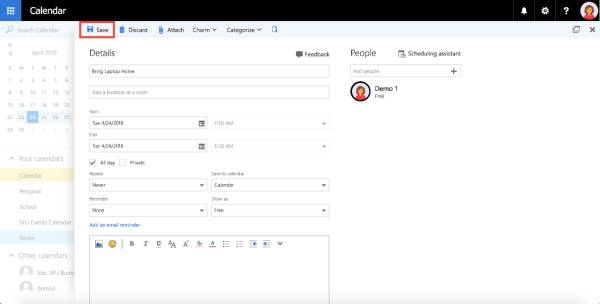
4. You will now see this note in your default calendar at the top of the day you have booked it in, because it is an all day appointment. It will appear in the same colour as your default calendar.