Using Categories
Outlook for PC
In the Outlook for PC application, Categories can help you organize items such as your email messages and calendar appointments. You can apply multiple categories to the same item.
Categories

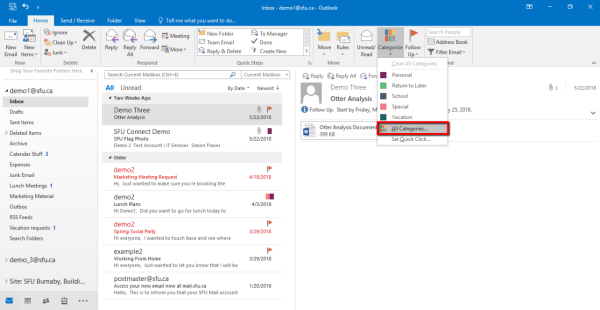
2. Click All Categories... This will open a window in which you can manage your existing categories.

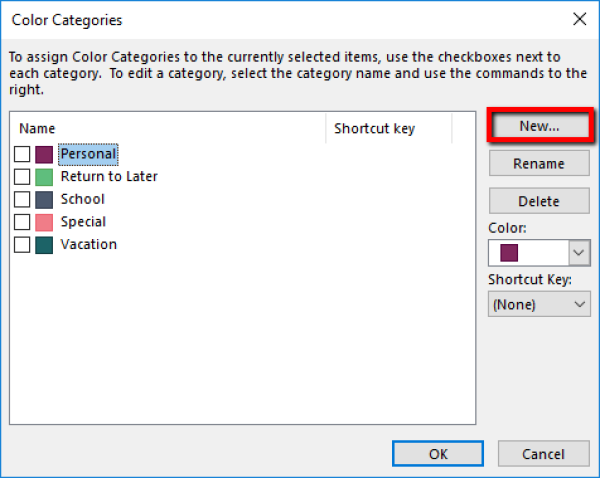
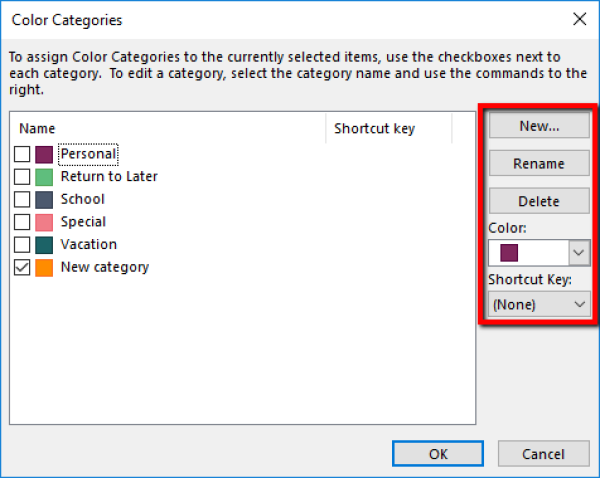
3. This will open a new window with all your existing categories listed. Click New... on the right hand side of the window to create a new category.
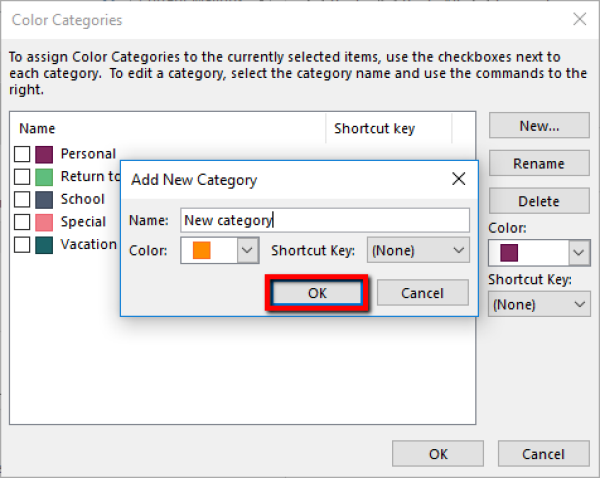
4. Assign a name and colour to your category and click OK. Click OK again in the Manage categories window to finish.
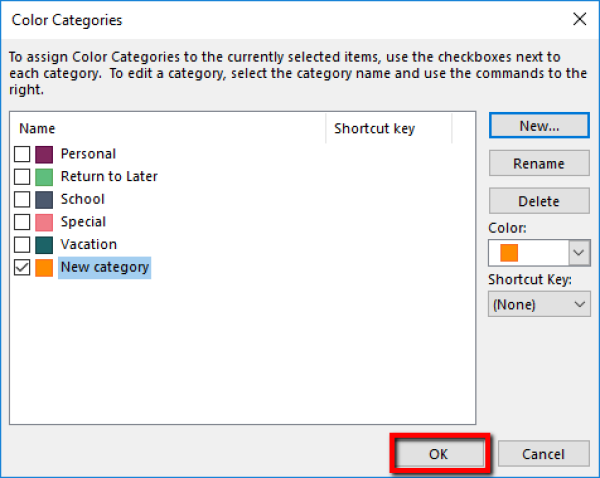
2. Select the category from the list of categories in the window that appears. On the right hand side, you can rename the category, change the colour using the drop down menu, or change the shortcut used for this category.
3. Click OK when finished to save your changes.

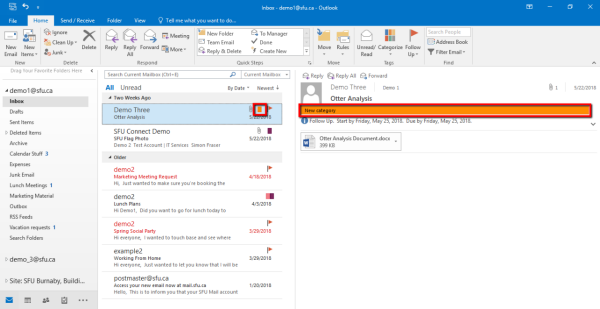
2. This will bring up a drop-down menu with all your categories in it. Select the category you would like to apply to the email.

3. A coloured square will appear on the right hand side of the email that has been categorized in the message list. You will also see the coloured square and the name of the category in the reading pane of that message.
Retrieving categorized items
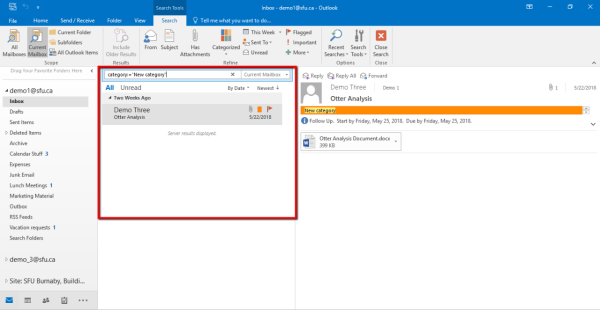
1. To search for all the items that have a specific category assigned to them, click the search bar at the top of the message list. Then, click the Categorized button in the search bar of the ribbon. From this drop-down list, select the category you would like to search for.
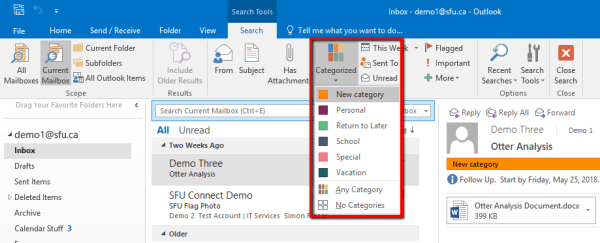
2. This will bring up all items that are categorized with that category in the module that you are searching within.