Delegation
Outlook for PC
Sharing & Delegation
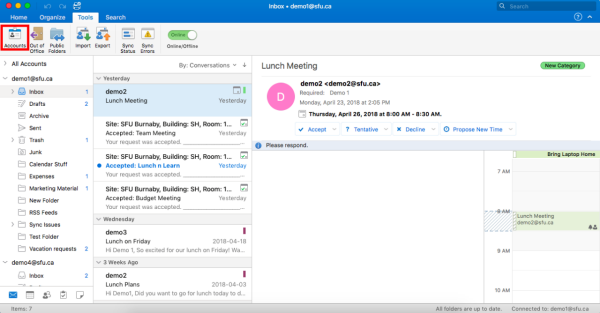
1. To grant Send on Behalf of permission to another user, select the Tools tab above the ribbon, and click Accounts in the ribbon.
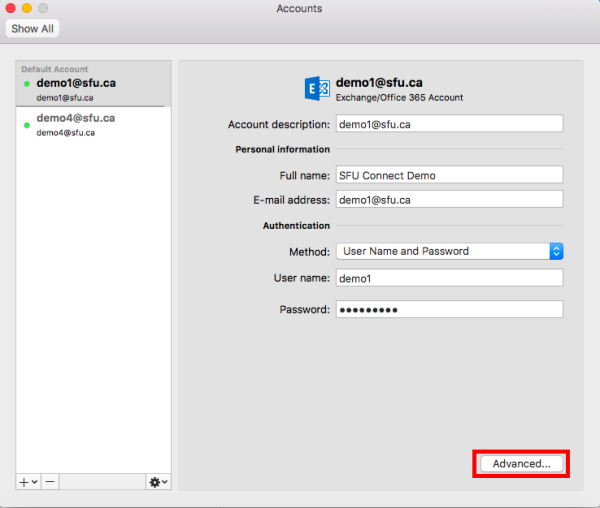
2. A window will open. Ensure that the account selected on the left is the account you wish to set up delegation for. Click the Advanced... button in the bottom right-hand corner.
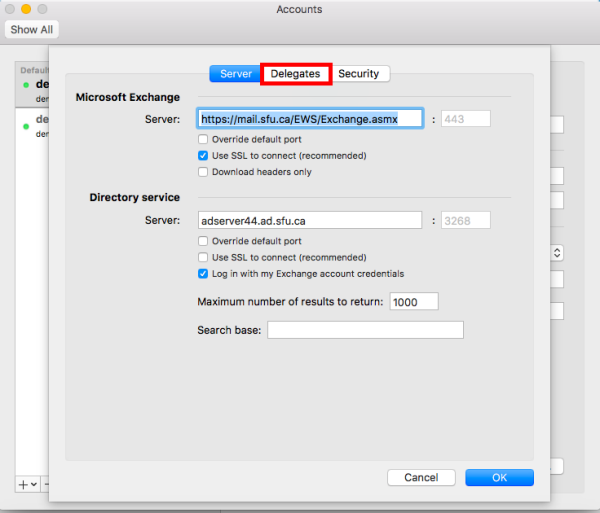
3. Click the Delegates tab at the top.
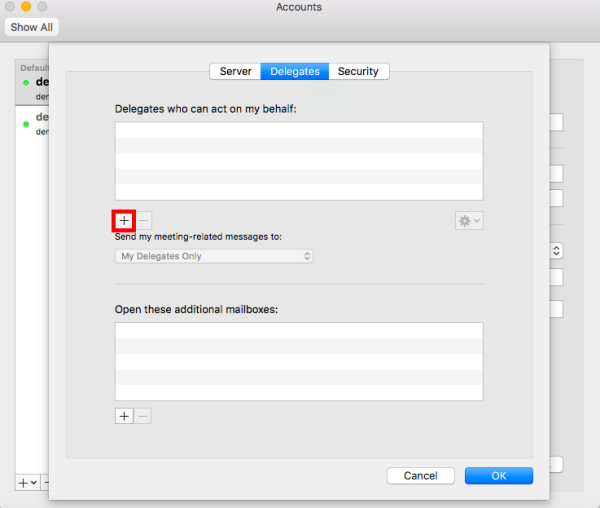
4. Below the ‘Delegates who can act on my behalf’ box, click + to add a new delegate.
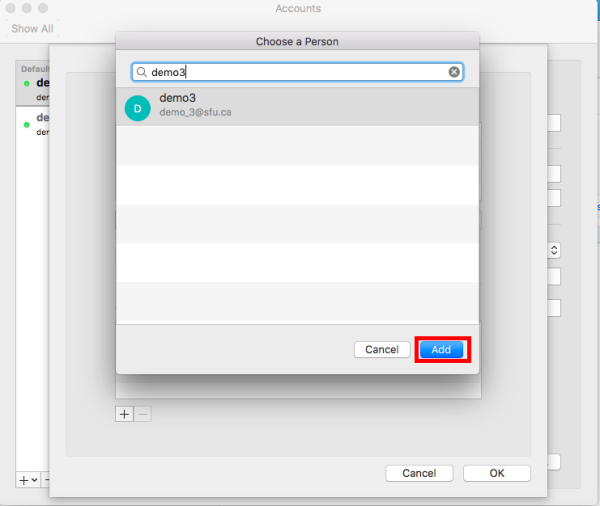
5. In the ‘Choose a person’ window, type the user's name or email address and Outlook will display a list of matches. Click the name of the person who will be your delegate, and click Add.
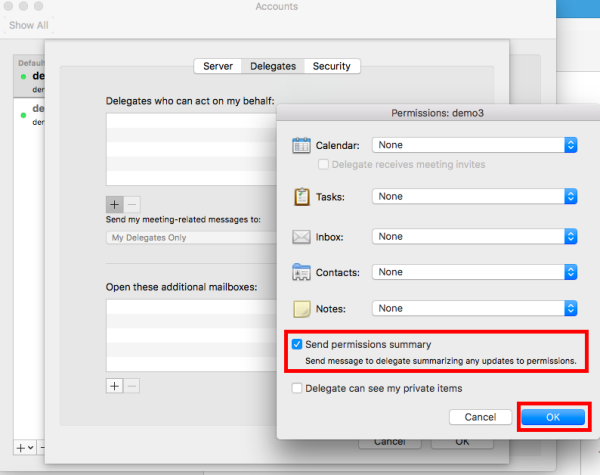
6. In the Permissions dialogue box, you can select different access levels. To delegate Send on Behalf Of permissions, set each drop-down menu to None. To send your delegate an email summary of these permissions, check the Send permissions summary box. Click OK.
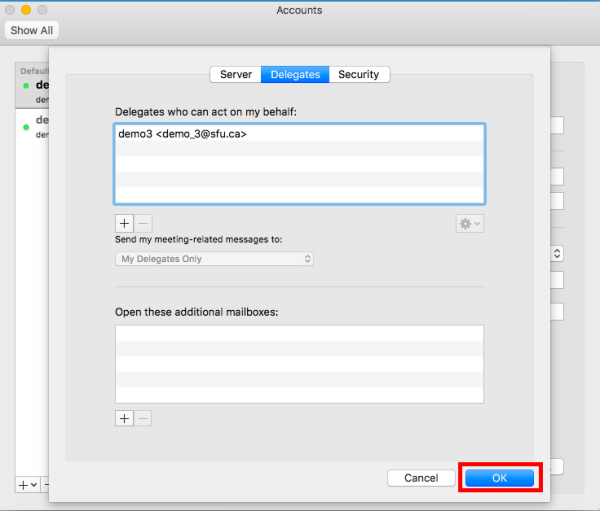
7. Your delegate will now be listed in the box under 'Delegates who can act on my behalf'. Click OK to close the delegates window. Close the accounts window to finish.
If another user has granted you delegate permissions, you must add their account as an account that you are a delegate for. To do so:
1. Follow the steps outlined above to get to the Delegate settings window.
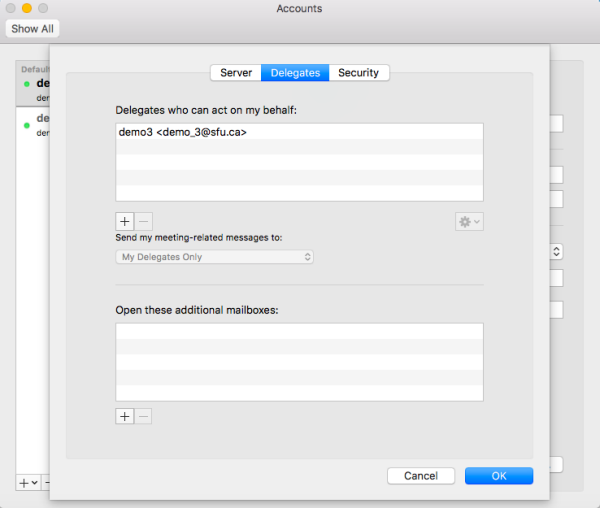
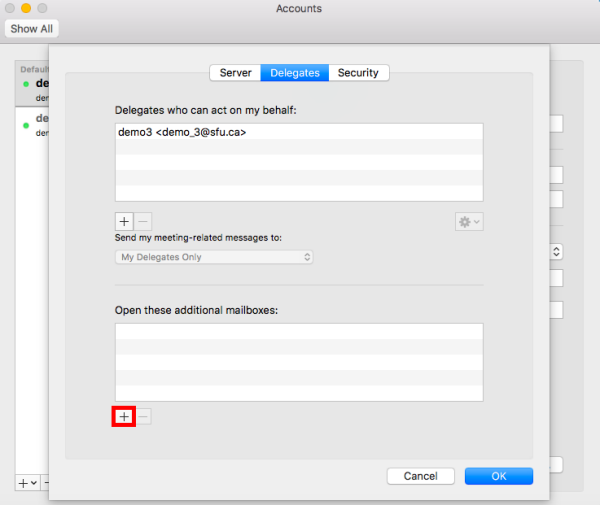
2. Under the ‘Open these additional mailboxes’ box, click + to add a user.
3. In the ‘Choose a person’ dialogue box, type the user's name or email address and Outlook will provide possible matches. Click the name of the user who you will be a delegate for. Then, click Add.

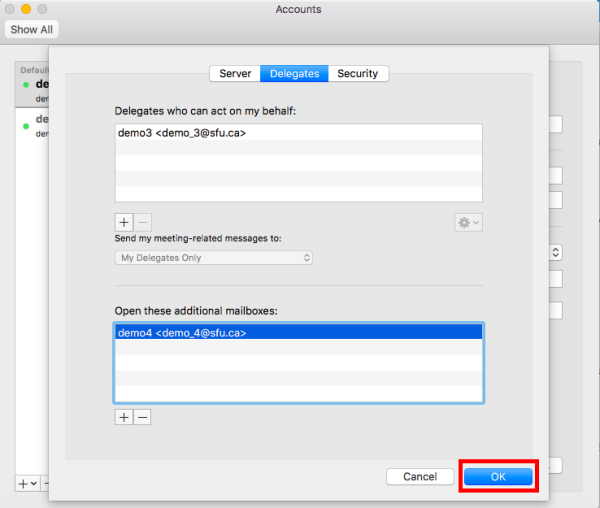
4. The user you are a delegate for should now be listed in the 'Open these additional mailboxes' box. Click OK to finish and close the delegates dialogue box. Close the accounts dialogue box.
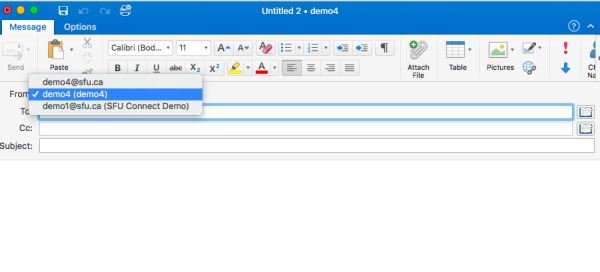
5. You will now see their name in your From drop-down menu when composing a new message. When you select their name from this list, you will be sending on behalf of them.
Delegating Your Calendar
1. Refer to the Sharing Calendars page for step-by-step instructions on how to share your calendar and grant Delegate permissions. When you grant someone delegate permissions on your calendar, they will be able to perform all the same actions as you can, and they will receive all meeting invitations and updates for your calendar.