Creating and Managing a Task
Outlook Web App
Learn more about how to create and manage tasks in the Outlook Web Application (OWA).
Using a desktop application?
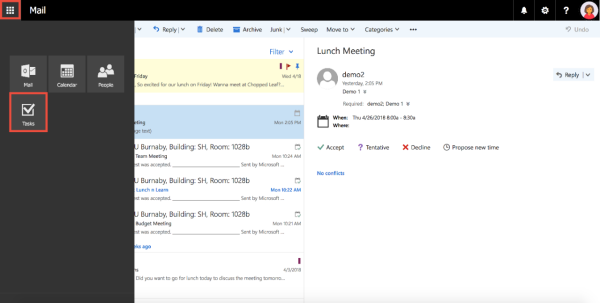
Tasks
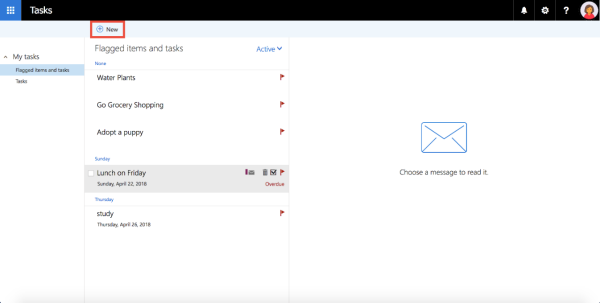
2. Within the Tasks module, click the New button in the top ribbon.
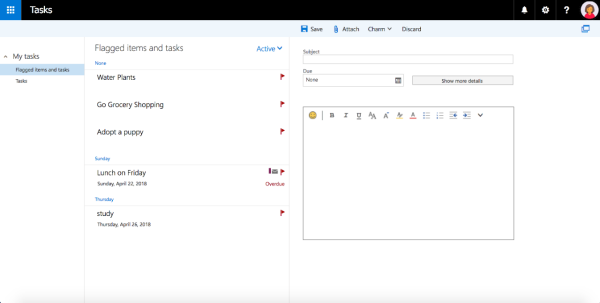
3. This will open a composing window on the right-hand side where the reading pane was. Here you can enter the subject of your task, set the due date, and add notes into the body of the task.
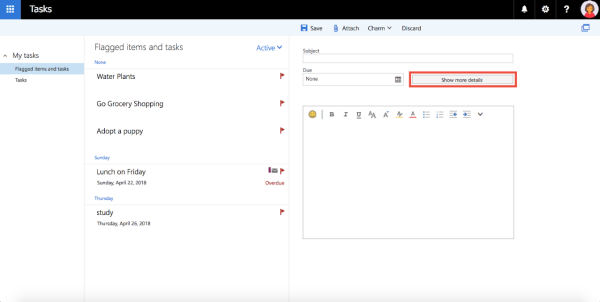
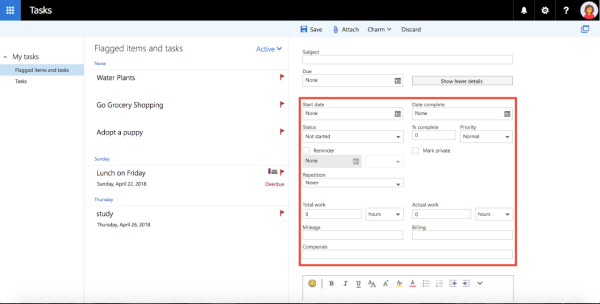
4. Clicking the Show more details button will provide you with more details for creating your task such as the status of the task, reminders for the task, etc.
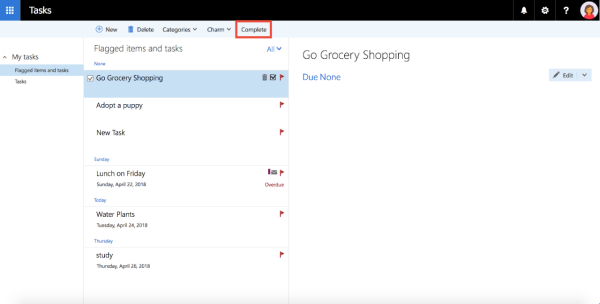
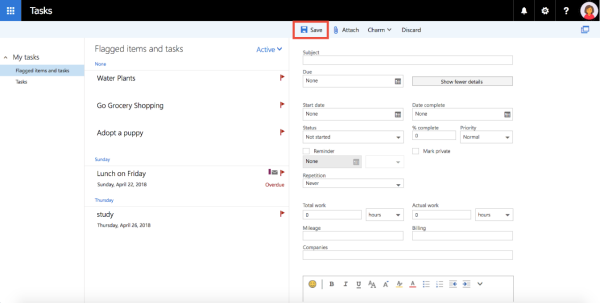
5. When you are finished editing the details of your new task, click Save in the top ribbon.
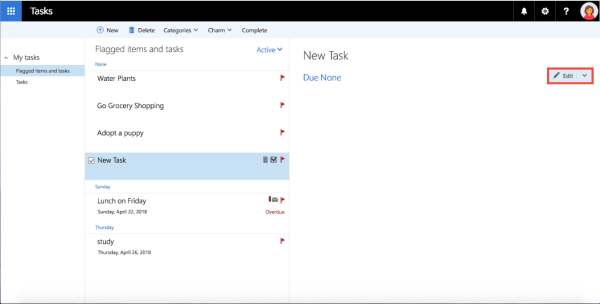
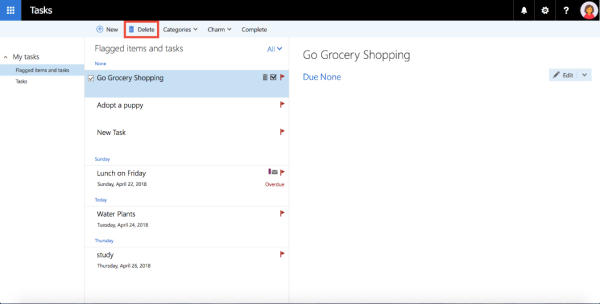
2. This will open up the same task composing window as when you create a new task. Edit the details of your task as desired and click Save when finished.