PROJECT 2001
"The Shop"
I have always wanted a shop, a place to get away from it
all, a place to build whatever pathetic little
thing I wanted. In 2001 I finally decided to bite the bullet and
go for it. I initially thought I could complete the building in 6 weeks
... it ended up taking over 3 months to finish the outside of the
building.
My shop is placed about 80 feet behind my house, and
about 200 feet from the closest dumping location. This made hauling sand
one of the most difficult jobs of the project. I started on April 1 so
the ground was quite wet when I began moving the sand with a wheel
barrow. After about a dozen loads my arms felt like they would fall off
and I realized that I wouldn't finish until October at the rate I was
going.
So I decided to rent the "buggy" that you see in this
next picture.
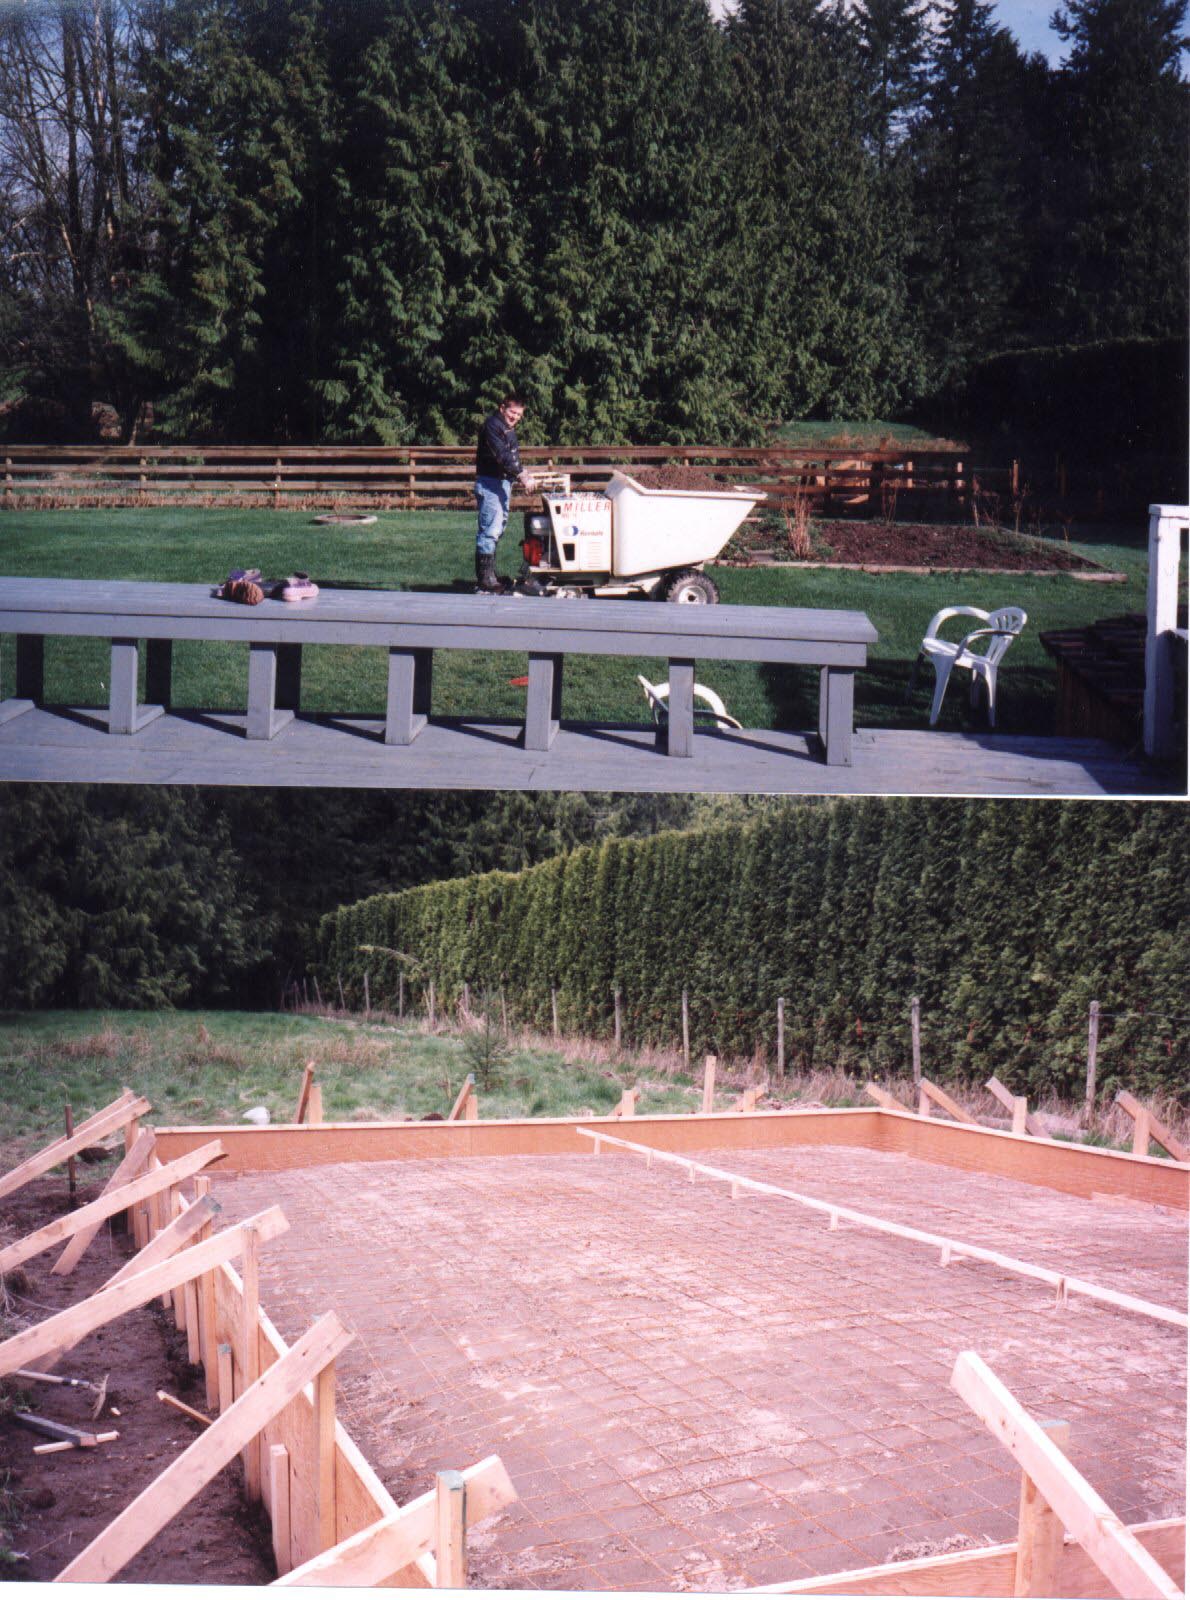 I'm
smiling in the top picture, but moments later I got the stupid buggy
stuck in the hole. With a lot of sweat I finally got it out, and started
back at it ... only to get it really stuck on the second load! As the
day wore on, I recruited my father, my neighbor, and his tractor to
help. Finally, after about 7 hours and four dump truck loads later, I
got the sand in. After compacting, and placing the wire mesh in, I was
ready to pour the concrete floor.
I'm
smiling in the top picture, but moments later I got the stupid buggy
stuck in the hole. With a lot of sweat I finally got it out, and started
back at it ... only to get it really stuck on the second load! As the
day wore on, I recruited my father, my neighbor, and his tractor to
help. Finally, after about 7 hours and four dump truck loads later, I
got the sand in. After compacting, and placing the wire mesh in, I was
ready to pour the concrete floor.
I made the forms myself with plywood made from my old
high school friend Kevin Cunningham's mill. (I also used this for the
upstairs floor and the inside walls ... great stuff.) It was my
first time using the "uni-floor" design where the walls and floor are
all poured at the same time. (I did this to minimize the number of times
I'd require a pump truck.) My big mistake was not fully appreciating how
much force would be put on the walls. As you can see from the bottom
picture, I braced my forms from the side ... big mistake. Next time,
I'll brace them from behind.
The pour took place on a perfect April day. I had been
watching the weather reports for days and was shocked to wake up to a
changed forcast of rain. I quickly built a frame with boards and rope to
throw a tarp over, but as it turned out the weather was perfect: dry but
overcast.
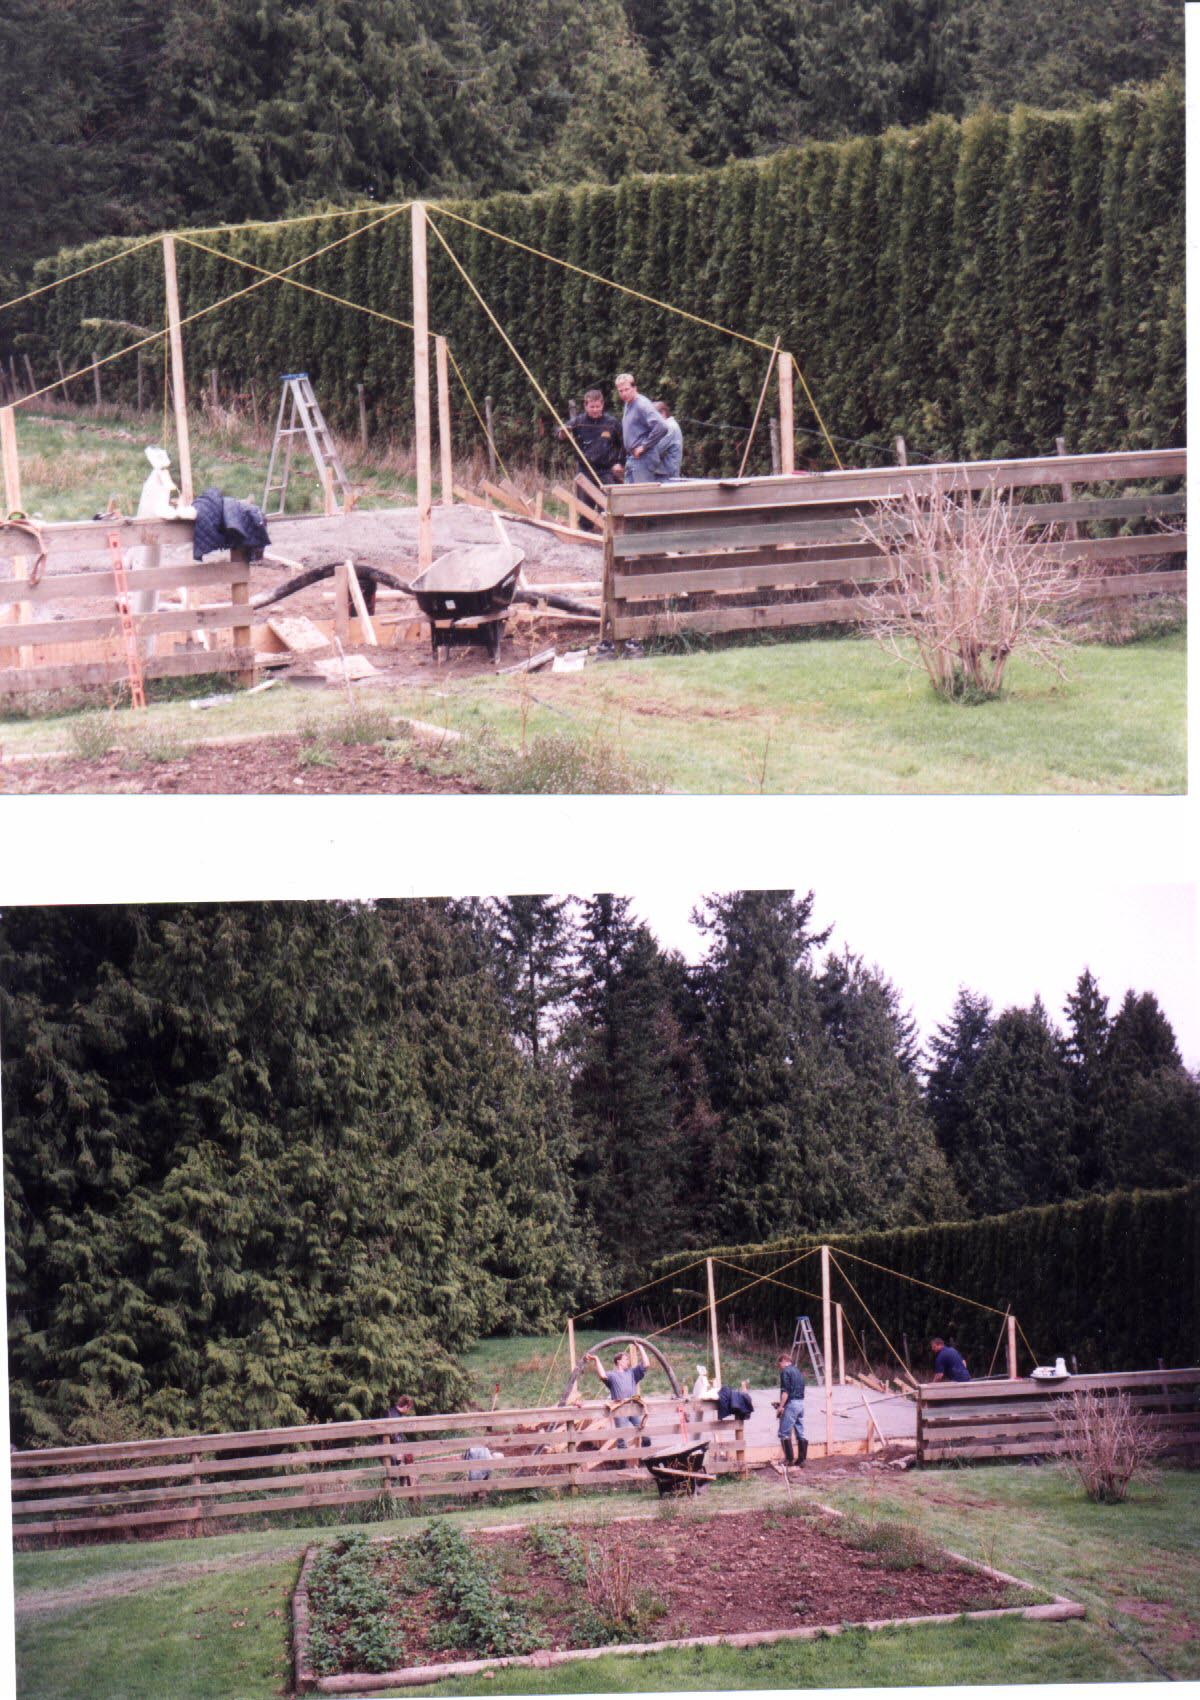
I had two of my friends (Dave and Vern) over to give me a
hand. In the top picture, my form has just broken from my misplaced
brace, and both Dave and Vern are looking on. Dave is thinking "what
kind of person would ever build a form like this!". Vern, always the
optimist, is saying "well, you could put a Bay window here". Meanwhile,
I'm in my academic mode trying to think up explanations for why anyone
would brace a form from the side. It was a terrible moment, and one
where I wanted to pack the whole project in. As it turned out, once the
building was put up, you can barely tell where the floor swells. A few
shrubs down the road will all but eliminate the memory of the awful
moment.
In the bottom picture you can see big Dave trying to get
the concrete out of the hose once we had finished. That hose
weighs about 200 pounds, and Vern is a little angry at me at this
point because just moments before the two of us had tried the same
thing. I tripped though and left him holding the entire tube, which
immediately crushed him. That's why you have friends over for the
pour. After the concrete sat for a couple of hours I wrapped it in
burlap, watered it down, wrapped it in plastic, and then let it sit for
11 days. This allows the concrete to cure from inside and makes it
extremely hard. As of this writing I still do not have a crack in the
floor, which is unusual for a slab of that size.
On to the framing. Framing is one of those fast jobs that
impresses your kids. "Wow dad, you're almost finished" was Emily's
reaction after the third wall went up. Of the three kids, she was the
one who showed the most interest in the project.
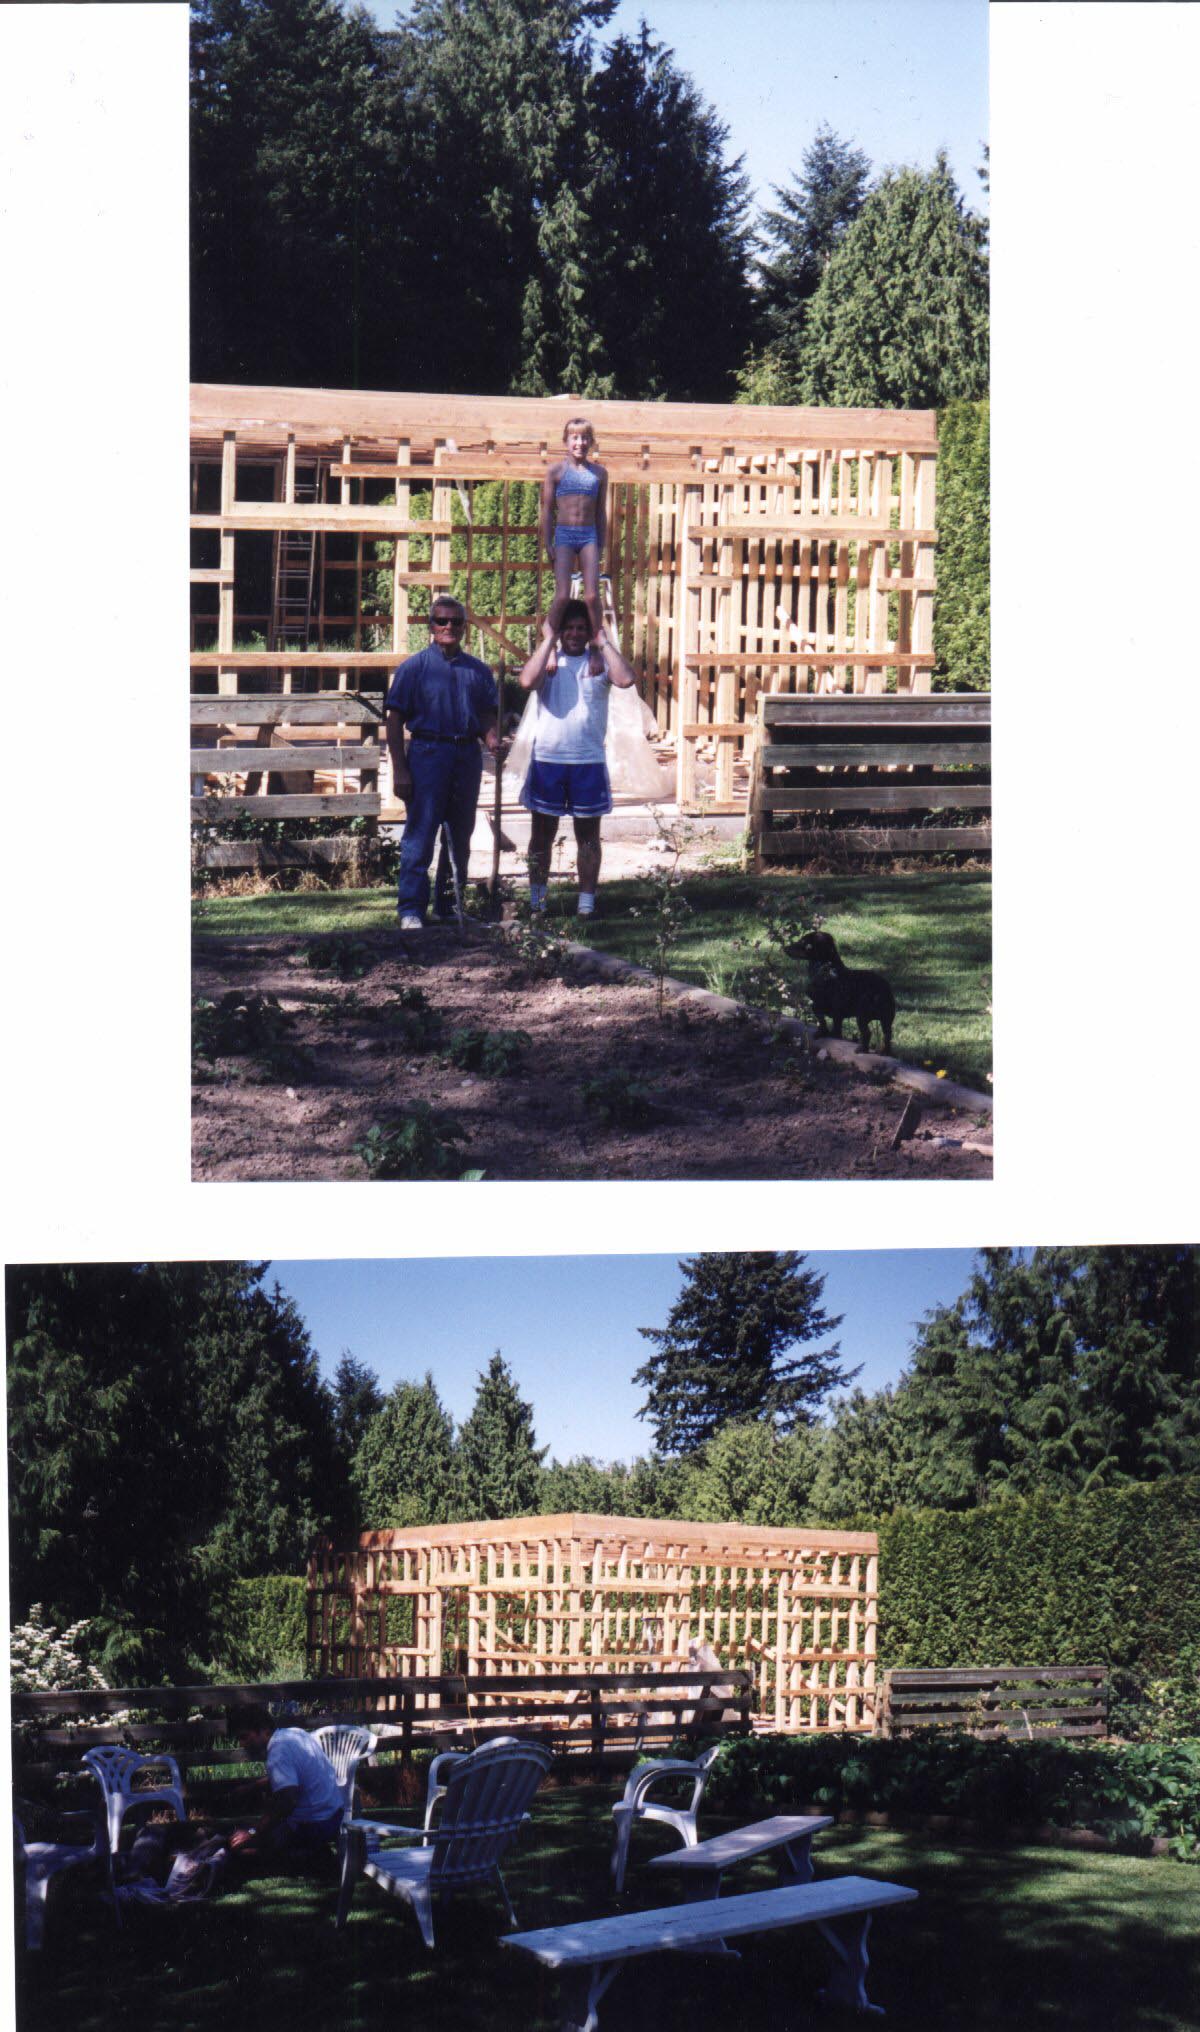
The top picture is with my dad and Emily. Note the six
pack on Ems. Most people think this comes from her 18 hours every week
training in the gym, but the real reason is genetic ... paternal
side. It is hard to tell from the photo, but I've made the shop
completely open on the main floor. This allows for lots of room inside,
and I don't have to worry about posts when I'm swinging a sheet of
plywood around. It also means I have 20 foot beams in the ceiling, and
putting them up by myself was no easy task.
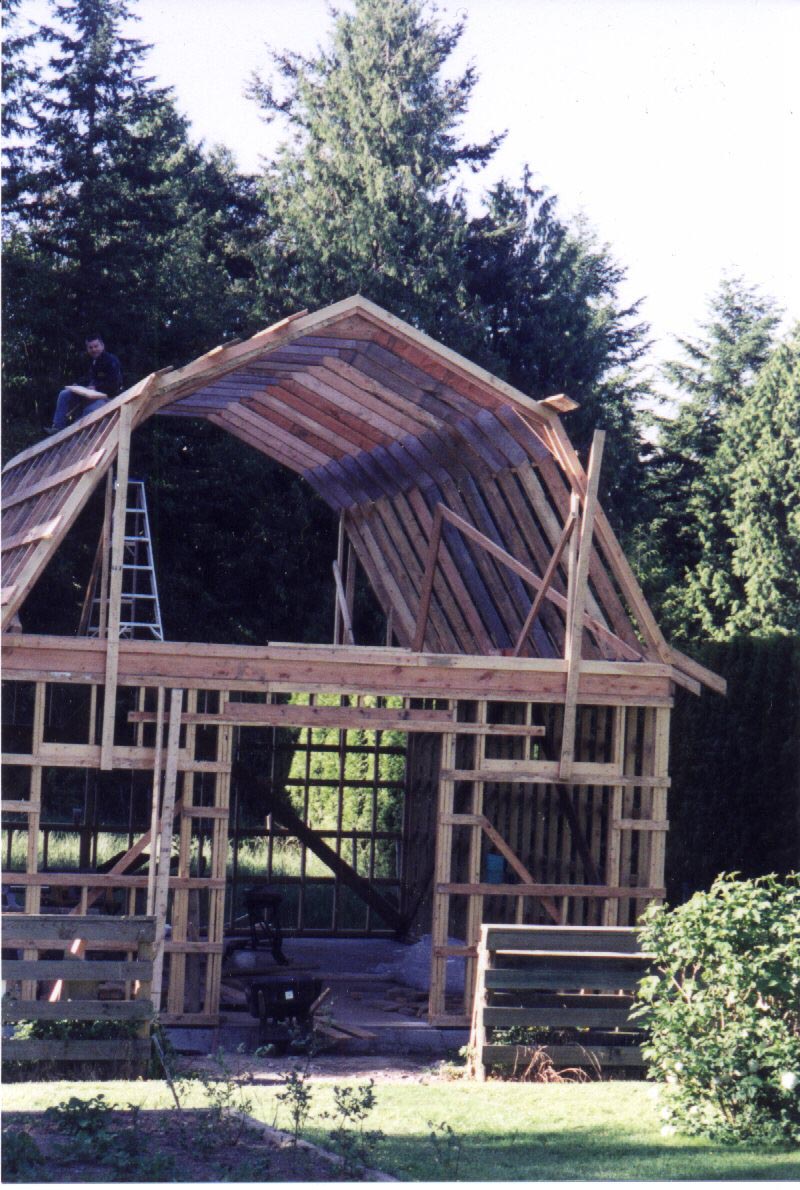
On to the rafters.
 I
almost didn't include this picture because of my fat stomach hanging
out, but it's the only early rafter shot I have. Originally I was going
to put a simple gable roof on my shop, and use the attic for storage. I
caved in to peer pressure, however, and put a hip roof on. The hip roof
not only gives a large room upstairs, it also
I
almost didn't include this picture because of my fat stomach hanging
out, but it's the only early rafter shot I have. Originally I was going
to put a simple gable roof on my shop, and use the attic for storage. I
caved in to peer pressure, however, and put a hip roof on. The hip roof
not only gives a large room upstairs, it also
makes a very strong roof. The trick to making it look
right is to i) have a 2-1 pitch on the bottom and a 1-2 pitch on the
top, and ii) make sure the bottom is longer than the top. I drew up
several designs with my father's help before I settled on this one. If I
had to do it
all over again, I'd make one minor change ... but I've got
to get over that. That's my wife's friend Barb giving me a hand. She
wanted to try some nailing and spent about 15 minutes putting one of the
gussets on. I think she doesn't choke up on the hammer enough.
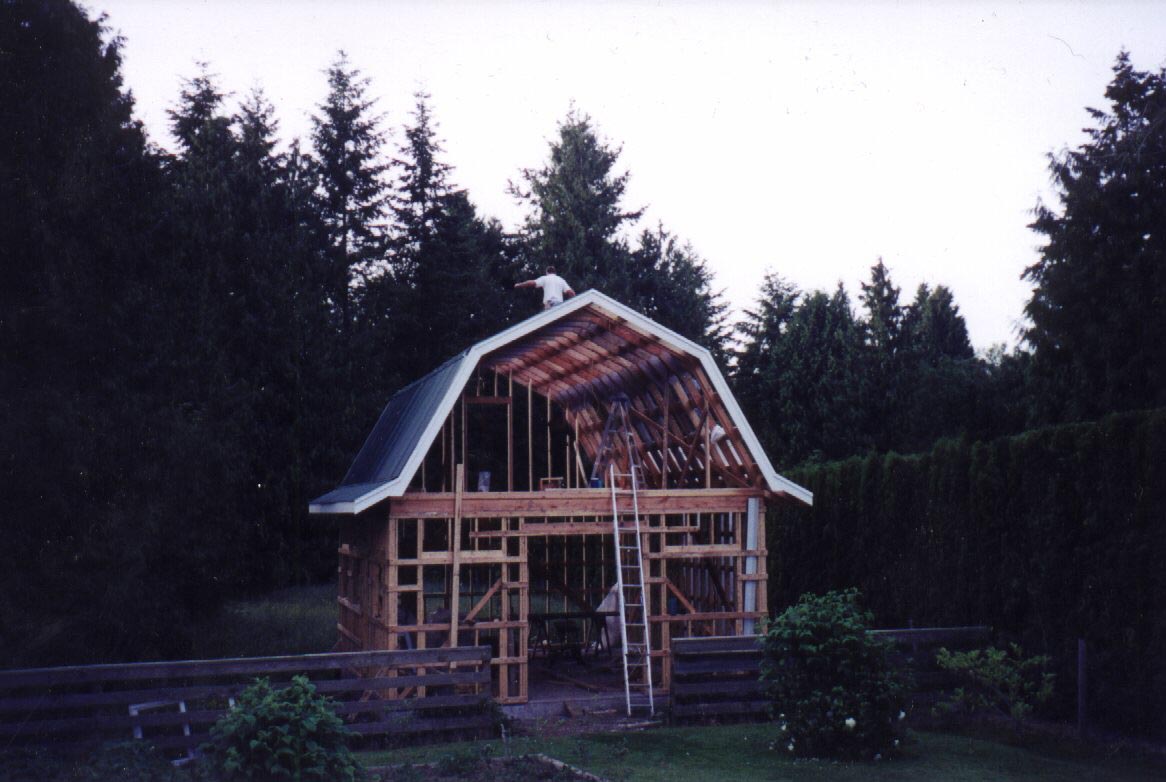
Once the rafters were up I put the strapping on. I used
rough 1x8 Douglas Fir because it was so cheap. Unfortunately it was also
very heavy. I think I lost 10 pounds lifting them up on the roof.
Next came the facia boards, by far the scariest part of
the job since the rafters were still quite wobbly and you have to hang
out over the building. Then came the tin, the most expensive part of the
job. I was going to put shakes on, but after my experience with falling
off my earlier shed roof, and with the steeper hip roof construction, I
opted for the easier tin. It looks ok, and will last much longer.
Speaking of falling, you'd think from the picture below I must have
fallen many times; however, I only fell once and that was after the roof
was completed.
I still can't believe how stupid I was to fall. It rained
one night for the first time since the roof was on, and so in the
morning I rushed out
to see if there were any leaks. I was shocked when I found
a small leak near the center of the floor. I ran outside and saw that I
had
simply missed a screw in one of my predrilled holes.
(Hint: when drilling the holes, have all of the sheets stacked on top of
each other. This puts the holes in the same place for each sheet and
makes a nice neat row of screws on the roof. It's also faster.) Without
thinking, I grabbed a screw and ladder, and scrambled up the roof. I had
enough momentum and enough grib on the small screw heads to get me
to the second bend in the roof line. As soon as I placed
the screw in the hole two thoughts came to mind: "I forgot my drill" and
"I'm about to fall." I instantly slid down the wet tin thinking "this is
going to hurt". As I went off the end of the roof I tried hitting the
ladder with my feet. Unfortunately, one foot went between the rungs, the
other missed the ladder completely ... ouch. I continued to fall and
landed on a piece of big-O pipe in the grass ... the ladder landing on
me moments later. It hurt, I cut my hand, and my left leg now goes to
sleep much faster, but all things considered I came out "not half bad".
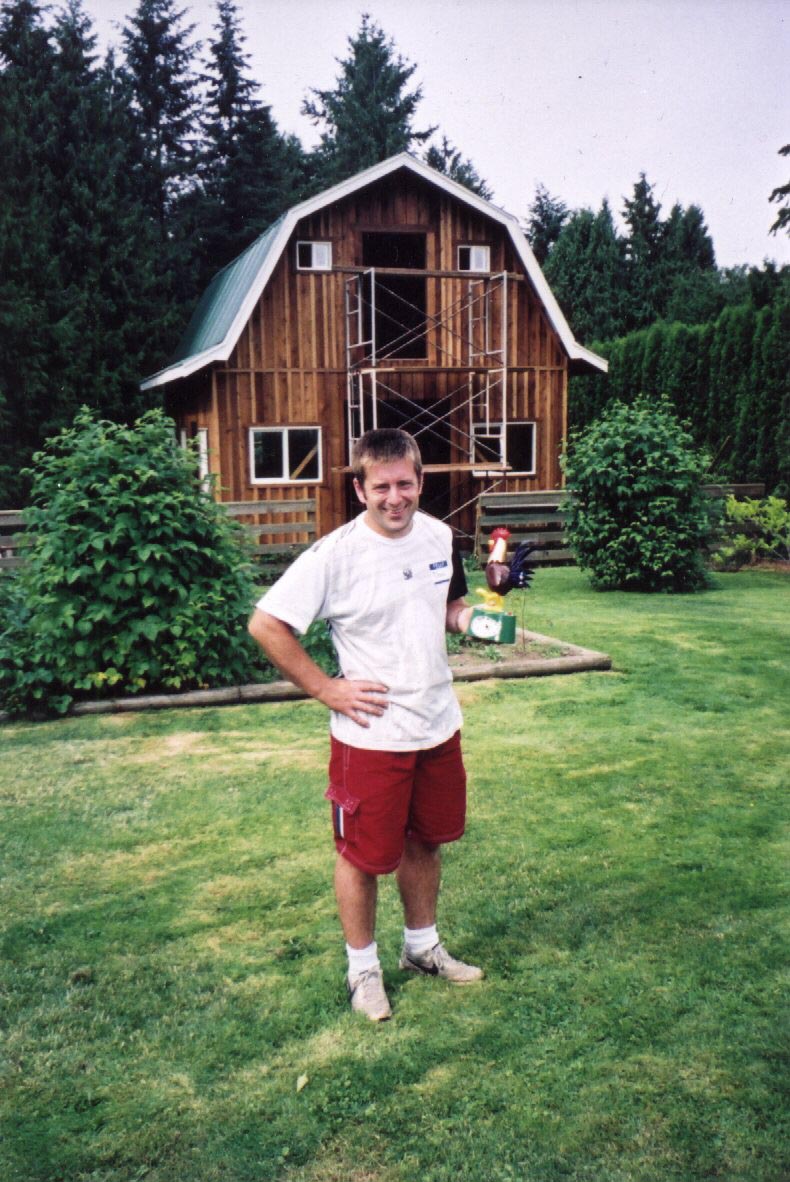
The hip roof also makes my shop look like a barn. Perhaps
that's why my friend Zane gave me this beautiful rooster clock. (note
the scaffolding I acquired after the fall!)
As with my shed out front, I used the vertical board and
baton siding. This is not only a cheap form of siding, I think it also
looks great on an out-building.
Here are some pictures of the building at lock-up.
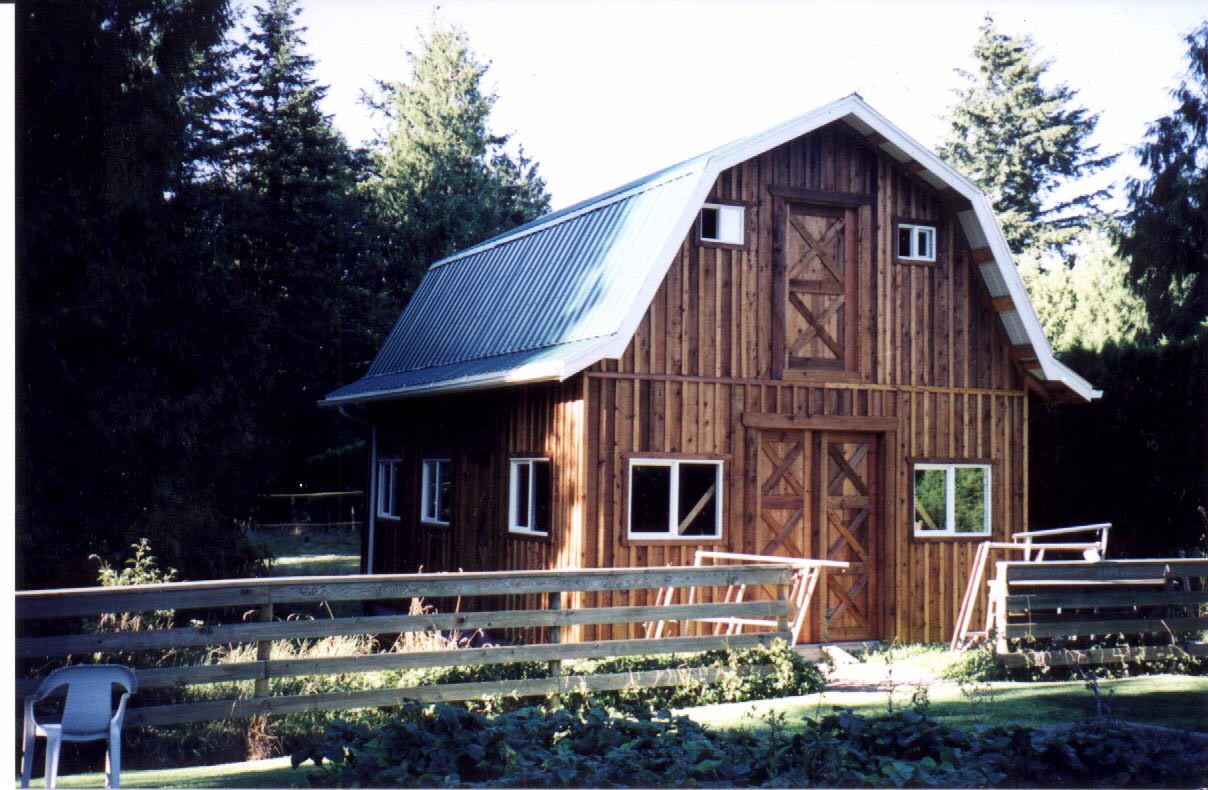 Front
(notice all the custom doors!).
Front
(notice all the custom doors!).
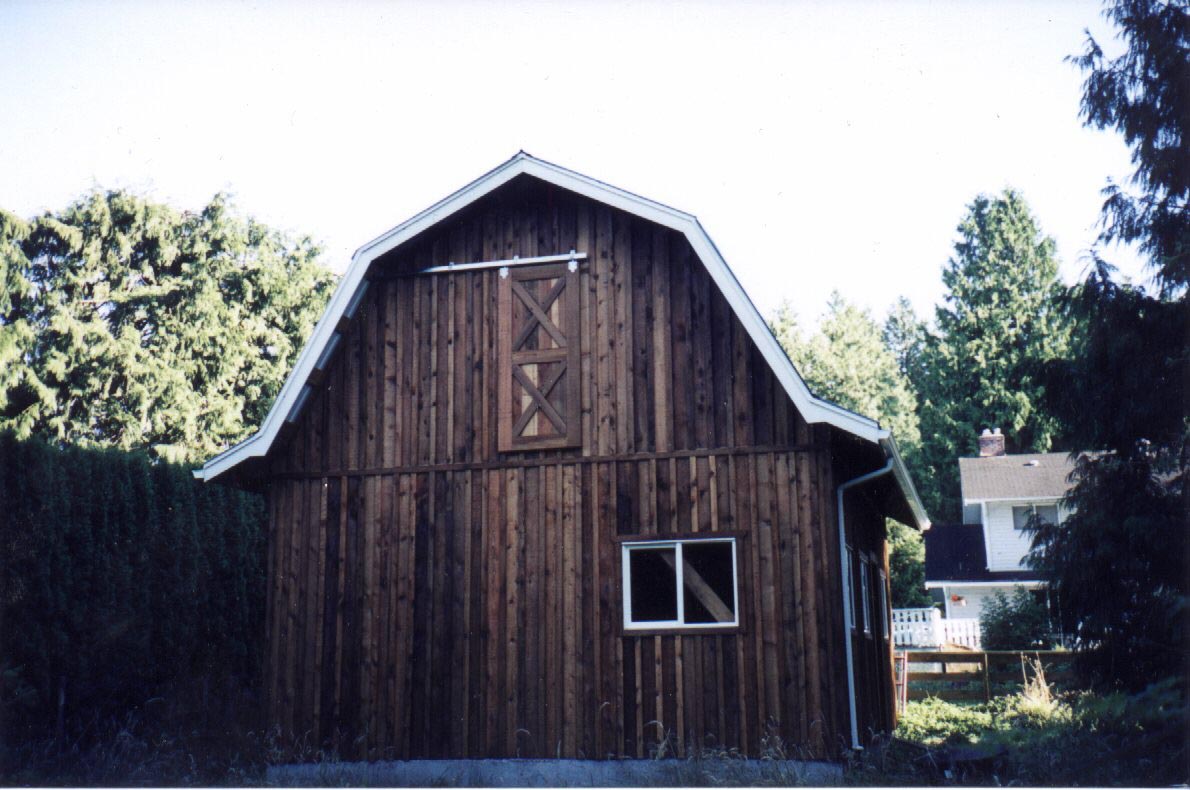 Back.
Eventually I'll put a set of stairs on this back side.
Back.
Eventually I'll put a set of stairs on this back side.
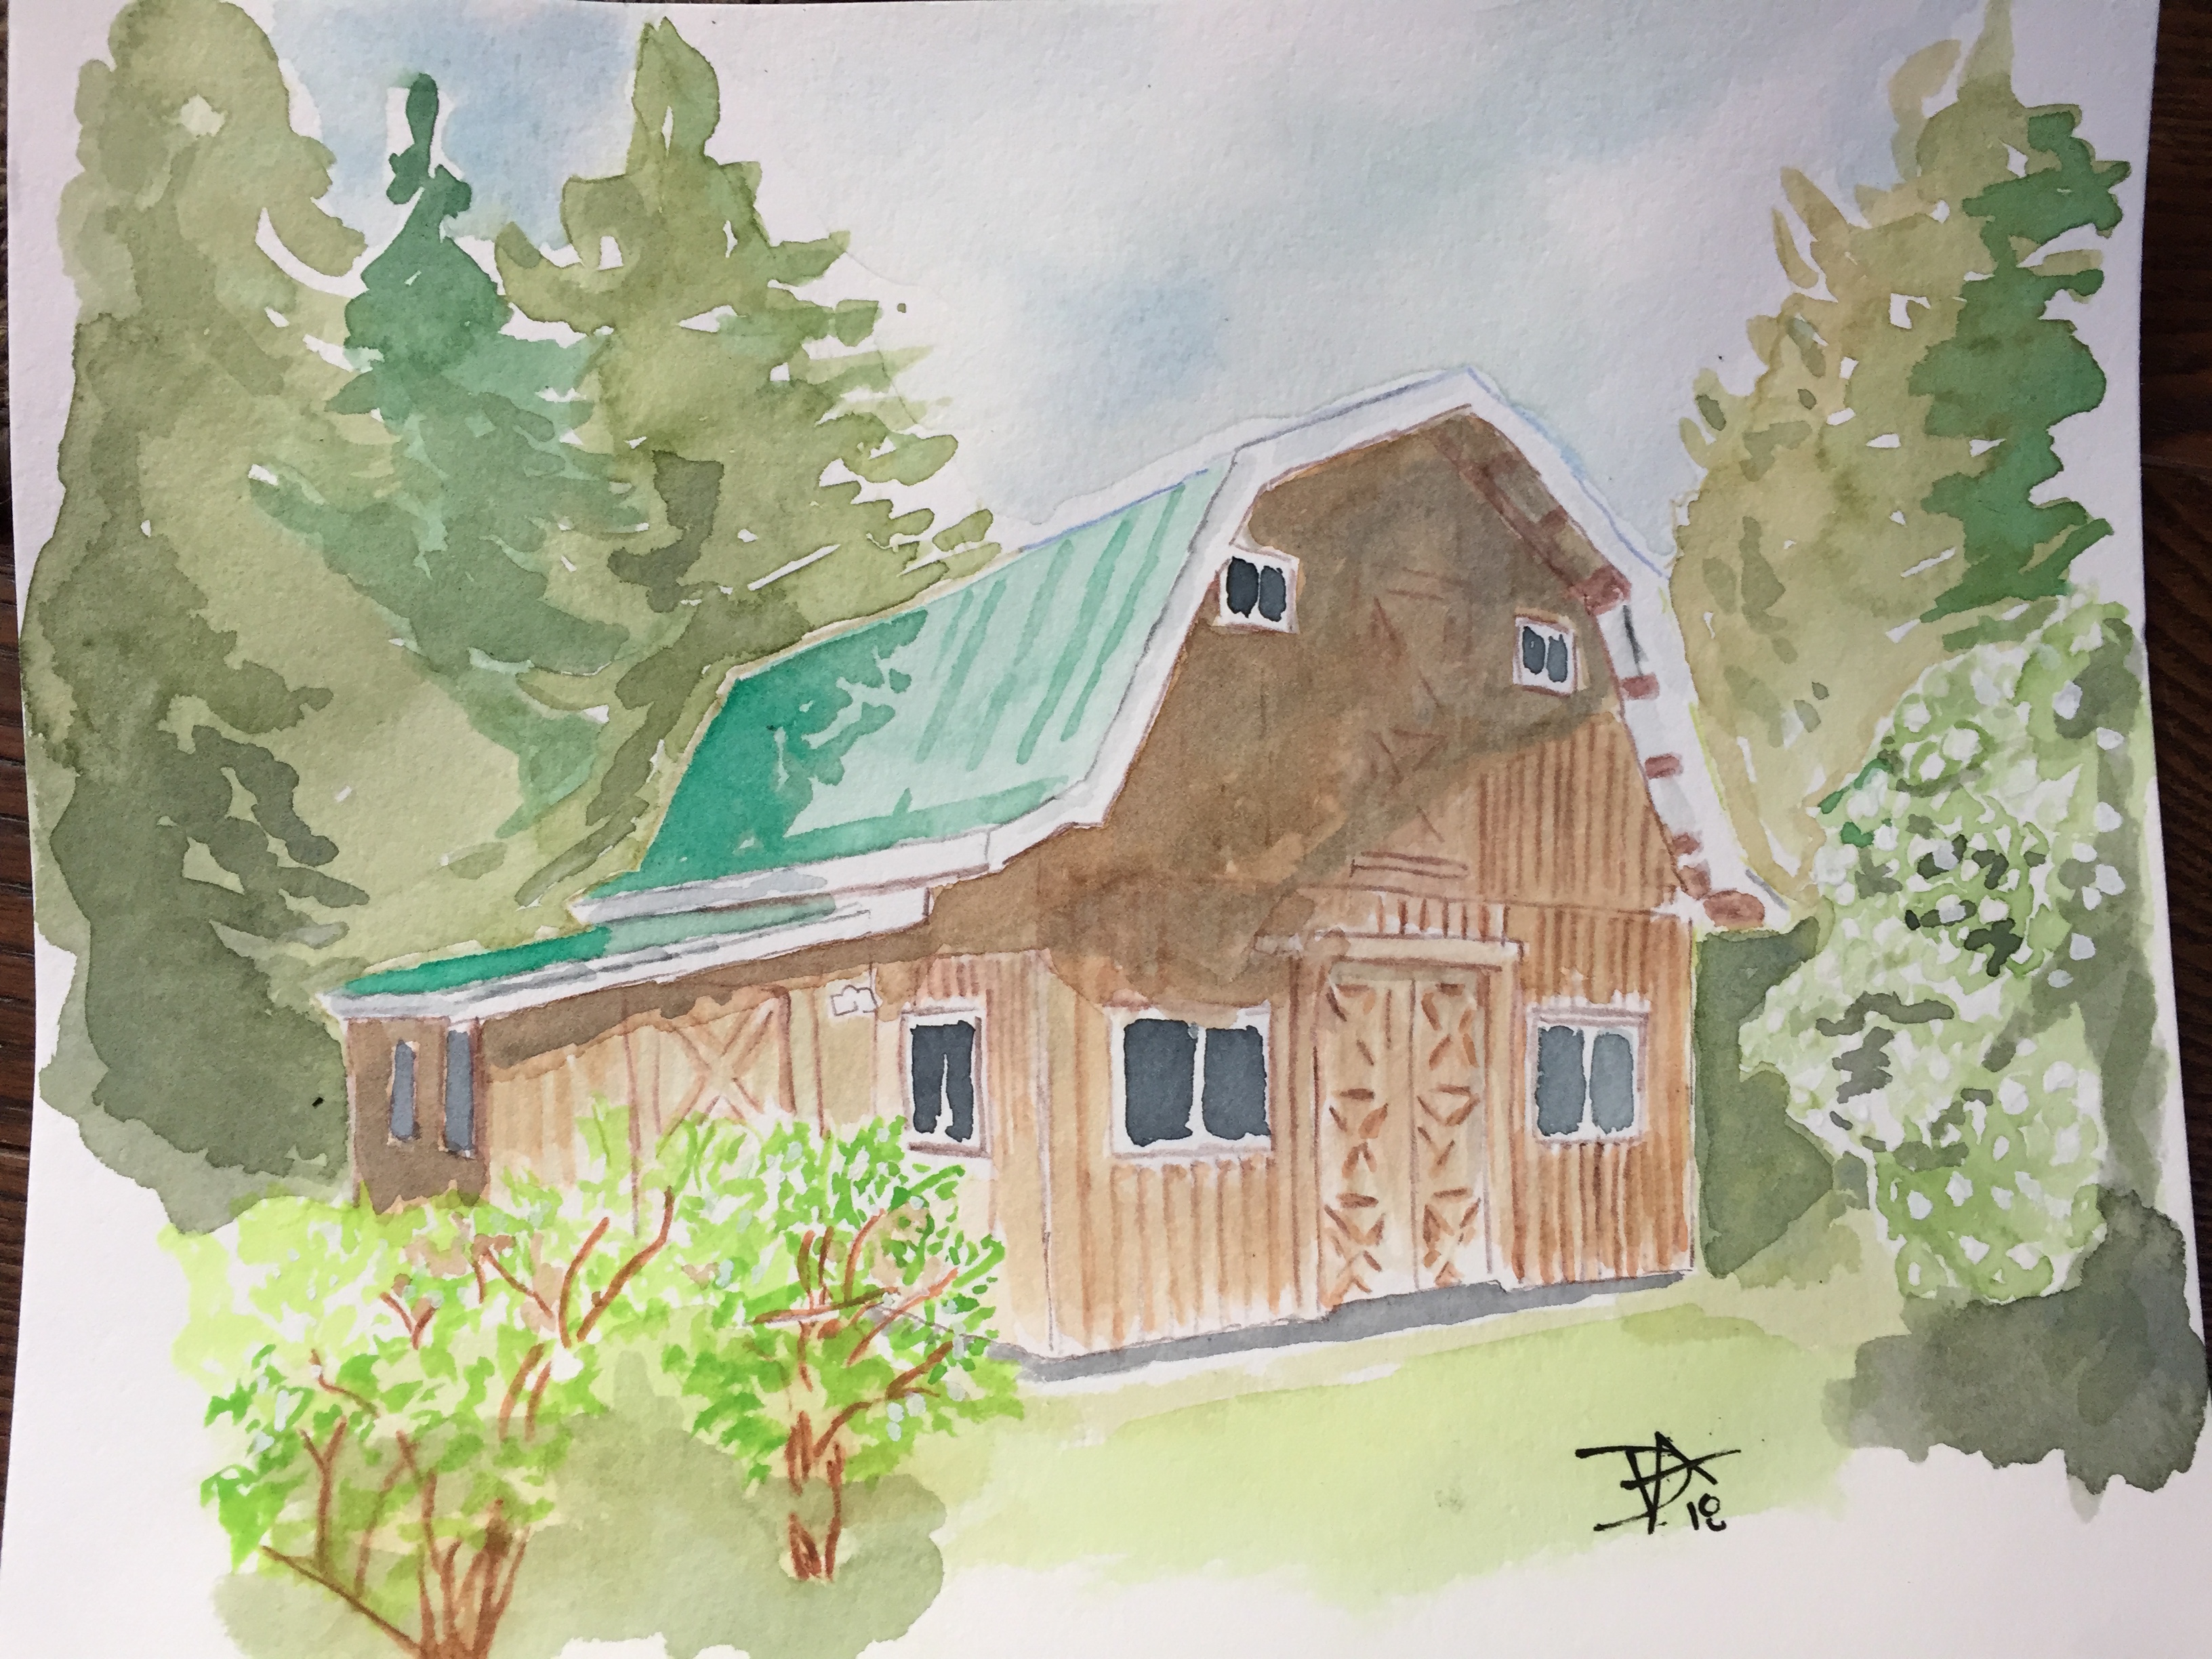
And finally, here's a sad excuse for an artistic look at
the building:

In 2017, I decided to put an addition to the good ol' shop. I wanted an
office where I could keep my plans and other things away from the sawdust.
I also wanted a place to store wood, outside of the building zone. My
wife thought that if I'd just keep my shop clean, I could have both. She
was probably right, but that's not as much fun. Here is the
finished product.
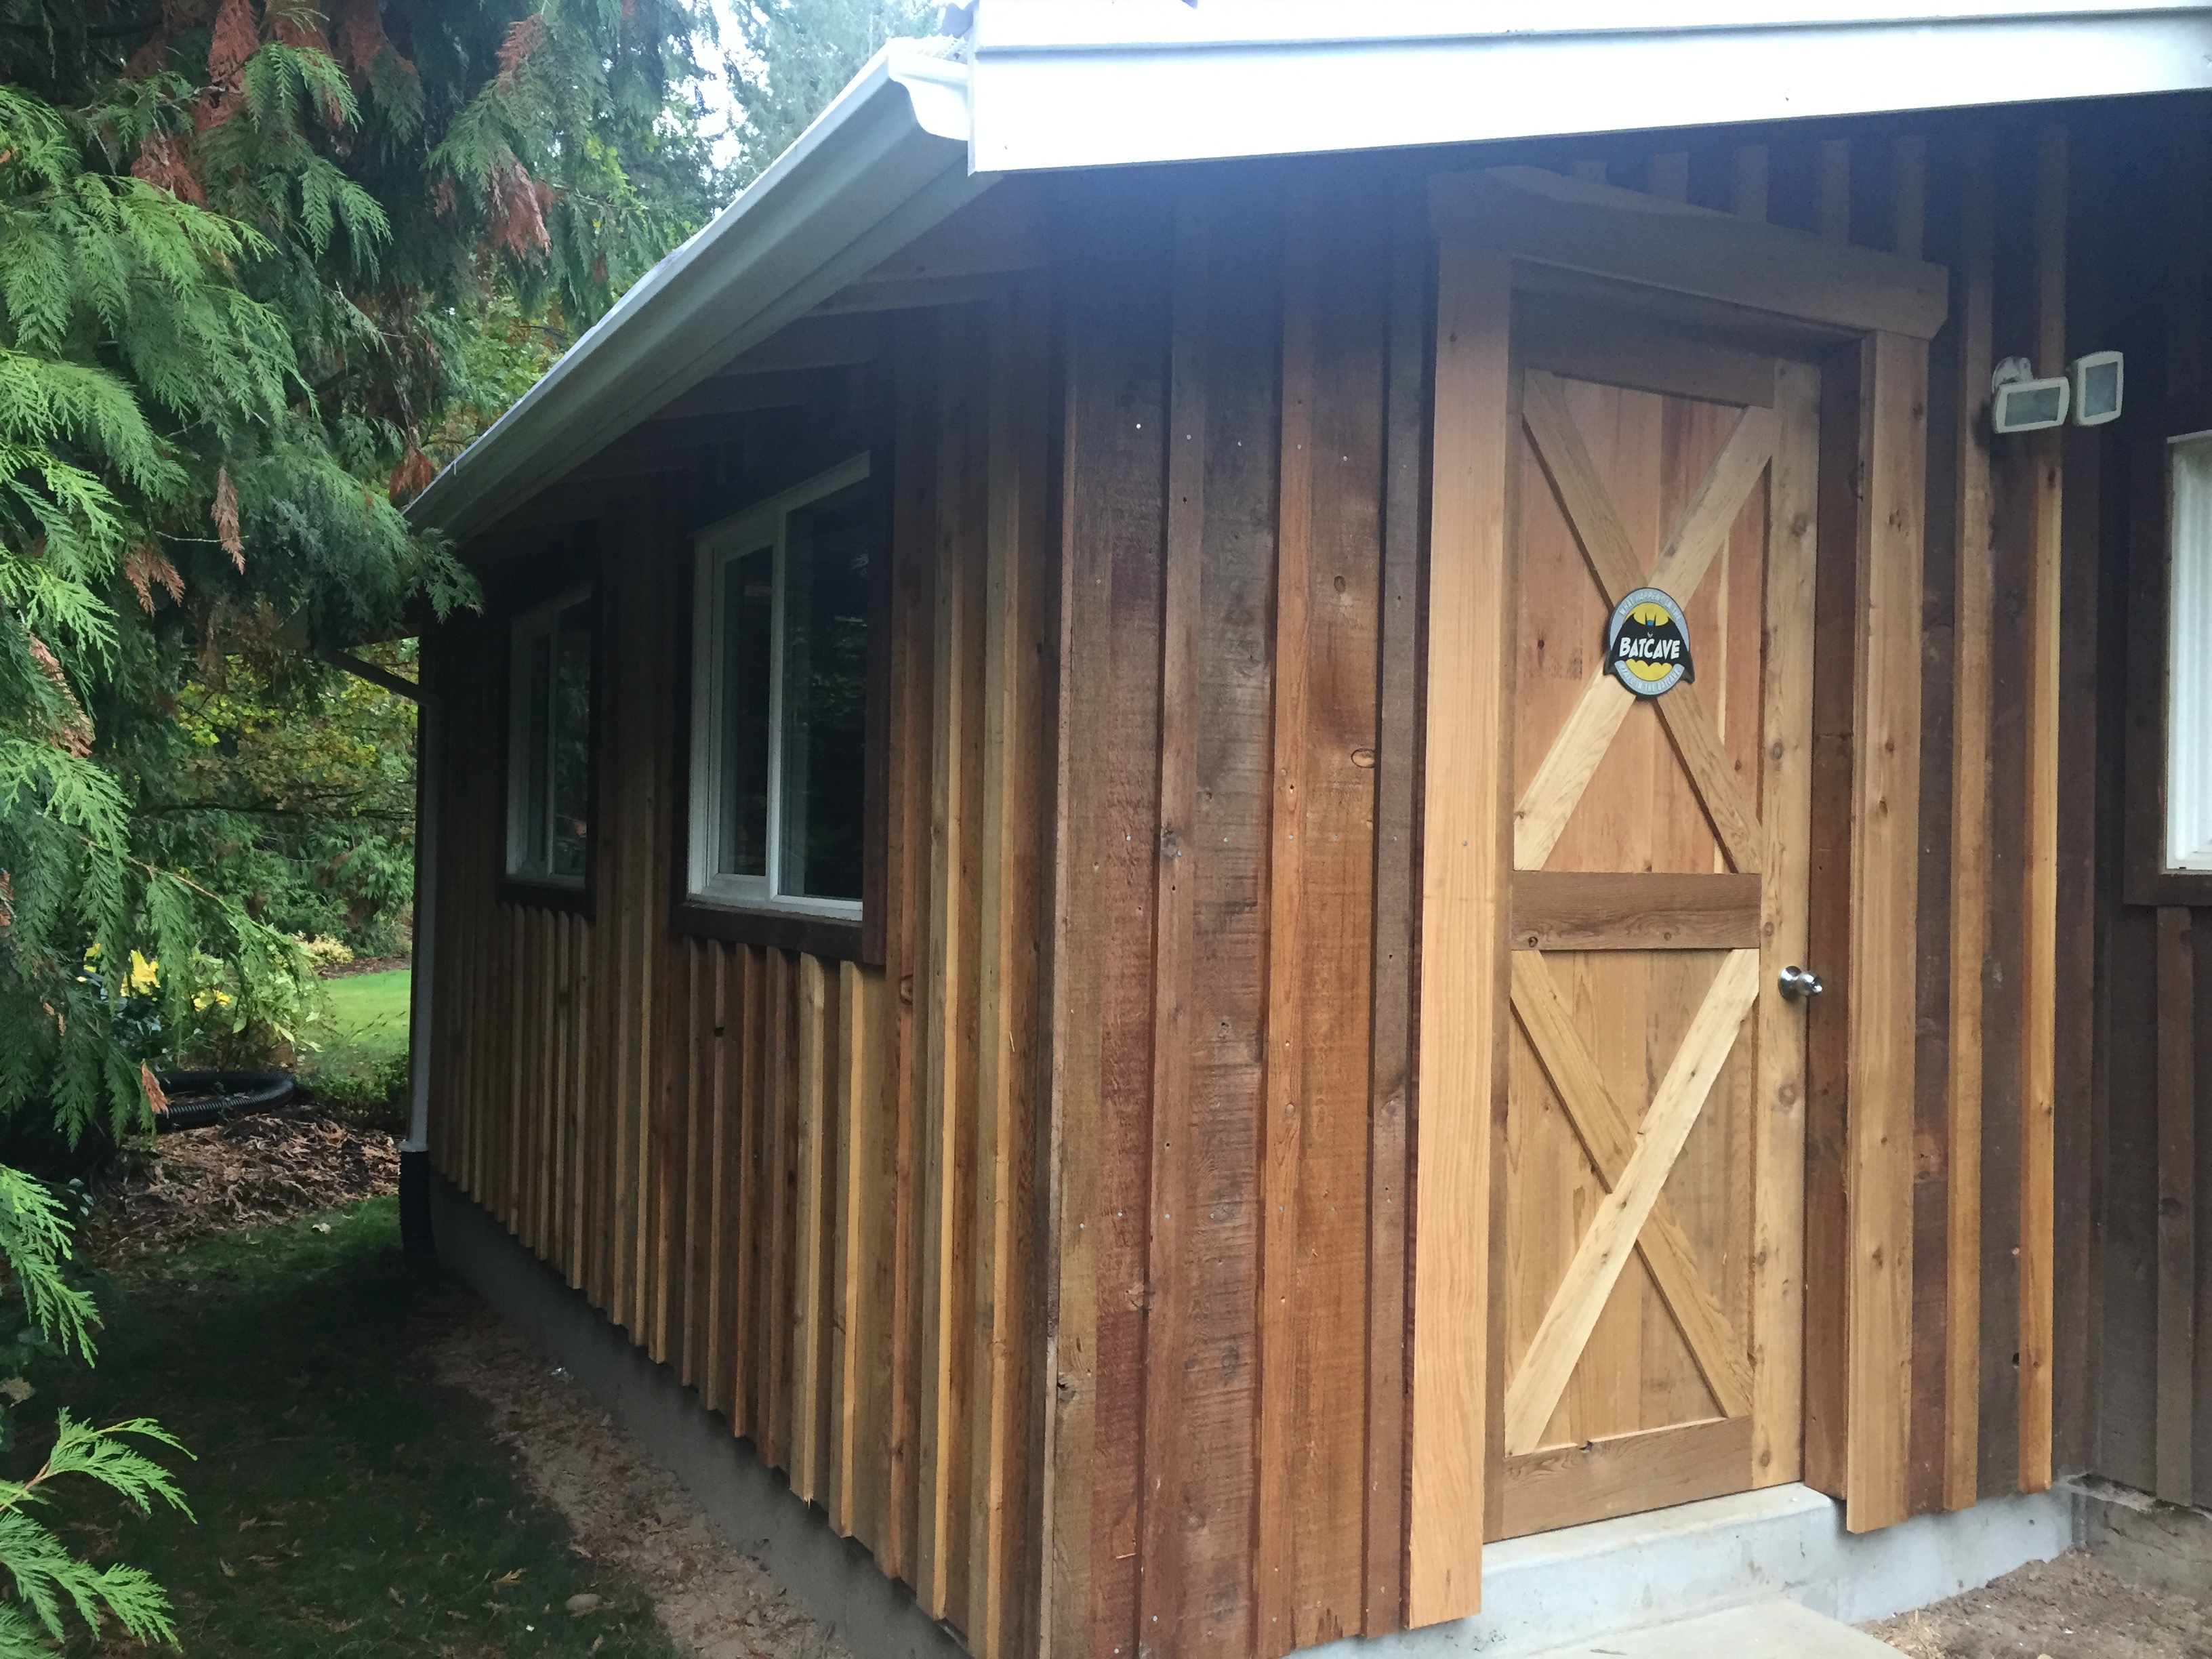
The sign says "whatever happens in the batcave, stays in the batcave."
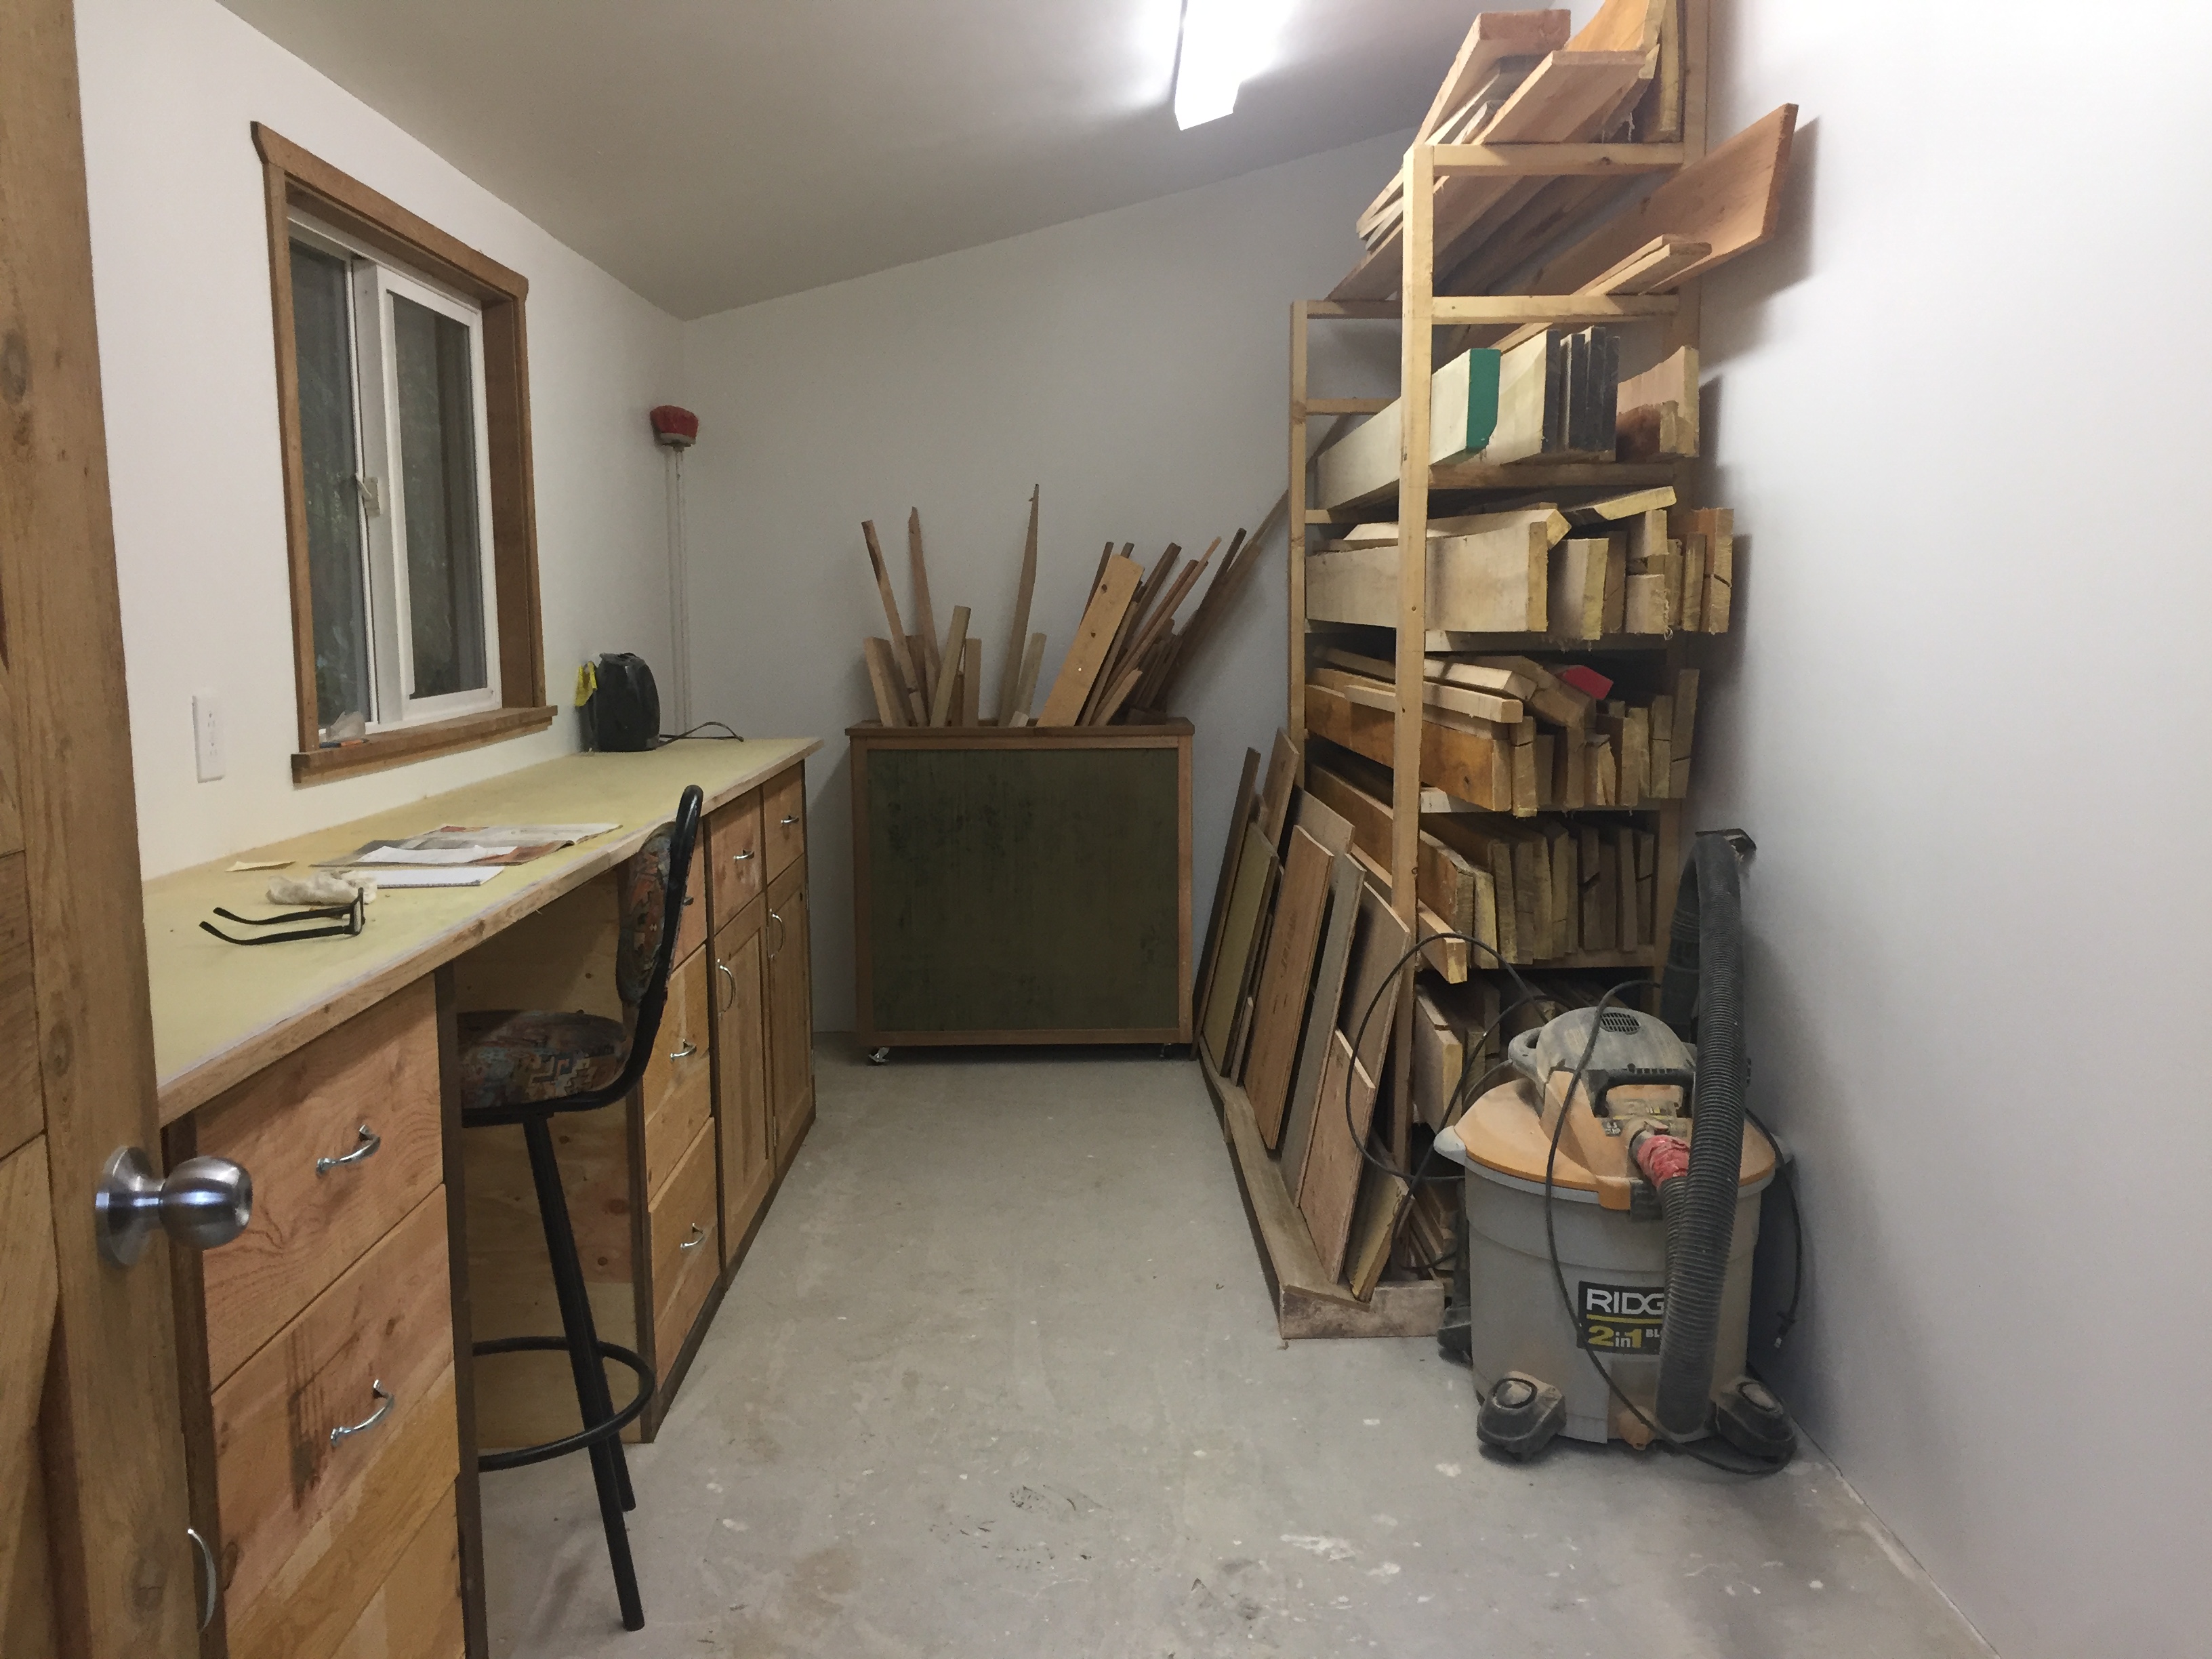 The
inside of this office will never be so clean. Most of the wood here is
from trees I milled from the property.
The
inside of this office will never be so clean. Most of the wood here is
from trees I milled from the property.
Another artistic attempt: