Spider-man Symbiote Suit
Character Modeling/Texturing
Spider-man has always been my favorite superhero. After falling in love with Insomniac's 'Marvel's Spider-man PS4', I decided to try creating my favorite hero in symbiote suit (since it's not in the game) using Z-brush. Different from any other 3D project I worked on since I don't really have any knowledge with Z-brush, I kind of have to work with the flow. I started by just learning the basics of Z-brush. After watching through a 3 hours long basic tutorial on Lynda.com, I started my sculpting journey.
Similar to any other project, I had to have many research tabs open on my side monitor. This includes basic body topology, superhero topology, Spider-man comics, and previous Spider-man models. I was able to successfully create the general body shape for Spiderman, but here is where I met my first major issue.
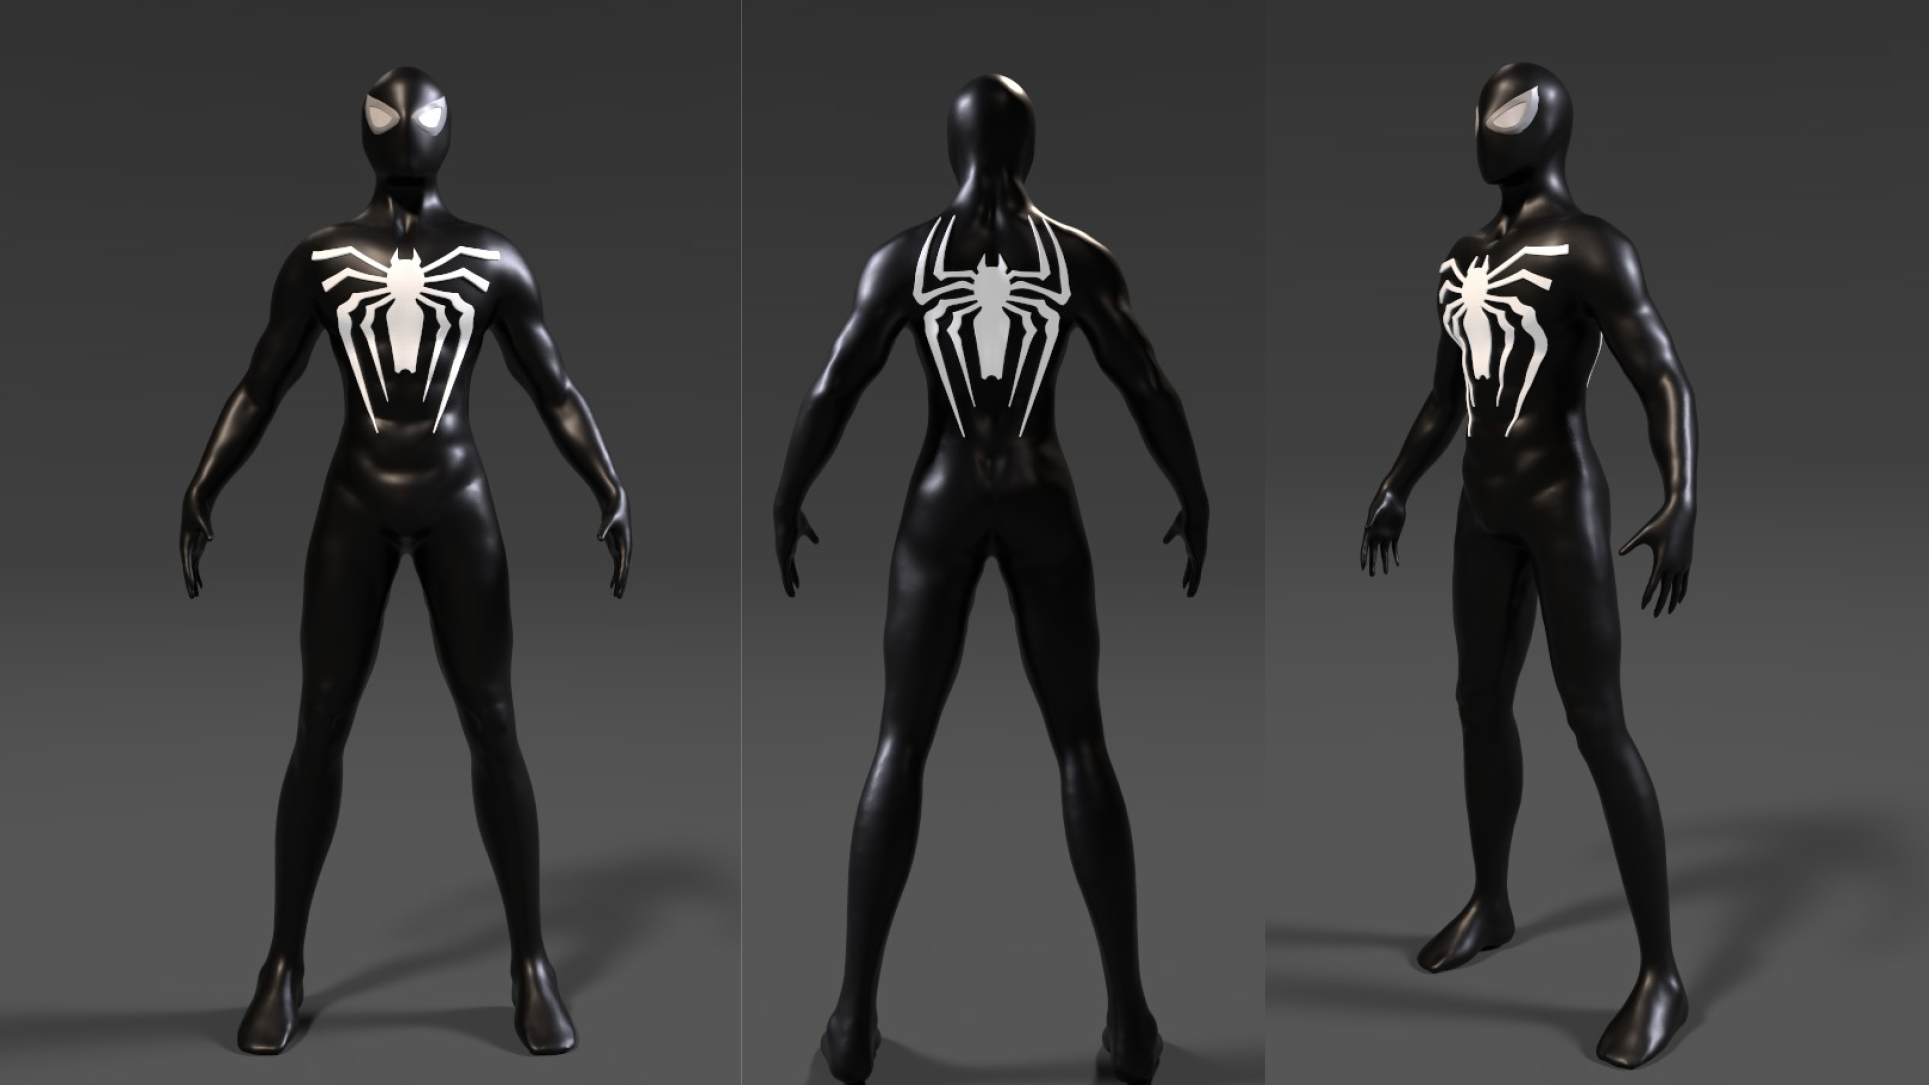
I cannot figure out how to create hard-surface within Z-brush. There aren't many online tutorials revolves around basic hard surface problems. In order to overcome that, I had to rely on Maya which I am much more familiar with. I ported the body model into Maya, I used draw quad tool to create the eyes and spiderman logo for the character. Since the character model was not for any games, I did not retopology it.
I cannot figure out how to create hard-surface within Z-brush. There aren't many online tutorials revolves around basic hard surface problems. In order to overcome that, I had to rely on Maya which I am much more familiar with. I ported the body model into Maya, I used draw quad tool to create the eyes and spiderman logo for the character. Since the character model was not for any games, I did not retopology it.
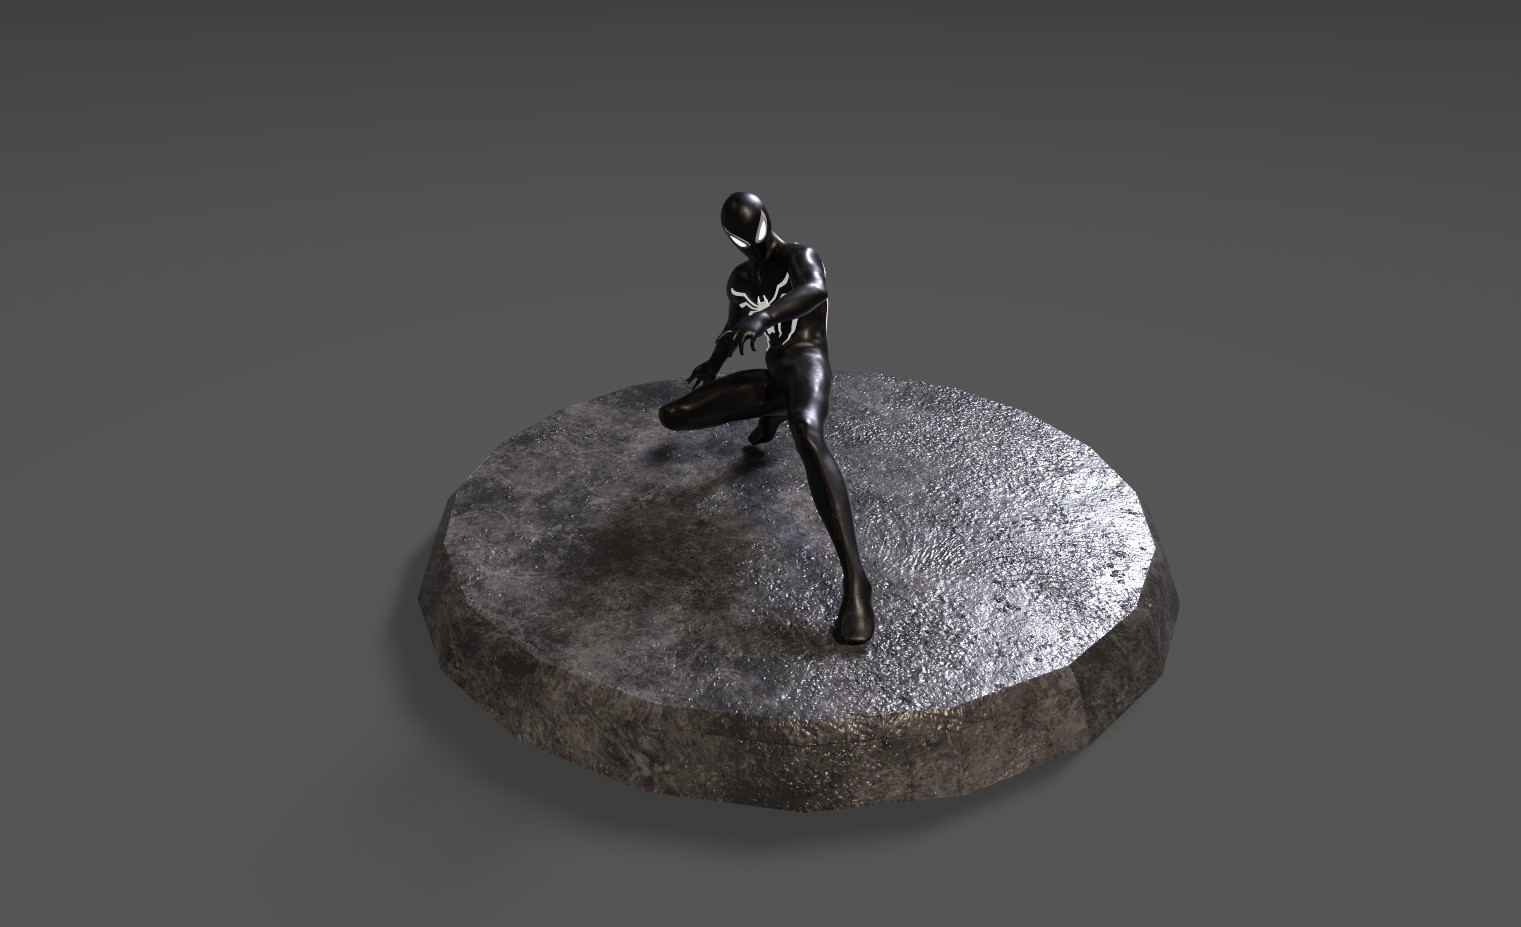
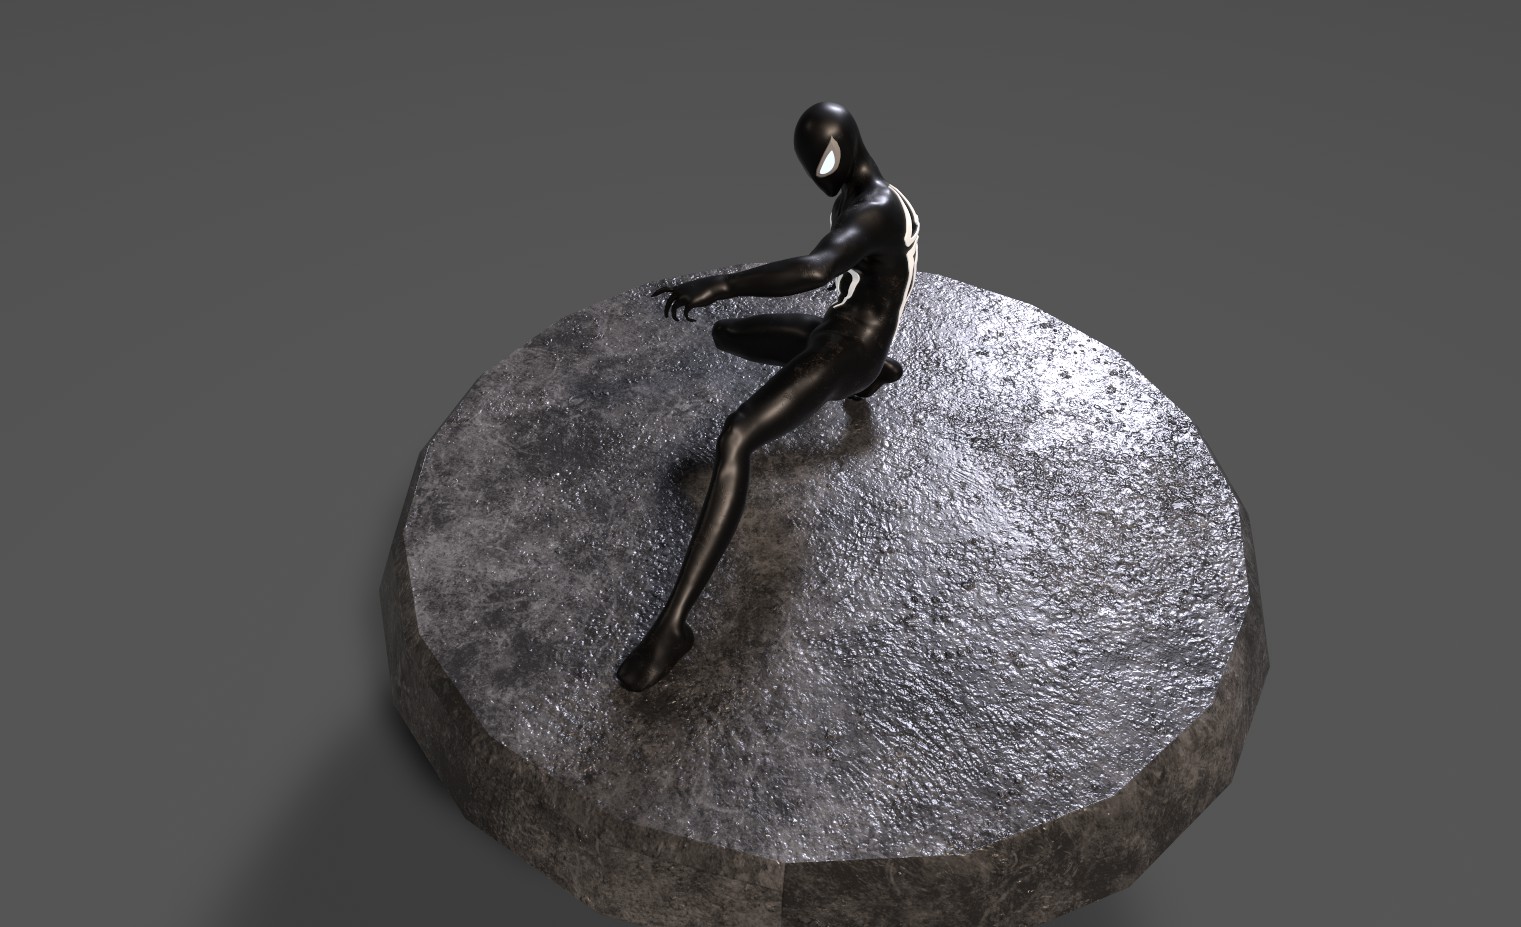
With the character model mostly finished, I export the file once again into Z-brush to polish everything up. After that, I exported the file again, but this time, I exported it into Mixamo. Within Mixamo, I found a cool looking pose and downloaded it. I then move the file into Maya to finish off the modeling section.
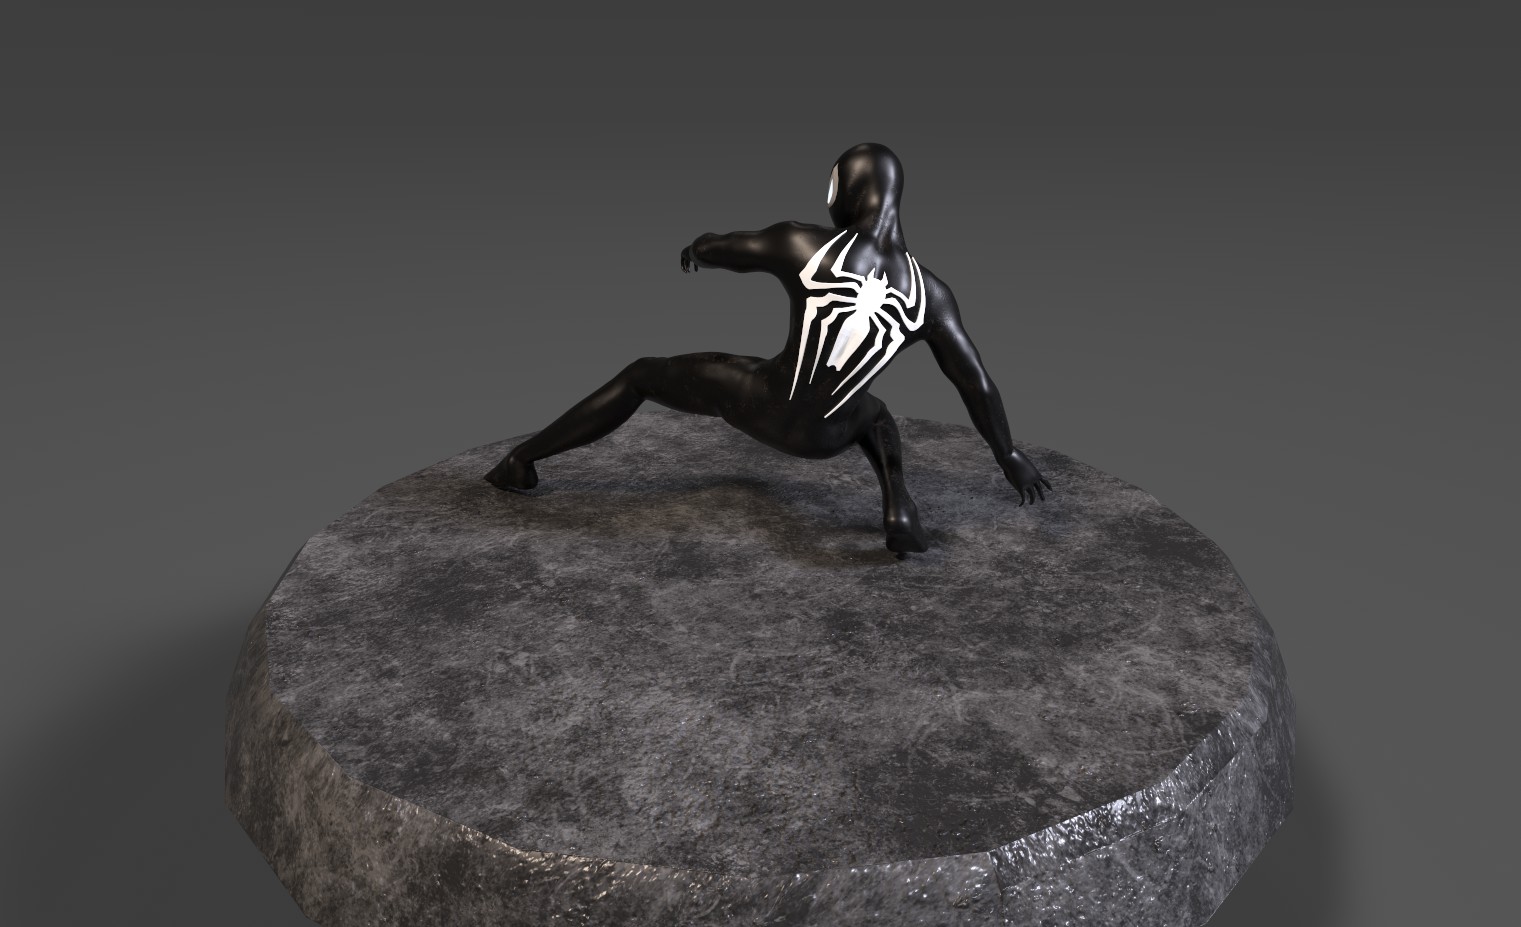
As for texturing, I used Substance Painter. I had to play around with multiple textures, but after looking through some reference, I went with the classic smooth suit. I added some emission for both eyes and the Spider-man logo to make them stand out in the dark. I ended the texturing section by adding some dust onto the suit.
As for texturing, I used Substance Painter. I had to play around with multiple textures, but after looking through some reference, I went with the classic smooth suit. I added some emission for both eyes and the Spider-man logo to make them stand out in the dark. I ended the texturing section by adding some dust onto the suit.
Overall, I really enjoyed making Spider-man, it is definitely one of the easier Z-brush projects I could have started with since there is no facial detail that I had to worry about. I wish in the future, I could finish the entire project within Z-brush. This project lasted under 2 days.