Did it even happen to you that, when you write a paper, then you decide to insert/deleate a figure, or even move your figures around, you will need to search through the entire paper to fix the figure numbers. If so, this article could help you. What about references? I will show you how using "cross-reference" in MS Word could save you a lot of work.
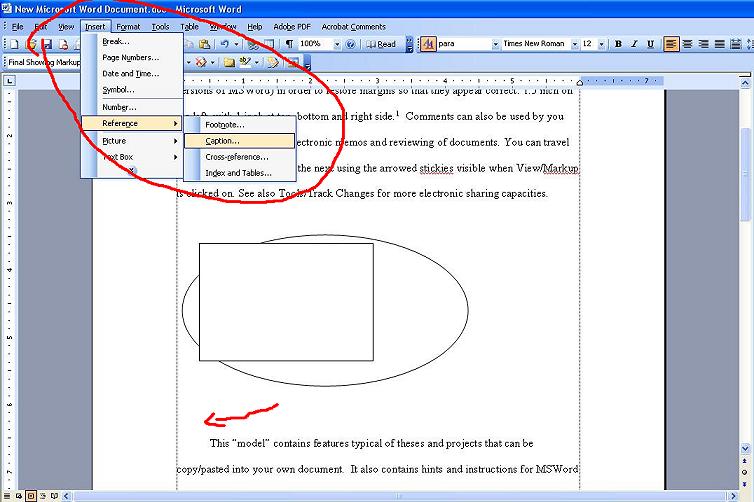
First, lets insert a figure in a document. Place cursor at where the figure is going to be inserted. Click on "Insert" -> "Reference" -> "Catpion".
A dialog box should pop up. Enter the name of the figure, click OK.
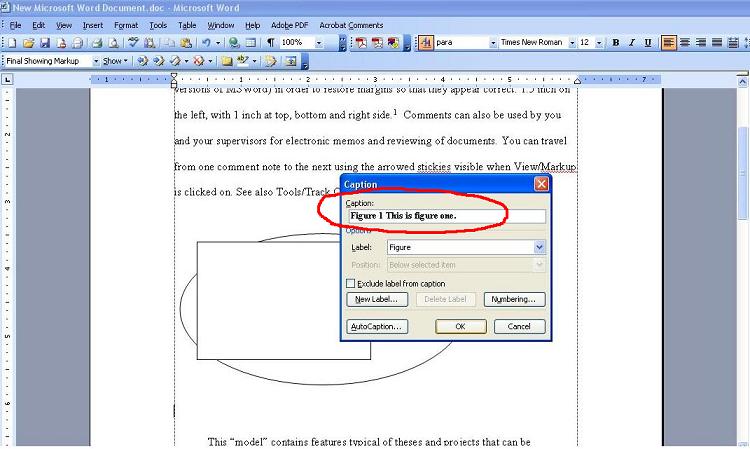
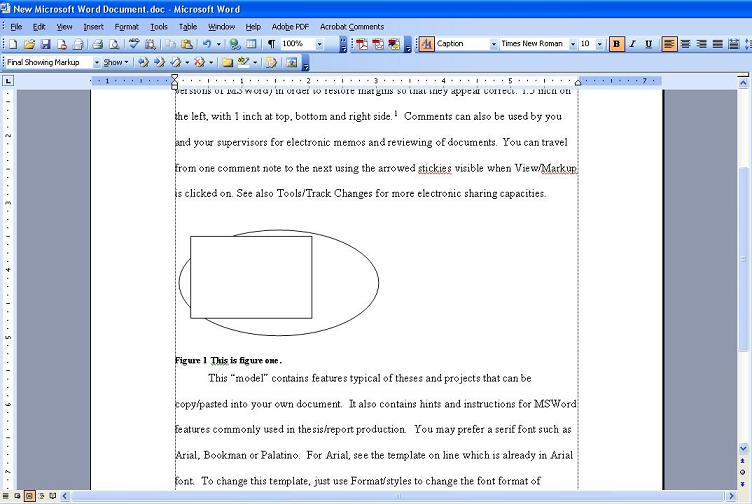
Now, Figure 1 is created, named "This is figure one.".
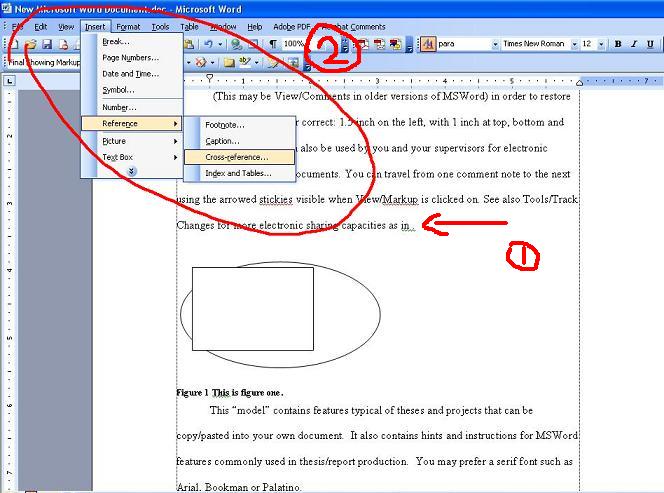
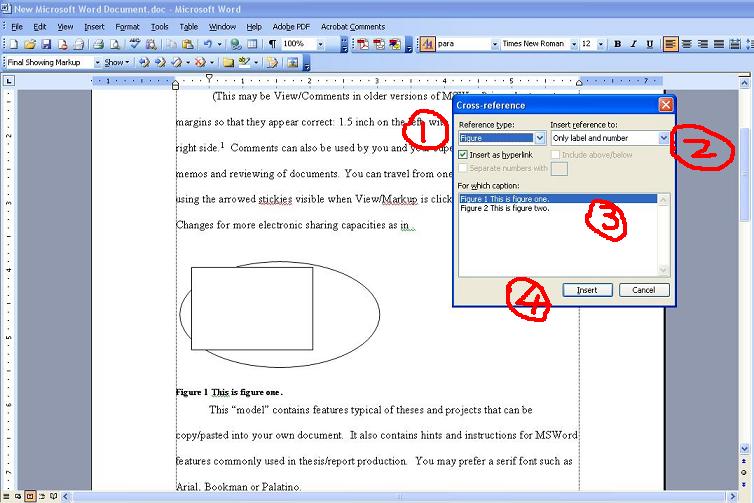
Similarly, I created Figure 2, named "This is figure two.". Then, we can insert the figure number into the text, as "Figure 1". Place the mouse cursor to where you want to insert the figure number. Click on "Insert" -> "Reference" -> "Cross-reference".
In the dialog box, select "Figure" as "Reference type", then select "Only label and number", pick "Figure 1 ...", click "Insert".
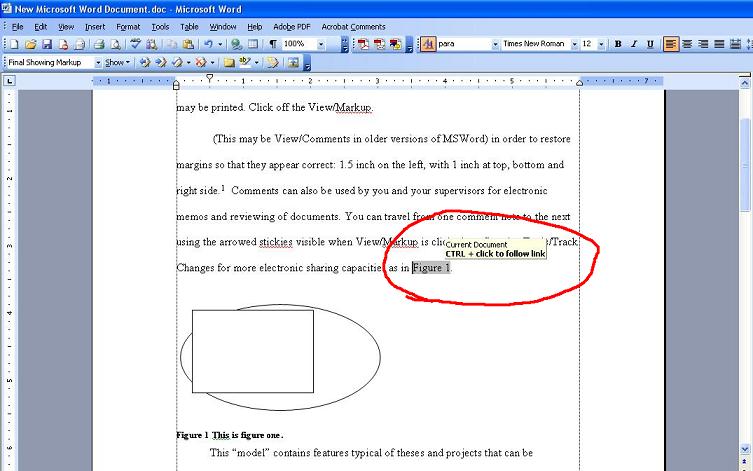
Now, we have Figure inserted in the text.
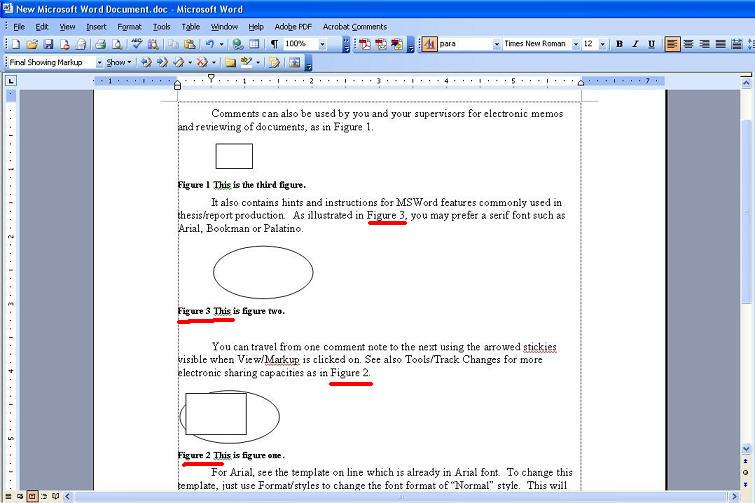
So, we have Figure 1 and 2 in the text. What happens if I want to insert another figure at the very beginning of the document. I inserted another figure named, "This is the third figure." at the begining. It is automatically inserted as figure 1. Notice that, the original figure 1 is now figure 2. But the number in the text is not change.
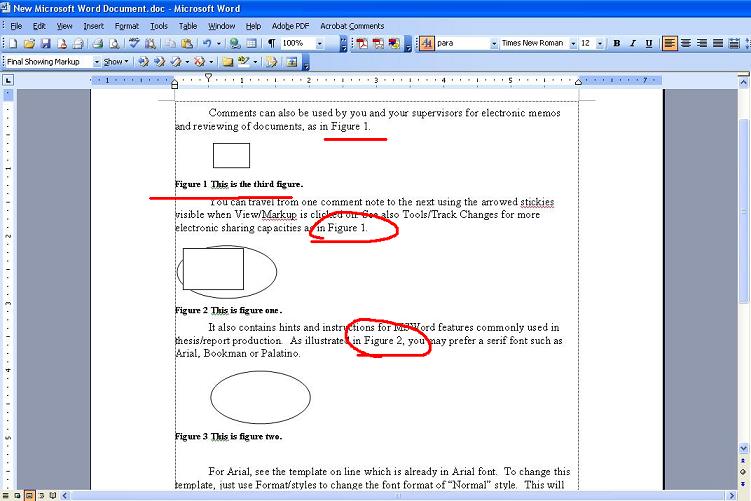
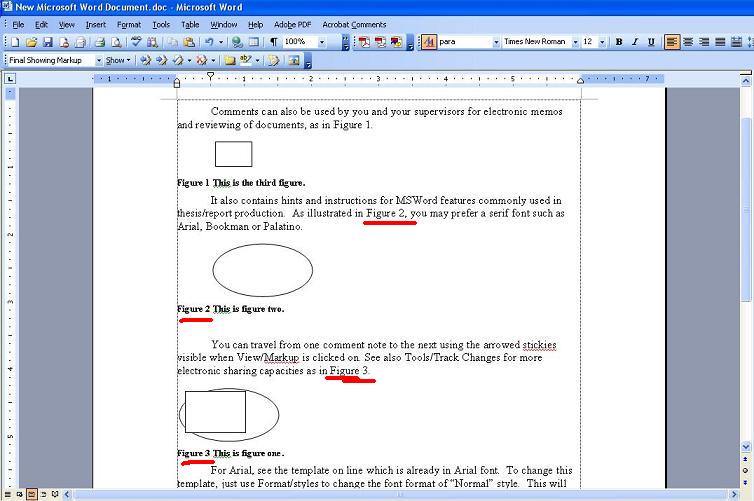
Instead of searching and replacing all the figure numbers in the text, click "Edit" -> "Select All" (or, Ctrl + A), which select the entire document, then, press "F9". This updates all the figure number automatically.
I assume you will say, this looks good, if you never used this before. Then, what if I want to move figures around?
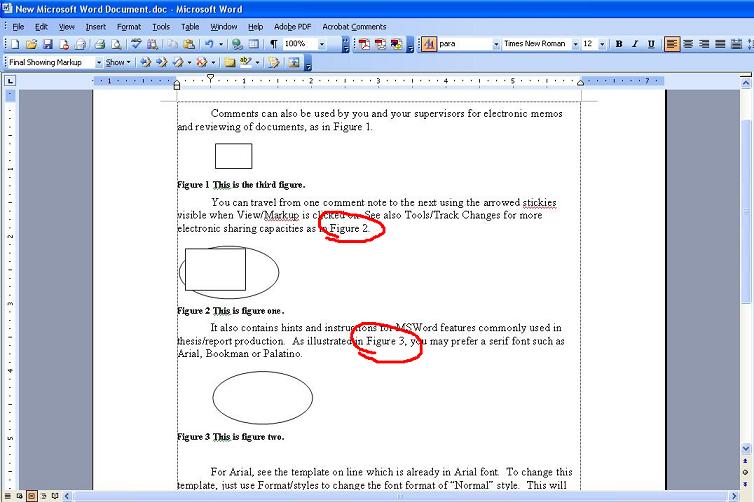
I then switched the positions of Figure 2 and 3.
And then, press Ctrl+A, then F9. This automatically updates my figures.
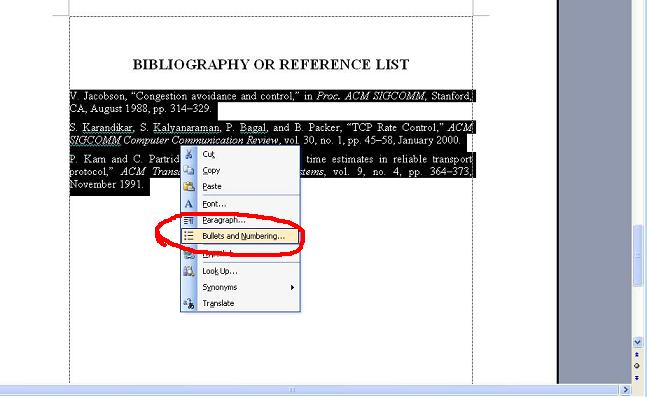
Working with references is similar as with figures described above. First, lets take a list of references, enable numbering by highlighting the list first, then right-click on the list, select "Bullets and Numbering".
In the dialog box, select the numbering style, then click OK.
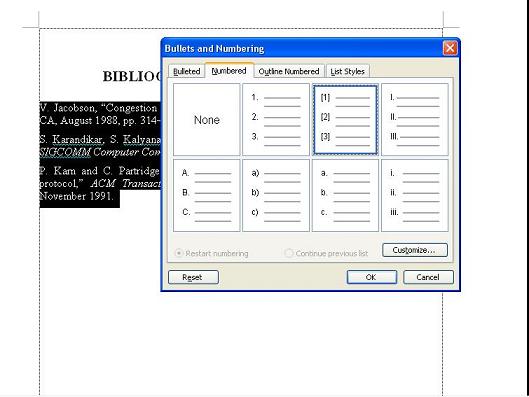
Now, we have a proporly numbered reference list.

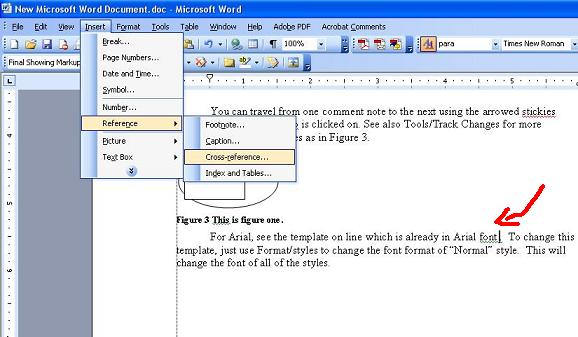
Then, we need to insert it into the text. Place your cursor to where the reference is to be inserted, then click "Insert" -> "Reference" -> "Cross-reference".
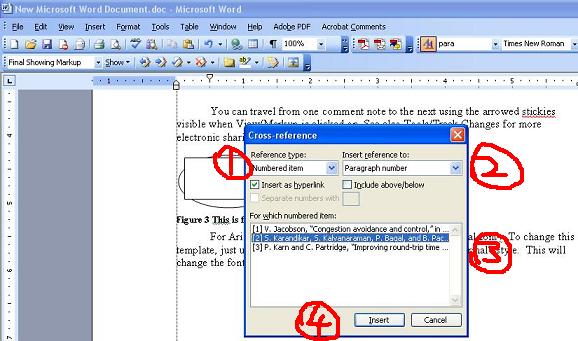
In the dialog box, select "Numbered item", "Paragraph number", then the reference you want to insert, click "Insert".
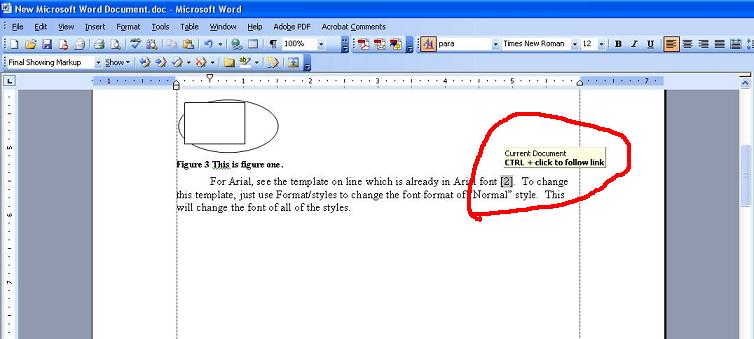
This inserts the reference into the text. And same as how it works for the figures we showed above, when reference list is changed, they can be updated automatically by using Ctrl+A (or, just highlight the part of the text where the references are inserted), then press F9.
Enjoy!!
September 12, 2006