How do you embed videos from mediasite to canvas?
Creating a Channel and Uploading it to Canvas
Download to your own computer from mediasite
Enabling Student downloads from mediasite
Mediasite is SFU’s own video streaming website. If it is integrated with Canvas and can be used to link or embed videos into it. Here are the procedures:
Uploading to Mediasite:
1) For uploading to Mediasite, go to stream.sfu.ca and sign in with your SFU ID. Chrome is recommended.
2) To upload, click on Add Presentation in the top left corner.

3) Click on Upload Video. Navigate to your video on your computer and upload it.

4) Name the presentation. Leave the Destination as My Drafts.
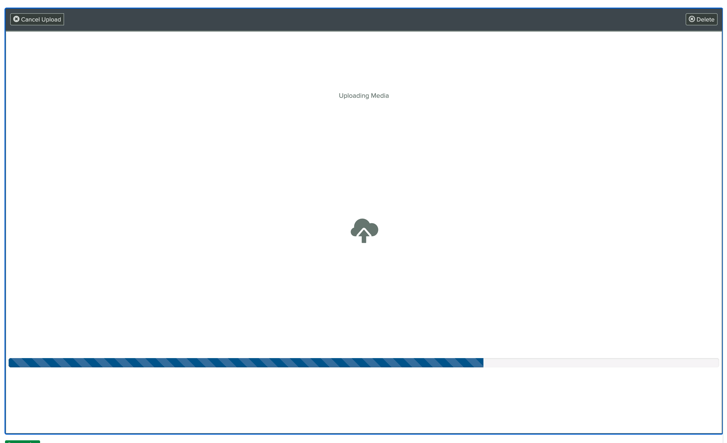
5) Allow it to process and upload. It will say Currently Working or Queued for Processing. It shouldn't take too long, but occasionally it will get caught in a Queued for Processing notification for too long, where you're better off canceling it and re-uploading it. Longer videos will, of course, take longer to upload.
6) After it uploads (not during as it’ll revert back after upload completion!), change the Who Can View? permissions toggle to My Organization. This means that anyone with an SFU ID can view it when it's in your Canvas course (ie. your students). If they are already signed into Canvas, they shouldn’t have to login again due to the software integration of Mediasite and Canvas. The video cannot be searched on the internet.

Next, there are the two different ways to get those videos into Canvas, where it's either a link (essentially a blue hyperlink) or it's a true embed where you can see the preview right in Canvas:
Linking to Mediasite
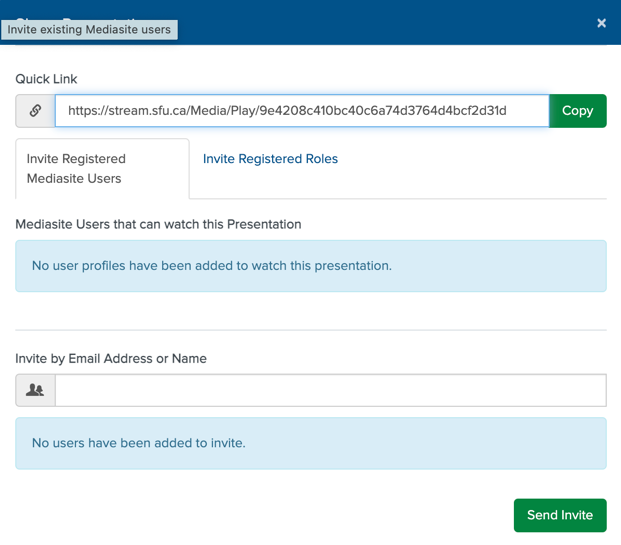
1) To create a link, go to your video and click the green Share Presentation button in Mediasite and copy the Quicklink to paste into Canvas.
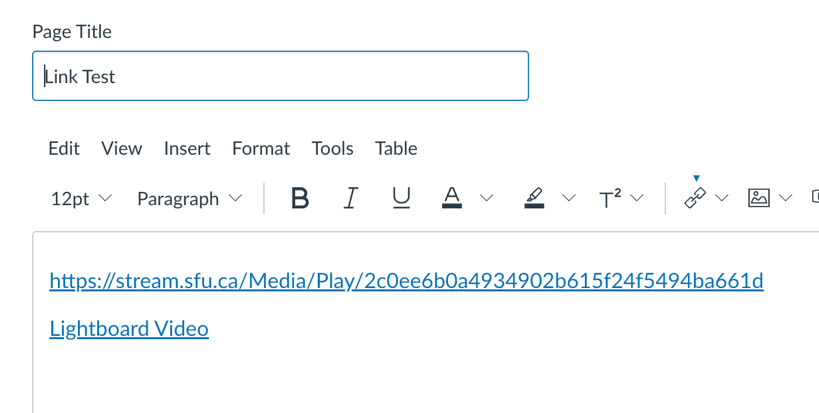
2) Go into Canvas, open up a Page, Press Edit and paste it. It will appear as a blue hyperlink in your course. Click Save. Note that the downside to this is that the link will open up another page for viewers, so it is not embedded within the page.
Embedding a Video into Canvas
This a true embed, where students can view it right on the Canvas page. Embedding requires a bit of a workaround due to a glitch in Mediasite, so CEE created this tool on the webpage below.
1) To embed, use CEE’s embed tool by going to: https://vtools.cee.sfu.ca/mediasite-embed/
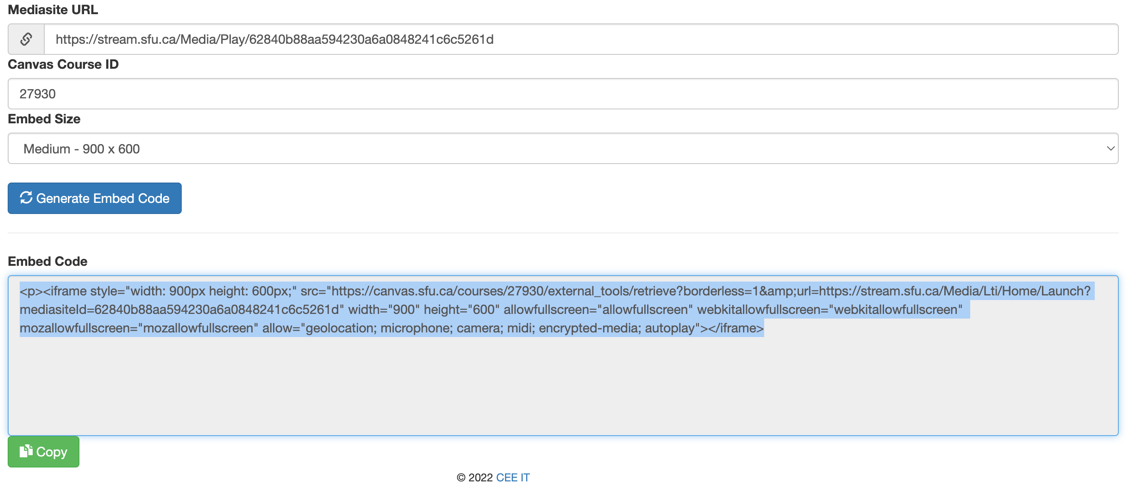
2) Enter the URL from Mediasite, Course ID and select an embed size. *to be clear, the Course ID is to be copy-pasted from the course URL in Canvas (ie. 76027 - see the highlighted course number below)

3) Press the button to generate the code and copy it to paste it into Canvas.
4) Go into Canvas and find your Page, Press Edit and then click on the HTML Editor (</>).
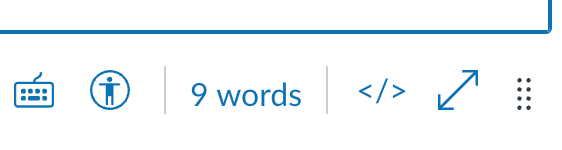
Paste the code into the Editor in HTML mode.
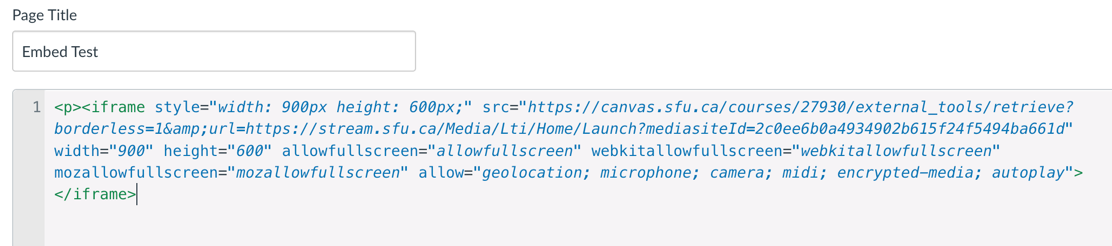
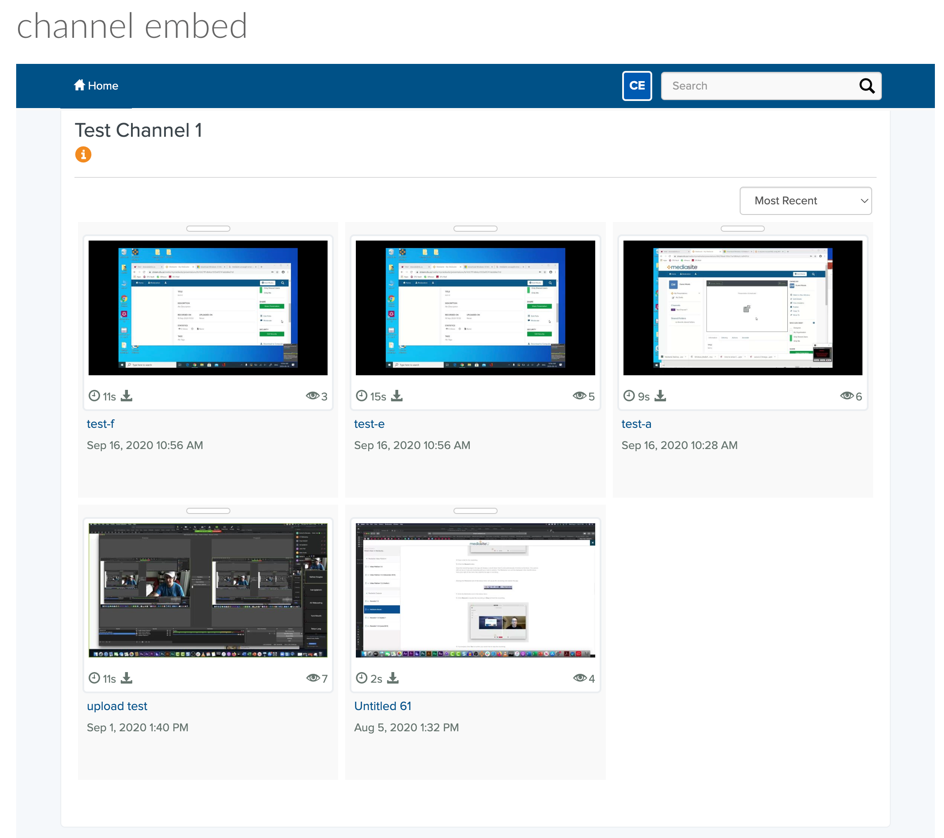
5) Press Save. Your video will look something like these examples below.

Creating a Channel and Uploading it to Canvas
Channels are essentially playlist of videos that play sequentially. Students can go back and review any videos within the Channel that they want.
1) To create a Channel in Mediasite, go into Browse Channels on the left side, then Add Channel to pull in your videos.
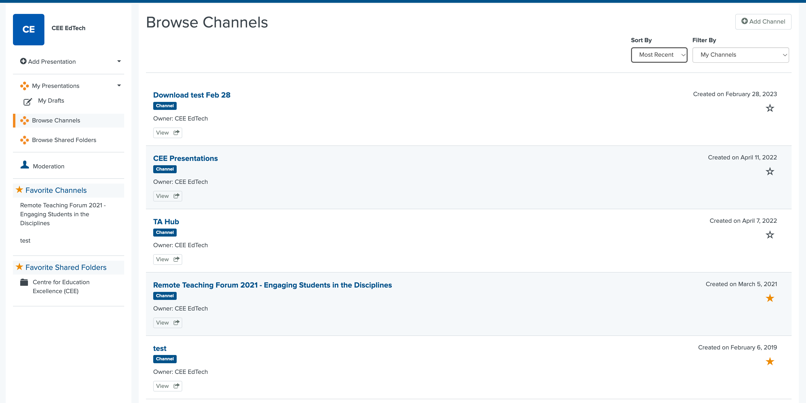
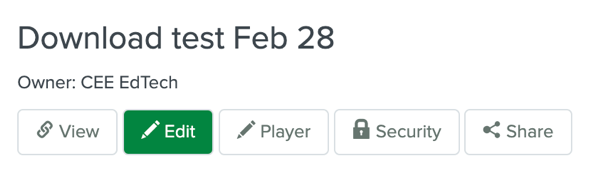
2) Create a name for the Channel. Any changes can also be done later under Edit, at the top of the Channel.
3) Go to a video you want in the Channel. Click Move To on the right side and you'll get a pop-up for it. Click on Place This Presentation in a Channel and choose your channel. Do this for every video. You can move videos in and out of the Channel at any time.
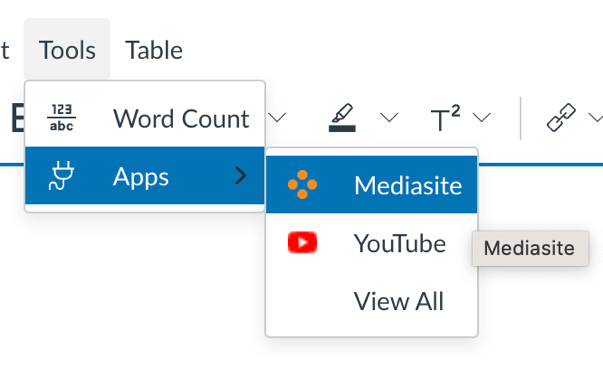
4) Next, you need to embed it into Canvas. You don't need CEE's workaround embed tool listed in the previous procedure here as the Mediasite widget still works in Canvas for Channels (which Canvas calls Collections - confusing, I know). Alternatively, go to Tools>Apps>Mediasite.
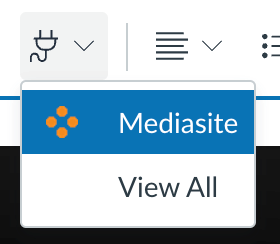
5) Go into your Page in Canvas and open the Editor. Click on the Plug icon in the toolbar and select Mediasite.

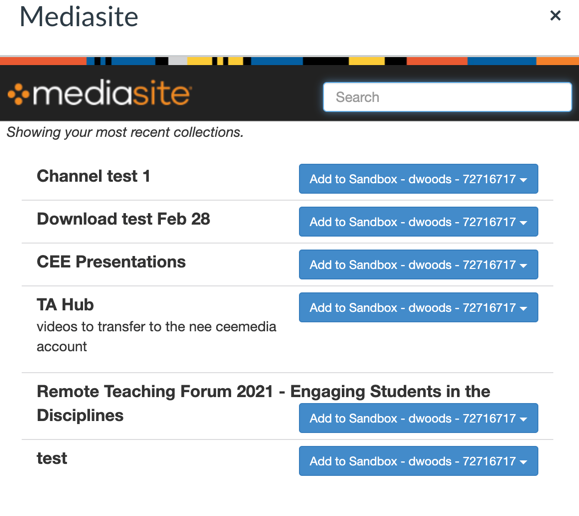
6) Under Add Existing Media, Choose Collection and it will pull up your list of Channels in Mediasite. Select the one you want and click Embed. Then press Save.
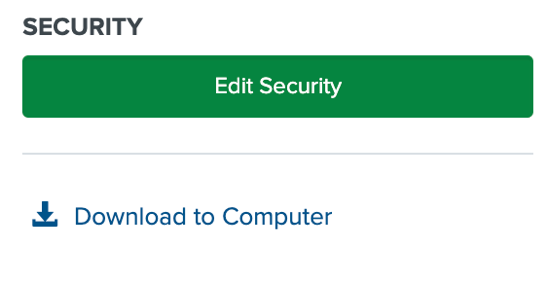
Download to Your Own Computer from Mediasite
In Mediasite, choose your video and click on Download to Computer in the bottom right corner.
Enabling Student Downloads from Mediasite
Many students prefer to watch downloaded videos due to poorer internet service or they are traveling. The default setting in Mediasite is for videos to not be downloadable due to security and instructor preferences (i.e.. intellectual property). Individual videos that are embedded from Mediasite cannot be downloaded by students. The only way to allow students downloads is to create a Channel (i.e.. a playlist) for your videos (even if it’s only one video).
1) Follow the steps for creating a Channel first.
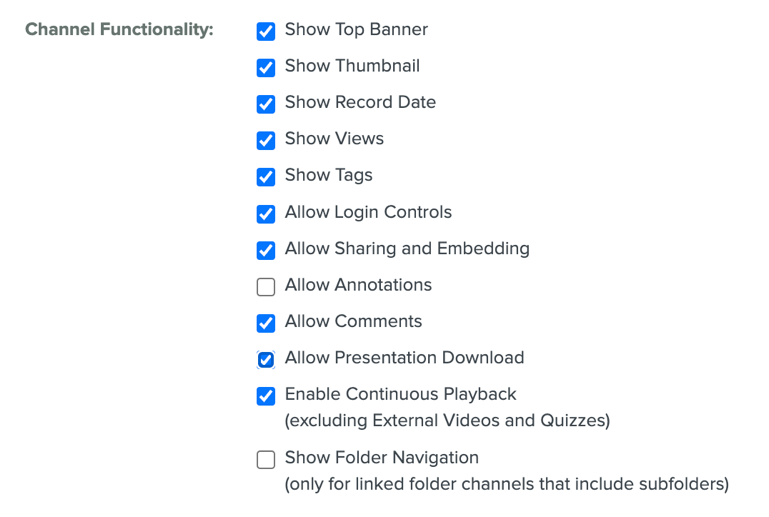
2) Click on Edit in a Channel. Scroll down into Channel Functionality and tick the box for Allow Presentation Download.
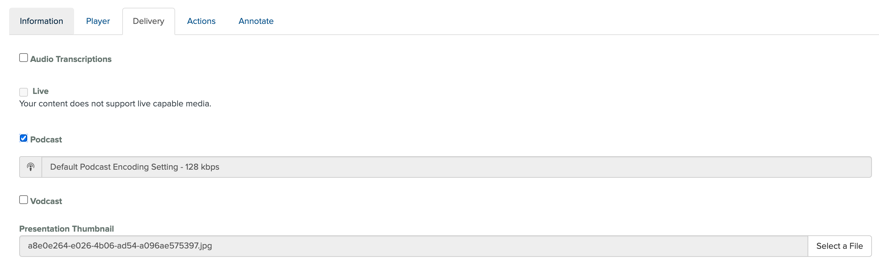
3) Next, go into each individual video within the Channel. Press Edit Details and go down to the Delivery tab. Tick the box for Vodcast (default is Course Export 720p) or Podcast (use the default setting for 128 kbps) and Save. You can change these settings at any time.
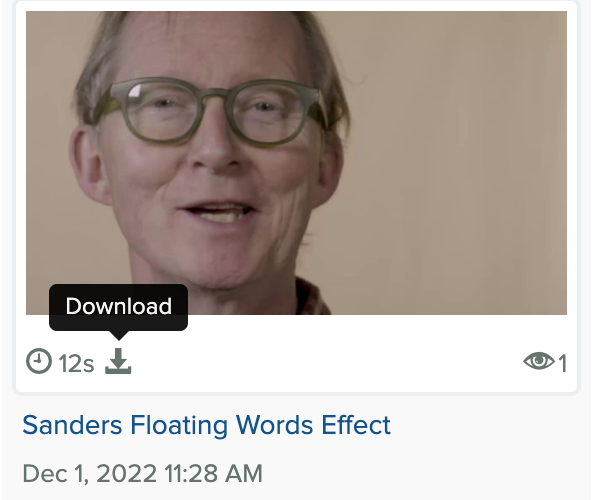
4) When you play the Channel in Canvas, you can see the Download icon there, it's the downwards-pointing arrow on a horizontal square bracket. You also see this in the bottom right of the video when you click on it. Students should have this view when they see it, and they should be able to download them.