Has your SFU Mail account been migrated?
If your SFU Mail account has been migrated, the Thunderbird configurations on this page will not work for you. Visit Sign into Mozilla Thunderbird on IT ServiceHub for the latest information.
Mozilla Thunderbird
SFU Mail has two fully supported desktop applications, Outlook 2016 for PC and Mac. For optimal experience with Outlook desktop applications, we recommend connecting using the native Exchange Protocols (EWS or MAPI).
Any other third party desktop applications, such as Apple Mail and Thunderbird, will be partially supported.
Setup Information
1. Download Thunderbird from www.mozilla.org/en-US/thunderbird/
Once downloaded and installed, you will need to set up a connection to an existing email account.
2. Open the Thunderbird application on your computer.
3. Click on the Settings icon found in the upper right corner of the Thunderbird window.
4. From the New Message menu, follow the drop-down and select Existing Mail Account.
5. Fill out the fields in the Mail Account Setup prompt:
- Your Name: Type in your name as you want it to be displayed.
- Email address: Type in your SFU Computing ID followed by "@sfu.ca". For example, if your ID is "demo1", type in "demo1@sfu.ca".
- Password: Type in your SFU Computing account password.
When you have finished completing these fields, click Continue and Thunderbird will proceed with verifying your account information and email server.
6. Click on the 'Manual Config' button.
A new set of fields will appear. Enter the following information:
- Incoming: IMAP Server hostname: imapnew.sfu.ca Port: 993 SSL: SSL/TLS Authentication: Normal password
- Outgoing: SMTP Server hostname: mailgate.sfu.ca Port: 465 SSL: SSL/TLS Authentication: Normal password
When finished, click Done. The folders from your SFU Mail account will begin populating on the left folder listing. This may take some time depending on the number of folders and messages you have in your account.
7. To ensure that all folders are showing up in the folder listing, click on the Settings icon and navigate to Preferences > Account Settings.
8. Select Server Settings from the list of options under the account name, then click Advanced...
9. In the menu that appears, ensure that "Show only subscribed folders" is unchecked to turn off this option. Click OK to save changes, and OK again to save changes to the Account Settings menu. All of your folders in your SFU Mail account should now start to show in your folder listing in Thunderbird.
1. In the Thunderbird window, either select Tools -> Add-ons or click on the Thunderbird Menu icon and select Add-ons.
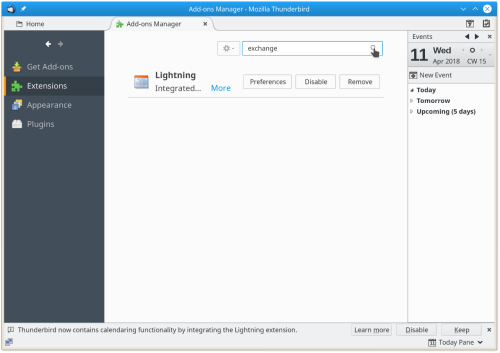
2. Select Extensions and type exchange in the search field (Search all add-ons); click the search icon
3. Find the "TbSync" line in the search results (second row in this case); click Install to install this add-on.
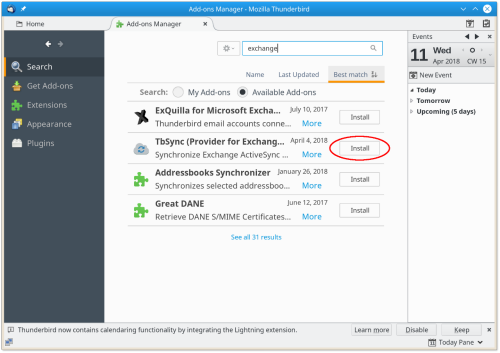
4. The line will display the message "TbSync (provider for Exchange ActiveSync) will be installed after you restart Thunderbird;" click on Restart Now.
5. With the Adds-ons Manager tab open and Extensions selected, click on TbSync in the bottom right corner; this opens the TbSync account manager window.
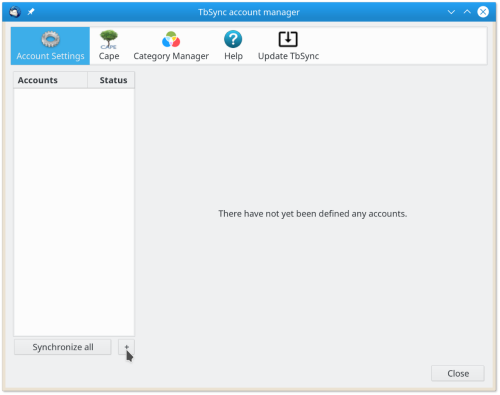
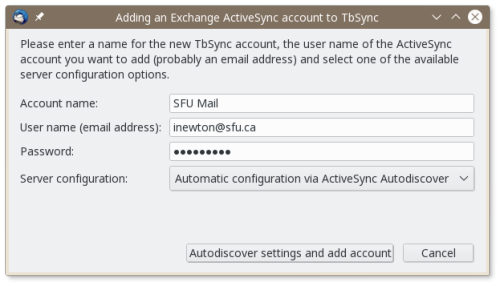
6. Click on the + symbol to open the Adding an Exchange ActiveSync account to TbSync:
- Enter a name for your calendar (e.g., SFU Mail) in the Account name field
- Enter your SFU email address in the User name field
- Enter your SFU password in the password field
- Leave the preselected server configuration "Automatic configuration via ActiveSync Autodiscover" as is
- Click on Audodiscover settings and add account
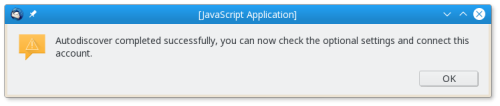
7. A popup window "Autodiscover completed successfully ...;" should appear, click on Ok.
8. In the TbSync account manger window set an AutoSync interval (e.g., 5 minutes) and then click on Connect account.
9. The Thunderbird calendar will now synchronize with the SFU Exchange calendar. When that is finished, the TbSync Account Manager window shows that Conctacts, Calendar and Tasks have been imported.
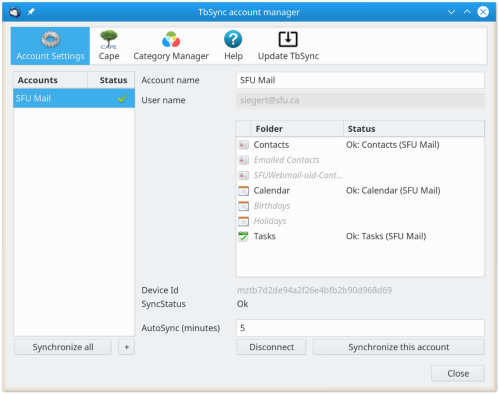
10. Click on Close to close the TbSync Account Manager window.
11. Close the Add-ons Manager tab
After a while (it may take up to one hour) you should see the SFU Mail calendar in the Calendar window of Thunderbird. If that does not happen, click on TbSync: Idle in the lower right corner which opens the TbSync account manager window once more. Click on Synchronize this account.
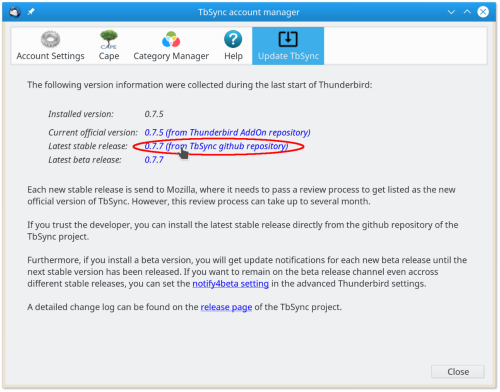
At the time of writing (Apr. 2018) the TbSync version that is installed following the description above is 0.7.5. It may be necessary to upgrade this version to the latest version.
E.g. when repeating events are not correctly imported into Thunderbird. To upgrade TbSync, click on the bottom right corner in Thunderbird to open the TbSync account manager. Click on click on Update TbSync and select the latest stable release (0.7.7 at the time of writing).