| 2. Open Control Panel. |
 |
| 3. Open Add/Remove Programs. |
 |
| 4. Click on Add/Remove Windows Components.
This could take a minute; don't panic. |
 |
| 5. Locate Other Network File and Print Services.
If there is not a check make there, add one.
Then click Next.
|

 |
| 6. Things will happen.
Eventually, click Finish. |
 |
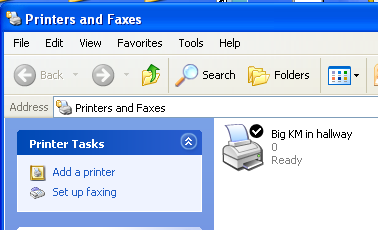
| 7. Open Printers and Faxes. |
 |
| 8. Click Add a printer. |
 |
| 9. Click Next. |
 |
| 10. Select Local printer ...
Uncheck "Automatically detect ..." |
 |
| 11. Select Create a new port, and from the drop down menu,
pick LPR Port.
Click Next. |
 |
| 12. In the first field, Name or address, type in as
shown
papercut4.mps.sfu.ca
In the second field, Name of printer, type in (as shown) the
OPS number of the printer, including the letters OPS.
Click OK. |
 |
| 13. Since you've already downloaded the software in step 1, you
can click Have Disk ...
|
 |
| 14. Browse to where you unzipped the files in step 1. (I
warned you to remember) |
 |
| 15. Open the appropriate directory and select the driver file.
This example uses a driver for a Konica Minolta MFD device, and so we're
going to select KOAYXJ_.
Click Open.
(I know, Select would make more sense,
but Open it is) |
 |
| 16. Click OK. |
 |
| 17. Click Next. |
 |
| 18. Give the printer a name.
Click Next. |
 |
| 19. You do not want a test page just now; select No
and then click Next. |
 |
| 20. If you are asked about "Printer Sharing", click
Do
not share and then click Next.
Then click Finish. |
 |
| 21. Tada, a printer!
Assuming you have funds in your Papercut account, you should now be
able to print. |
 |
EOF;
HTML::endBox();
HTML::displayFooter();
?>