How do I use the scheduler?
The scheduler enables you to set up appointment times in the calendar for students to sign up.
1. Click on the Calendar icon on the left hand menu.
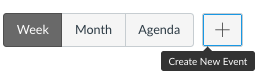
2. Click the + link located near the top right of the page
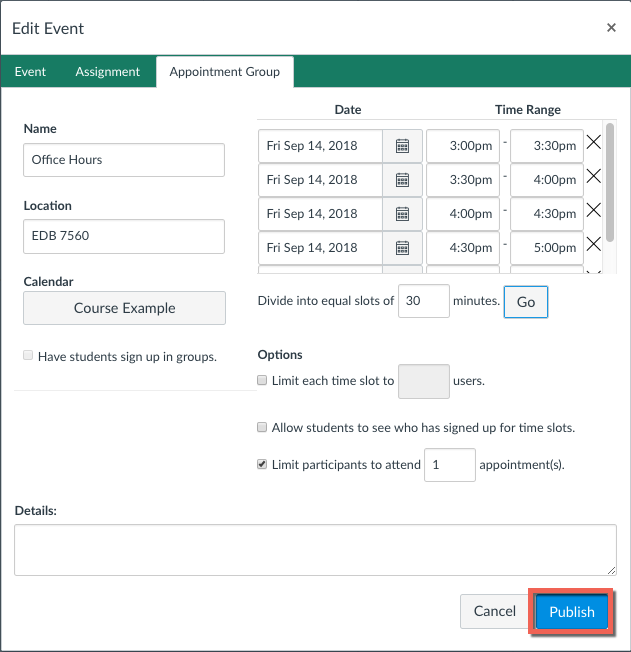
3. Click Appointment Group

4. Enter the Name of the meeting
5. Enter the Location
6. Choose a Calendar
7. Enter the Time Range for when you want to hold the meetings
8. Choose how many time slots you want to divide the time range into
9. Click Go

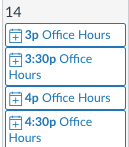
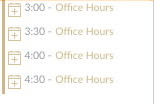
You will see the time slots you created.
10. Click Publish
You will see the following:
Students will need to click Find Appointment on the right hand side of the calendar
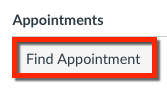
After choosing their course, they will see the appointments to choose from