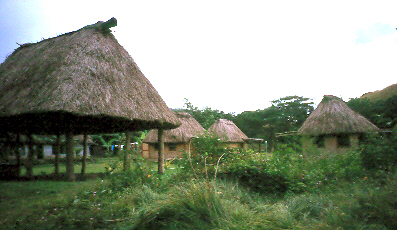
Fijian Pottery at Nakabuta Village
About 3000 years ago, a group of highly mobile ocean-going foragers arrived in Fiji from the west, bringing with them a distinctive pottery tradition that archaeologists now call Lapita. Although pottery styles and decoration have changed over time, the art of pottery-making has persisted in the Fiji islands to the present day.
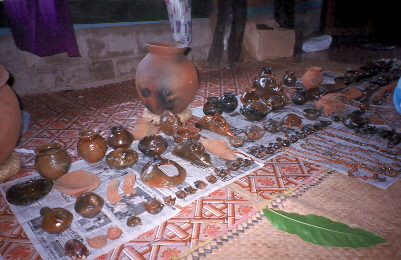
In the Fijian village of Nakabuta, traditional pottery-making techniques are used to create items such as bowls, animal figurines and jewelry. The photographs on the following pages illustrate the techniques used by the potters of Nakabuta.
The Process of Pottery Making
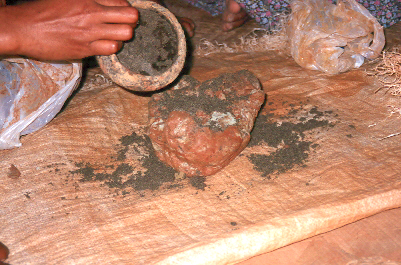
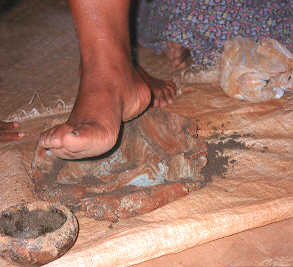
First, the potter must prepare the clay for use. Raw clay is usually not workable or durable enough to be used by itself to create ceramic pots. So another material, such as sand, chaff, or ground shell, must be added to the clay to make it more workable and less likely to crack or break during firing. This material is called temper.
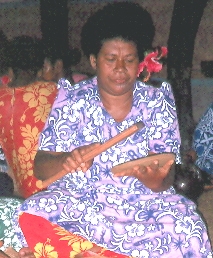
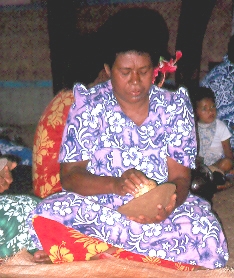
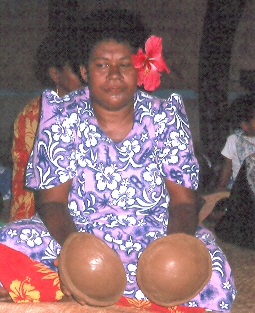
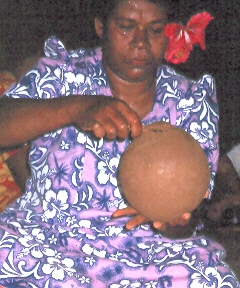
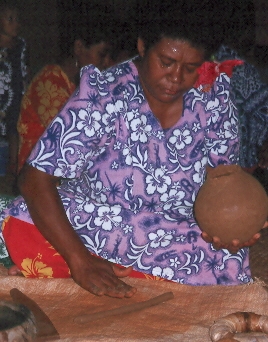
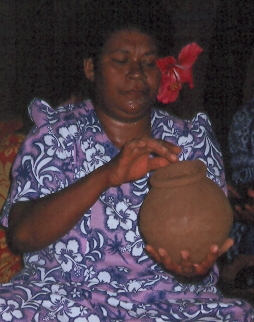
Once the clay is ready for use, the potter begins to shape the vessel. First, she flattens a ball of clay with a wooden paddle (Figure 4), then she uses a stone and a paddle to shape the clay into a smooth, hollow hemisphere (Figure 5). Next, she joins two hollowed hemispheres of clay to form a hollow sphere (Figure 6 and 7).
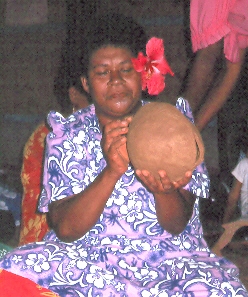
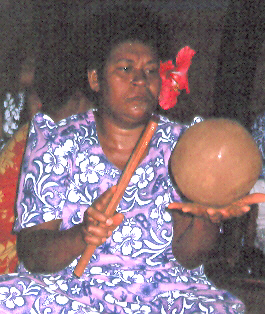
Using another wooden paddle, the potter shapes and thins the walls of the hollow vessel (Figure 8). She cuts a hole in the top to form the opening, or the mouth, of the vessel (Figure 9). The potter forms a thin coil of clay that she will attach to the pot to form the rim (Figure 10). After attaching the clay coil, the potter shapes the rim of the vessel (Figure 11).
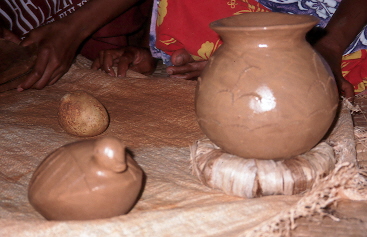
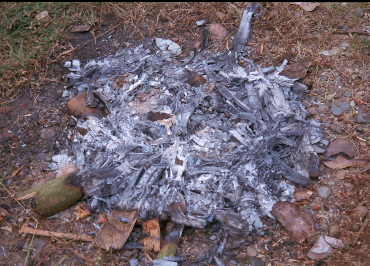
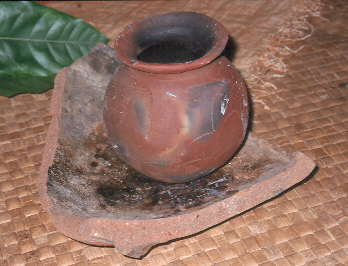
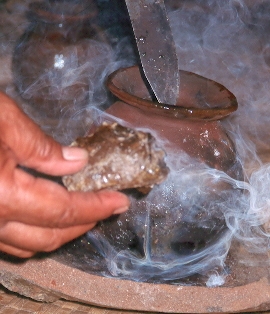
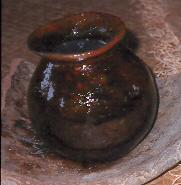
The pot is fully formed and will now be left to dry for several days or weeks. Most of the water in the clay will evaporate during the drying process, and that helps to prevent breakage during firing (Figure 12). Once the pot has thoroughly dried in the sun, it is fired in an open fire. Coconut husks and wood are used to fuel the fire (Figure 13). The pot has now been fired and is ready for glazing. The uneven colour of the pot reflects varations in oxygen exposure during firing. Greater exposure to oxygen results in lighter colours, while the dark patches indicate areas where oxygen was restricted (Figure 14). While the pot is still hot from the fire, it is glazed with a piece of tree resin to give it a shiny finish and to make it waterproof (Figure 15).
Nakabuta Village welcomes visitors and offers pottery making demonstrations to the public. Nakabuta is located about 8 km north of the town of Sigatoka on the island of Viti Levu.
Photographs © Karen Toko. Used with permission. Web page originally by Janice Graf © 1999.
Adapted for AEM by Melissa Rollit and Denee Renouf 2016.