4.1: Texturing 101
Played with different textures and materials, such as cloth, checkers, and different colors. Also used different types of bump mapping.
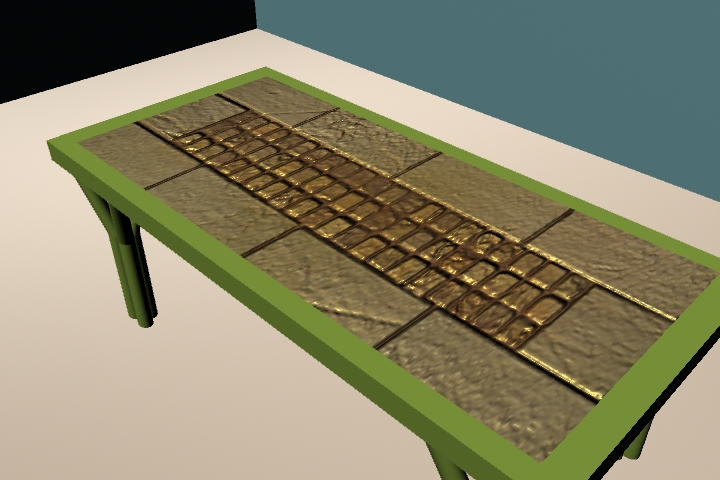
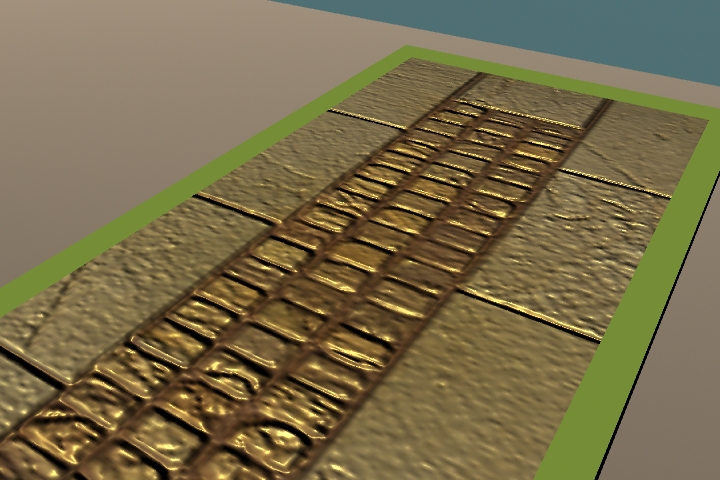
4.2: UV Edit
Placed the image on the table and rotated it to fit correctly in the UV Texture editor. Used the same file to add bump mapping to create a more realistic look.
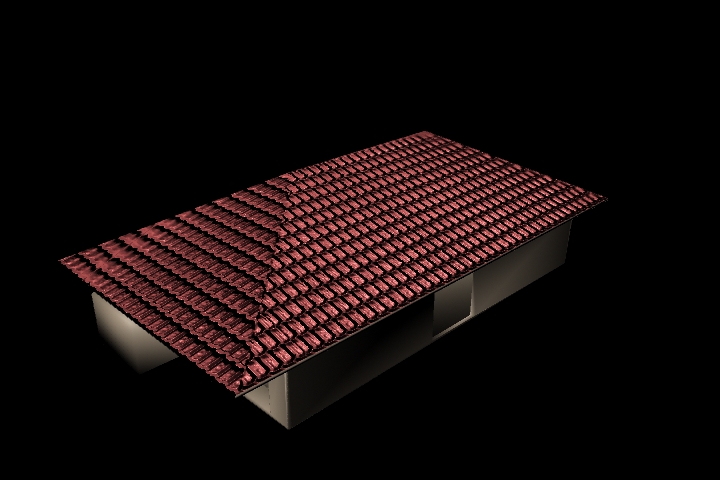
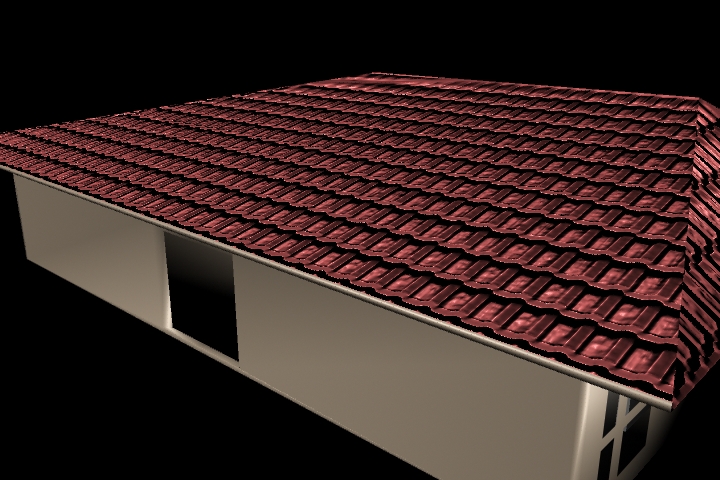
4.3: Generating a Texture Map through Painting (Maya & Photoshop Pipeline)
The roof is colored by creating a Photoshop network. The planes were UV mapped and colored red, then bump mapping was added with a tile texture.
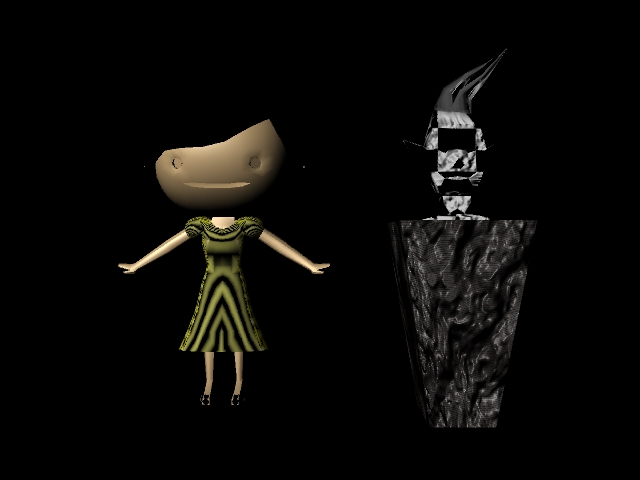
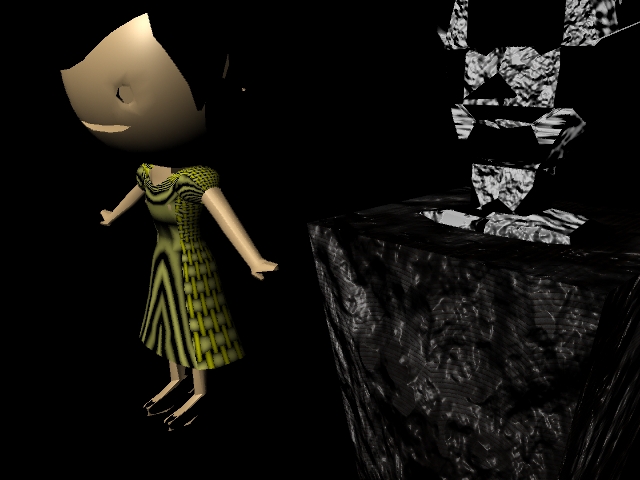
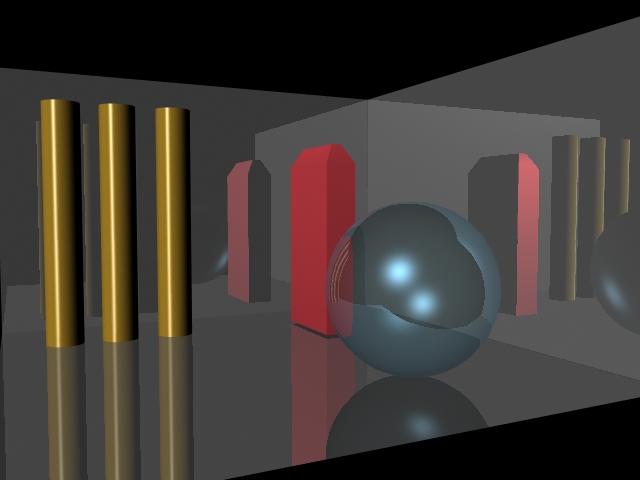
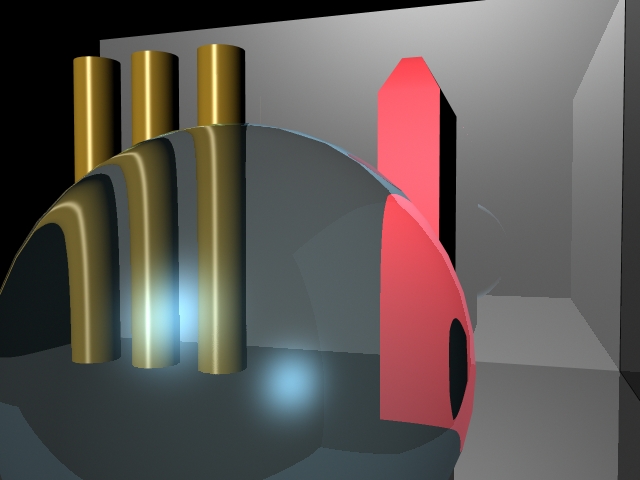
5.1: Creating Reflection
Used different reflection and refraction settings to create different results. Enabled raytracing for renders.
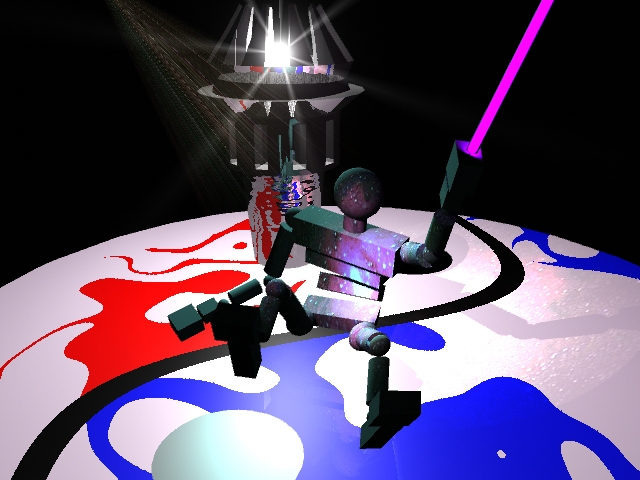
5.2: Lighting
Created a spotlight and adjusted it so that it is over the agent. Changed different settings such as the dropoff, decay, penumbra, and light fog. I used depth map shadows to create a shadow and color mapped a photo of a nebula to create a different effect. I then added a point light and adjusted the halo and glow settings. Lastly, I created a sword and added an area light to make it glow.
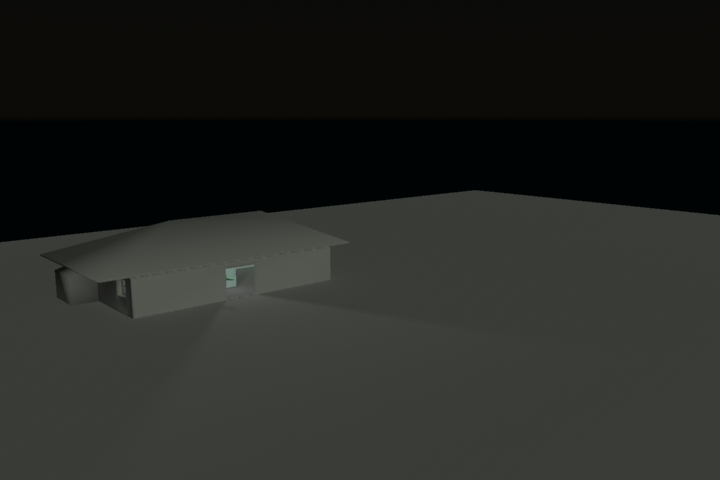
6.1: Depth of Field
Created a new camera and aim, then played around with different depth of field settings and fstop settings. Used heads up display to determine each object's distance from camera.
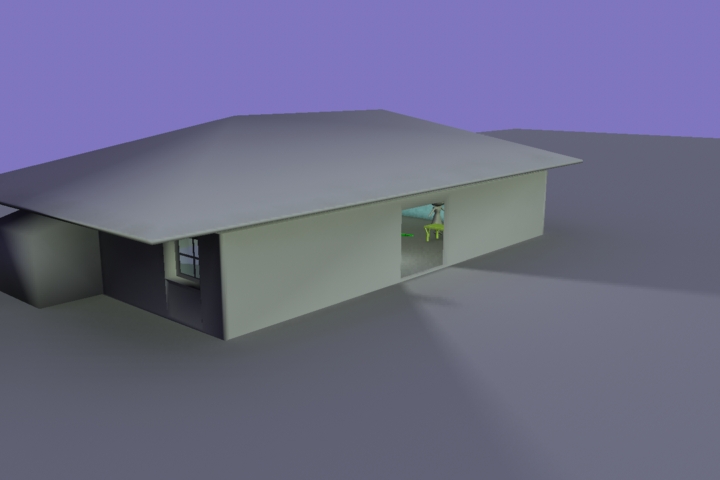
6.2: Indirect Lighting
Changed the camera settings to include a purplish background. Also enabled a physical sun and changed the angle to project an evening-like lighting effect. Used mental ray for rendering.
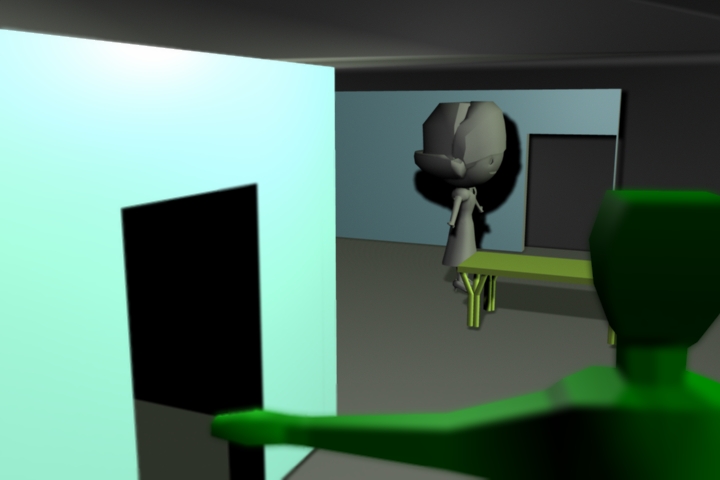
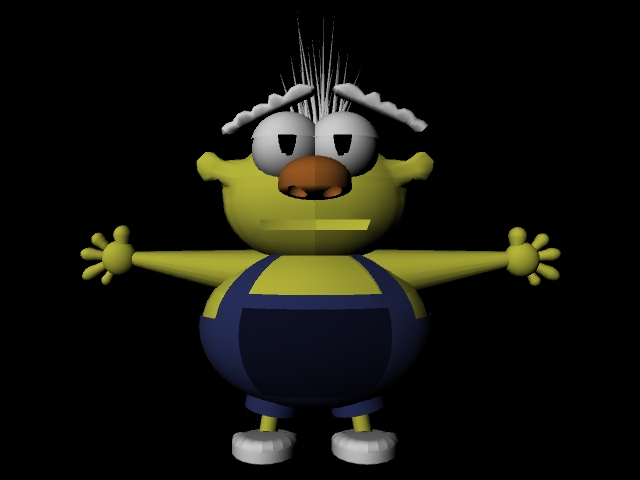
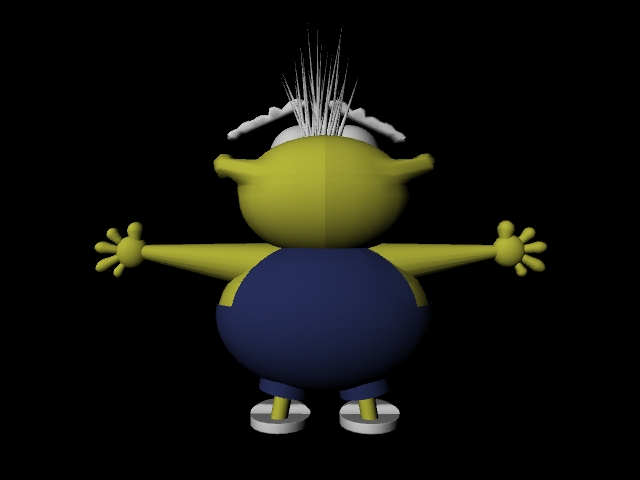
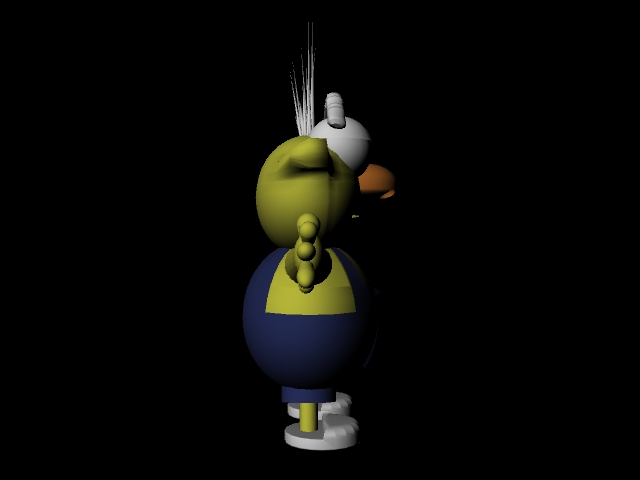
6.3: Character Modeling
This is my character for my final project. I imported the front and side sketches into Maya as a reference to create the character. For each component, I made half of him first before duplicating an instance for the other half. I had to change his feet to slippers because I had a lot of trouble with the toes. All of his materials are lamberts with different colors.
7.1: Keying Process
I made the girl move by adding keyframes and changing her rotation and translation. Practiced deleting and adding keyframes. Used playblast to get the video.
7.2: Bouncing Character
Added keyframes for each of the different positions of the agent. I then used the graph editor to change the speed and different transformations. I added spins as well as resizing the agent at each bounce. Used playblast to grab video of the animation.