Getting Started with the Outlines App
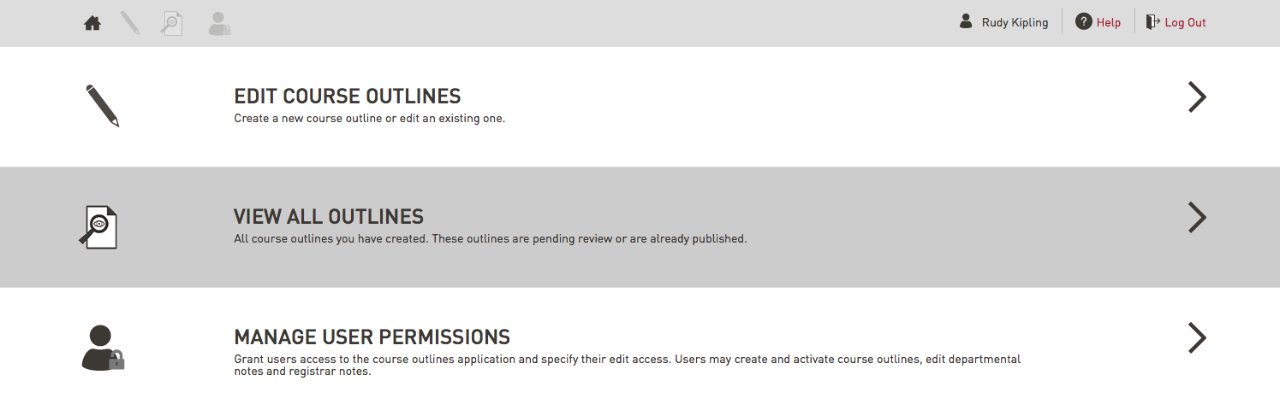
When you sign into the Outlines app (outlines.sfu.ca), the first screen you'll see is the home screen. Depending on your role, different options will be listed. For editors - the most common role - three options will be available.
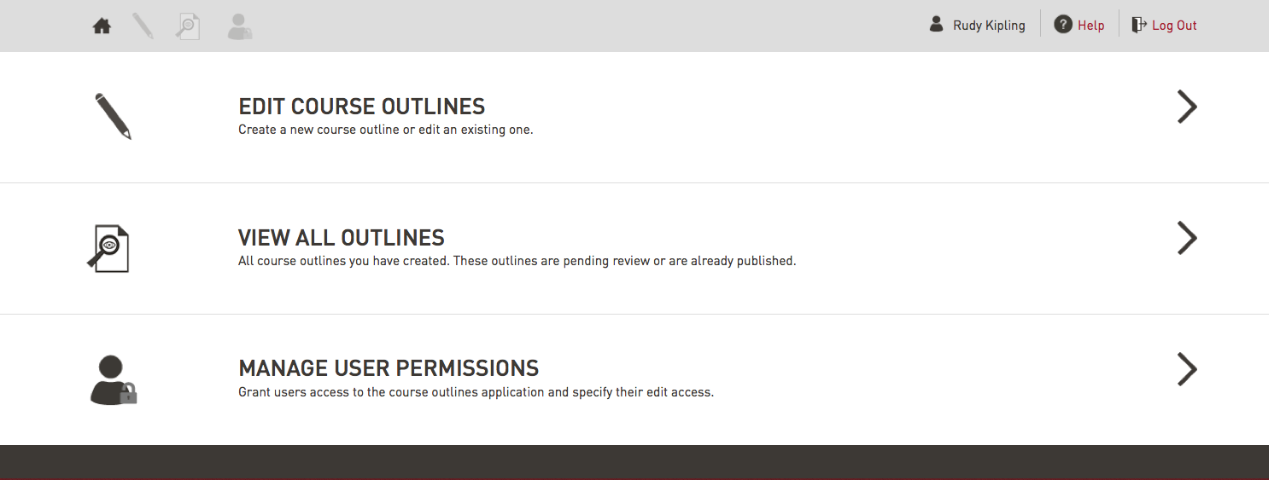
At the top of the screen is a tool bar that provides quick access to the same options listed on the home screen as well as the Log Out button. Hover over each button to see a tool tip stating what the button does. The tool bar is accessible on all pages of the app.

Updating a Course Outline
Selecting the Outline
- Navigate to outlines.sfu.ca and sign in with your SFU computing ID and password.
- Select the Edit Course Outlines option.

- Select the appropriate year, term, department, number and section of the course outline you wish to edit. Click the Continue button. For the purpose of this example, the Spring 2014, EDUC 100W C100 course outline was selected.
Note: With fields that include many options, you may refine the displayed options by typing what you are looking for in the search box.

- If the outline has already been edited, you will be brought directly to the edit screen. Continue to the Editing the Outline section if this is the case. Otherwise, two options will appear:
- Use a new blank course outline. This option will create a new blank outline.
- Use an existing outline as a template. This option will create a partially completed outline based on an existing outline of your choice. This may be useful if you created a similar outline for this course in a previous term.

- Use a new blank course outline. This option will create a new blank outline.
- After choosing an option, the edit screen will load. This is where you edit the course outline content. For the purpose of this example, we have selected the Use a new blank course outline option.
Editing the Outline
In the edit screen, some of the sections will already be filled out, even if you choose the Use an existing outline as a template option. Some of the sections will have a grey background and some with a white background. The ones with a grey background contain information from a centralized database which cannot be changed. Only sections with a white background can be edited.
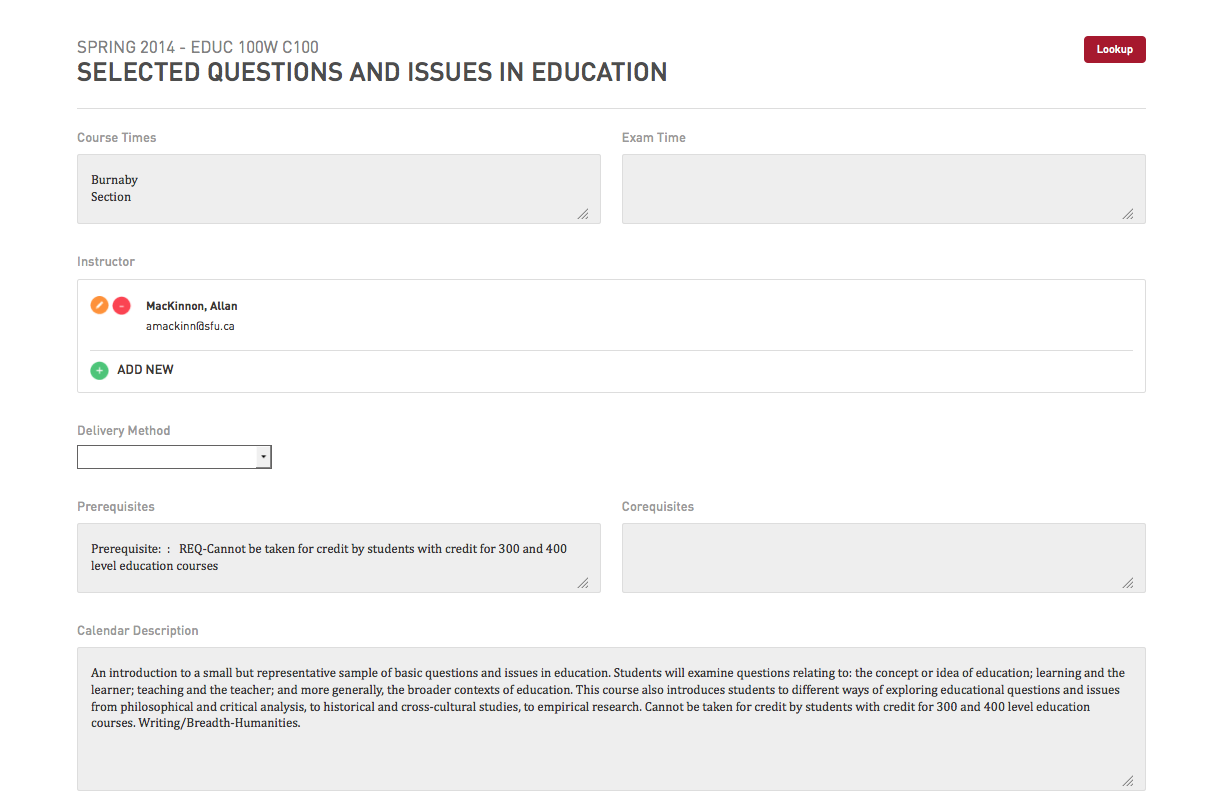

Most sections are filled out using a text area, e.g., Course Details, and Requirements. However, some sections are filled out differently, such as the Instructor, and Grading sections. In the list below, we will cover how to complete all the different sections:
- Section using a text area (most common)
- Instructor
- Grading
- Required Reading and Recommended Reading
- Short Note
Section using a text area (most common)
Each section using a text area with a white background will have an attached tool bar for basic text formatting.

Tool bar options:
- Undo, Redo - Undo an action, or redo an action.
- Paste - Paste text into the text area. (Only works in certain browsers.)
- Formats - Specify whether a selection of text is a heading or paragraph.
- Bold (ctrl+b) - Bold text.
- Italic (ctrl+i) - Italicize text.
- Bulleted List - Create a bulleted list.
- Numbered List - Create a numbered list.
- Decrease indent - Remove or decrease text indent.
- Increase indent - Increase text indent.
- Align text: Left, Centre, Right - Options for text alignment.
- Insert/edit link - Add, edit or remove a link.
- Horizontal Line - Insert a horizontal line.
- Source Edit - View and edit the HTML source code.
Instructor
Usually an instructor will already be listed in this section. However sometimes no instructor is listed. In this case, you will need to manually add one.
There are three actions available: Edit  , Delete
  , and Add New
  . The Edit button allows you to edit an existing instructor's info, the Delete button will remove the instructor, and the Add New button will add a new instructor. Both the Add New button and Edit button will display the same dialogue box.
Adding an Instructor
- Click ADD NEW.
- A dialogue box will appear. If you know the instructor's SFU computing ID, type it into the SFU Computing ID field and hit the enter/return key. This will automatically fill some of the fields.

- Fill out the remaining fields.
- Click the Submit button once you've finished. The section will now display the new instructor.
- To edit the instructor information, click Edit beside the instructor's name.
Grading
- Click ADD NEW.
- A dialogue box will appear. Under Description, fill in the item and its weight.
- To add a new item, click ADD NEW. To remove an item, click Delete .

- Click the Submit button once you've finished. The Grading section will now list all the items and their corresponding weight.
- To edit the grading info, click Edit .
Both sections are filled out in the same manner.
- Click ADD NEW.
- A dialogue box will appear. Fill in the reading information in the Details text area. If the ISBN is known, enter it into the ISBN field and click the Submit button.

- Repeat steps 1-2 for each item.
- To edit a reading, click Edit beside the reading's name. To remove a reading, click Delete .
- Please remember to provide the SFU Bookstore with any required or recommended course material adoptions. SFU Bookstore staff will source your course materials (physical or digital) to ensure they are available for students in time for class. Please contact SFU Bookstore Course Materials team at textbook@sfu.ca with any questions.
When using the CQ Course Outline list component there is an extra column called “Notes,” which can be displayed. This column will contain content filled in the “Short Note” field.
Submitting the Outline
- When you've finished filling out the outline, click the Continue button located at the bottom right of the page. (If you would like to save your edits to an outline but you're not ready to submit it for approval, click the Save button.)
- Following this action, you will be shown a preview of the outline. If you spot any issues, click the Back button to edit the page again. Otherwise, click the Submit button.
- The Choose Course Outlines page will load with a message at the top stating the course outline was submitted for approval.
- From this page, you can start editing another course outline. If you are finished, log out of the Outlines app.
After submitting an outline, a notification will be sent to the manager — usually your departmental administrator. Only when the manager activates the outline, will it update the outline at www.sfu.ca/outlines.
Approving a Course Outline
For Course Outline Managers
This option allows you to activate a submitted outline, which will then appear in www.sfu.ca/outlines.
Activating an Outline
- From the home screen, select the Review and Activate option.
- View the outline to be activated by clicking the Review button
 .
. - Upon viewing the outline, you may continue to activate or edit it. The options are all located at the bottom of the page.
- When you activate the outline, you will be brought back to the Review and Activate screen, and the outline will be updated in www.sfu.ca/outlines.
Activating Multiple Outlines
- To activate more than one outline at a time, click the checkbox beside each outline you wish to activate, or to activate all the outlines, click the top checkbox.

- After selecting the outlines to be activated, click the Go button beside the Activate dropdown.

Note: Once an outline has been activated, it can't be edited. In order for an Editor to update an outline, it needs to be de-activated by a Manager. See the steps below on De-activating an Outline.
De-activating an Outline
- From the home screen, select the Review and Activate option.
- View all approved outlines by selecting “approved” under the Status dropdown field. Once selected, click the Filter button. The activated outlines will now appear in the list.

- Locate the outline to be de-activated and select the checkbox.
- Navigate to the bottom of the page and select “De-Activate” in the dropdown field. Proceed by clicking the Go button.

- Scroll back up to the Status dropdown and select “pending review,” followed by clicking the Filter button.
- Locate the outline, and then view the outline again by clicking the Review button .
- Scroll to the bottom of the page and select Edit.
- Edit and change the content of the outline as necessary. Upon completion select Continue at the bottom of the page.
- A preview of the edited outline will be displayed. Navigate to the bottom of the page and Activate the edited course outline.