AEM Interface Tour
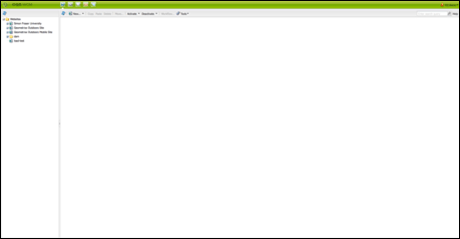
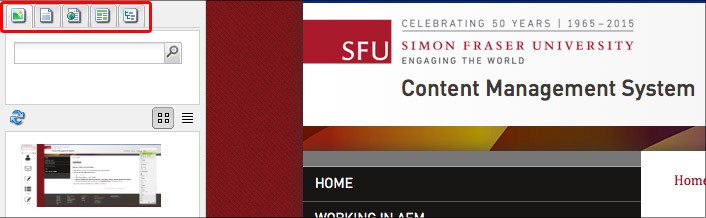
WCM Left Panel
The left panel of the WCM represents the site hierarchy. Here, you will find a tree structure of the pages and other content that can be expanded or collapsed.
This structure is generated as you nest content pages. This is also how URLs are generated.
If it is your first time logging into the system, you will need to expand the "Simon Fraser University" page hierarchy to view your department's space. If you do not see this, contact your Site Administrator.
You will only be able to see the page structure for spaces in which you are allowed to author.
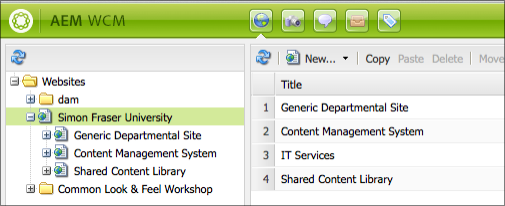
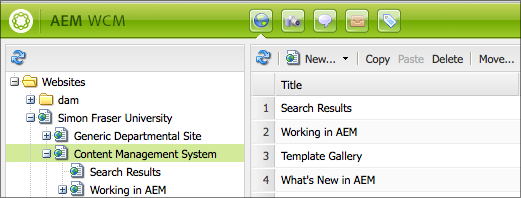
WCM Right Panel
Once you click on a page from the site hierarchy that contains child pages (i.e., pages nested underneath), the child pages will appear on the WCM right panel.
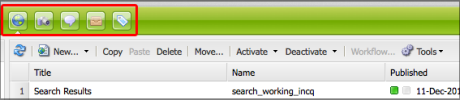
You can tell that a page has child pages by the presence of a plus (+) or minus (-) sign beside its icon. In the right panel, you may select one or multiple pages on which you would like to perform actions, including moving, deleting, copying, activating or deactivating.
A double-click on the page name expands the tree and opens the page at the same time.
Authors will normally use the first two of the modules: The WCM and DAM (Digital Asset Manager). The DAM is where you will store any other files you wish to publish on your website that is not a web page, e.g., PDFs and images.
As AEM is a web content management system, all digital assets must be uploaded to the DAM before they can be used on a AEM webpage.
Digital assets must also be activated (the same way as activating a content page) in order for them to appear on the AEM published page. Otherwise they will only appear in the author's editing window.
See Uploading Images and Other Files for more information on how to build content in the DAM.
Accessing the DAM
The DAM is accessed by clicking the camera icon at the top of the page.
An up arrow will appear under the camera icon and the tab title at the top left of the DAM left panel will read Digital Assets indicating that you have left the WCM and are now in the DAM.

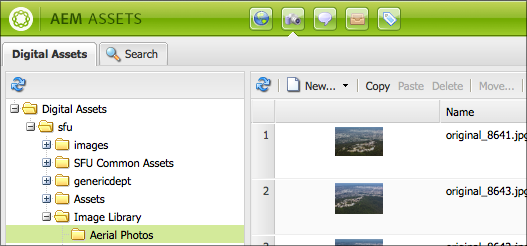
DAM Left Panel
The folder structure is on the left panel, and can be expanded or collapsed by clicking the appropriate plus (+) or minus (-) symbols. For your first time using the DAM, you will need to navigate to your department's Digital Assets through the tree, beginning with SFU.
Contact your Site Administrator if you cannot see your department's Digital Assets space. You can only see those that you have been authorized to.
DAM Right Panel
The right panel will display the folders and their contents, including thumbnails of images. A double-click on the image will display a larger version and details such as its size, description, tags, and dimensions.
While determining the folder structure of the contents within the DAM is entirely to the authors' discretion, keeping it similar to the site structure in the WCM is suggested. This will offer a visual reference between the relationship of the files in the DAM and the pages in the WCM.
AEM Editing Window
Double click on any of the pages in either the left or right panel of the WCM to open the Editing Window, which will launch in a new browser window or tab. The Editing Window is where you will edit the contents of your page.
Tip: To launch the WCM from the Editing Window, click on the Websites button located at the bottom of the Sidekick (just to the left of Refresh, it looks like a globe).
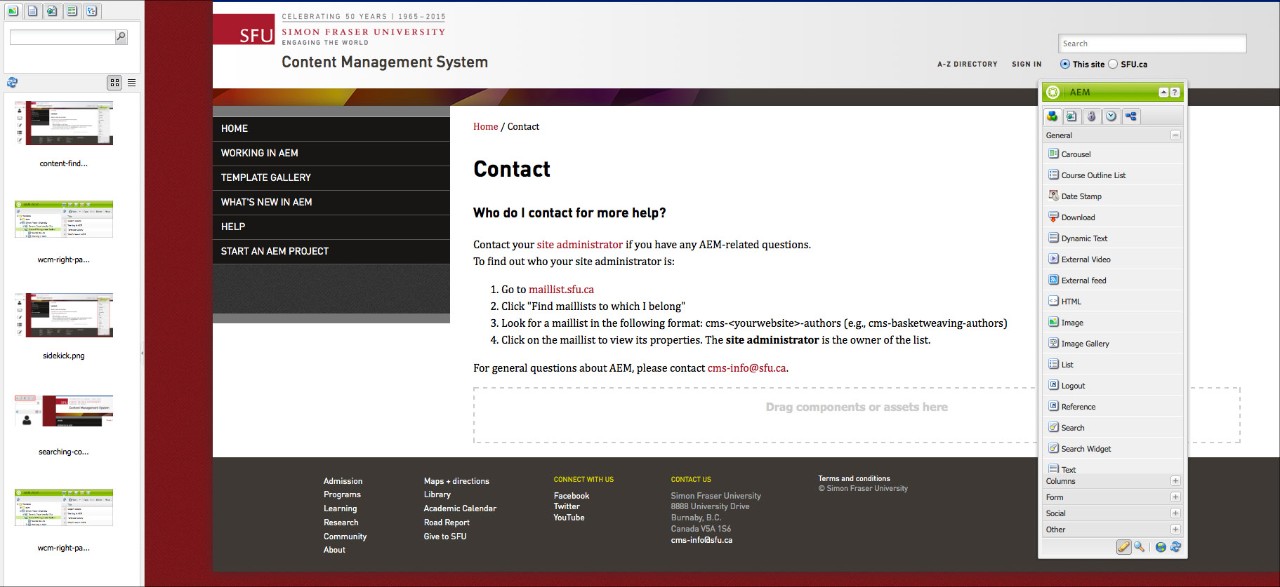
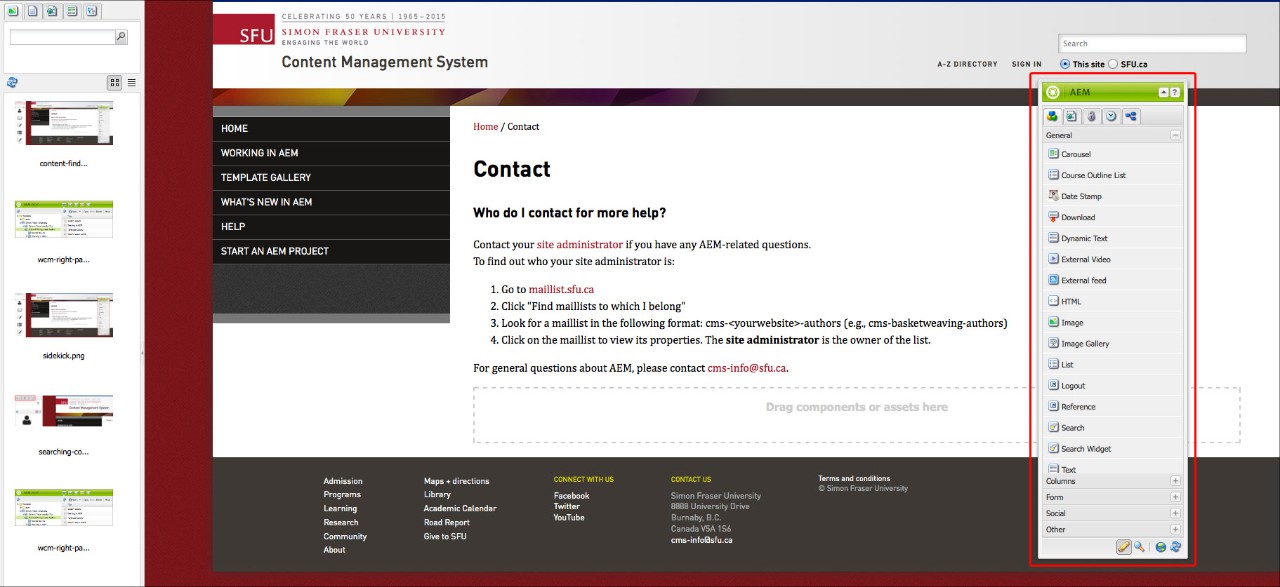
Sidekick
To the right of the Editing Window, you will see the Sidekick. This menu contains the components you may use on the page, plus other properties including versioning and page activation.
It can be minimized or expanded by clicking on the little arrow in the top right-hand corner. You can also click and drag the Sidekick around when you need to.
The five tabs in the Sidekick are Components, Page, Information, Versioning, and Workflow.
The first tab is Components. These are the elements of a page that you must place to tell AEM what type of content to expect, such as text, images, calendars, column structures, forms, and others.
The Page tab allows you to view and change page properties; move, copy, delete, lock, or activate the page. It can also create a child page.
The Information tab lets you view the log of changes made to the page. Author access permissions, however, are controlled by SFU Groups, outside of AEM.
Versioning allows you to make a 'snapshot' of the page as it is, leave a comment on that version, make more changes to the page and compare, or restore (using Timewarp) an old version of the page. It is important to version early and often! Else, if you delete pages of your site by accident you will not be able to restore them.
The Workflow tab is used to start the process of activation, deactivation, publication, subscriptions, etc. when a page needs to go through approvals by different people to be changed.
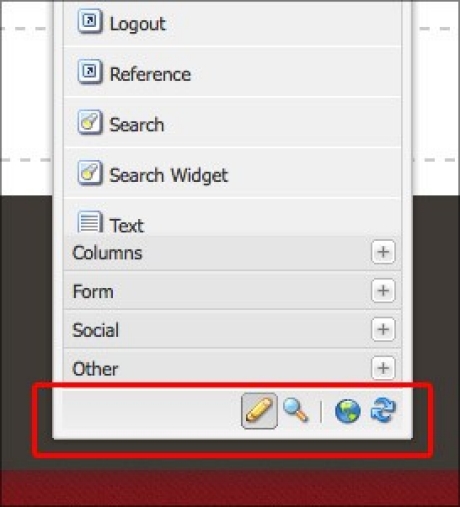
In the bottom right hand corner of Sidekick, shown above, there are 4 buttons.
Edit mode is used to change the layouts or content of a page.
Preview mode shows you what the published version would look like.
The Websites button loads the WCM in another tab, and the Refresh button shows you the page with edits in place.

Searching in the Content Finder
To conduct a search in the content finder, authors must type in the name of an image, document, or page. The following search tabs are available:
Images - This tab allows you to search for images in the DAM. Note that the Images tab is limited to the DAM folder of the site which you are currently editing. To access images outside of your site's DAM folder, use the Browse tab.
Documents - This tab is for locating files in formats such as .pdf, .doc, .ppt and even design files such as .ai (Adobe Illustrator). Search results will include documents whose content contains the search term/s.
Pages - This tab shows existing pages that you are authorised to view. You can drag and drop these into a hyperlink field to link to them automatically.
Paragraphs - This tab will let you search for paragraphs on other pages so that you can drag and drop them into the page you are editing to instantly create a reference. To find and reference a paragraph from another page, enter its author URL (which begins with "/content/sfu/...") in the search bar.
Browse - This tab lets you browse through your site's tree to look for content, as opposed to searching. Both the WCM and DAM are accessible from the Browse tab.
You can Refresh the content finder with the little button just below the search field. To the left are the buttons to switch between Mosaic View and List View.