Using the Text Component
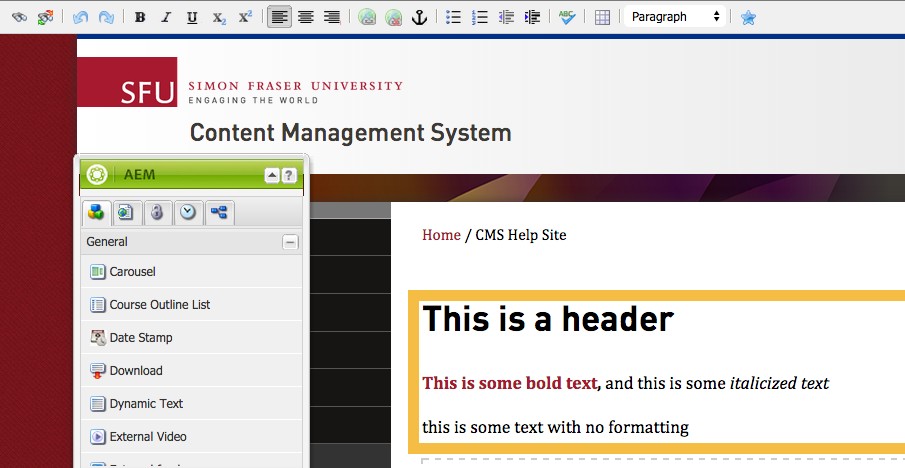
To add a Text component, drag and drop it into an area marked with "Drag components or assets here".
A green checkmark will appear, indicating that the component can be dropped in this area. If you drag the component to an area that cannot contain a component, a red circle with a line through it will appear.
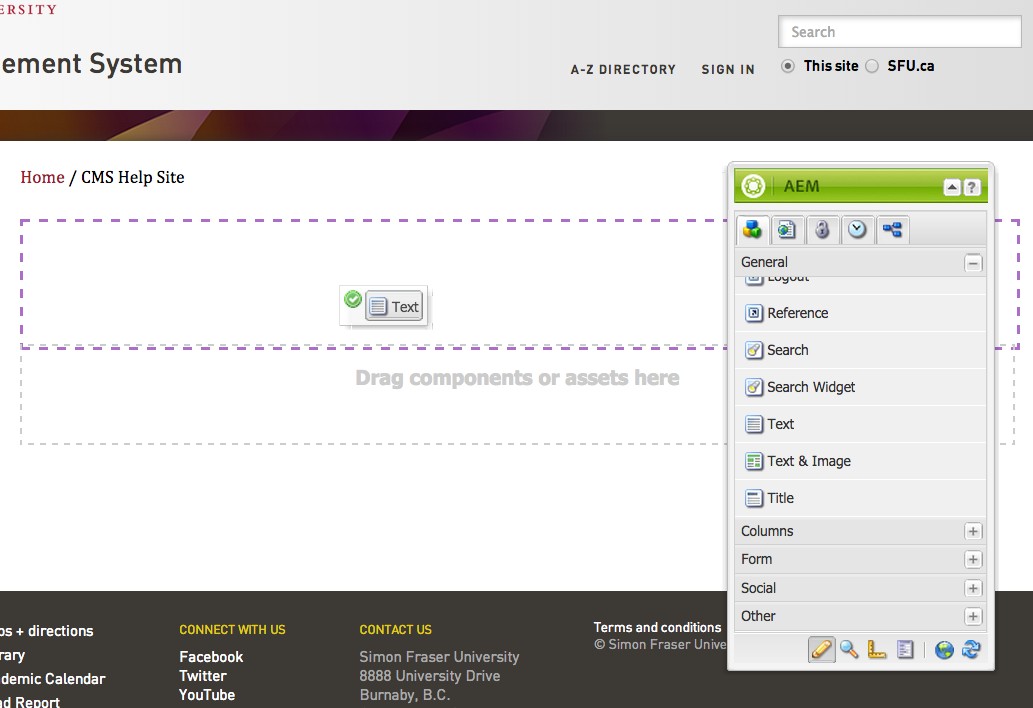
After releasing your mouse button to drop the component into the area, a "paragraph" icon will appear, indicating that a Text component has been placed.

Text Component Editing Options
Two editing options are available for the Text component: In-Component Editing and In-Place Editing. Advantages for each of these editing options will be explained in the descriptions below.
In-Component Editing
Place your mouse pointer over the Text component, and a green border will appear.

With your mouse pointer still within the green border, double-click to launch the In-Component Editor. It will appear as a dialogue box within your page.
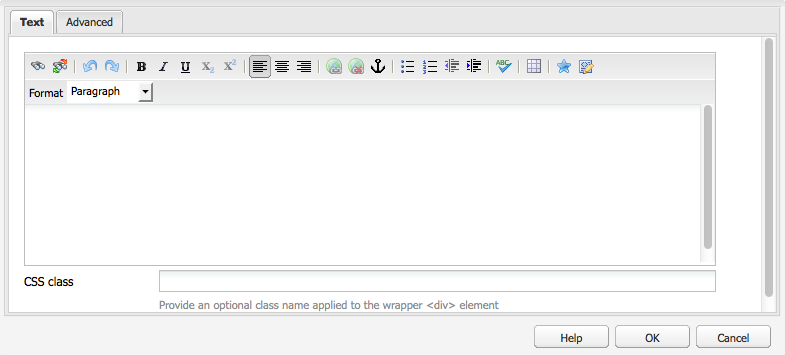
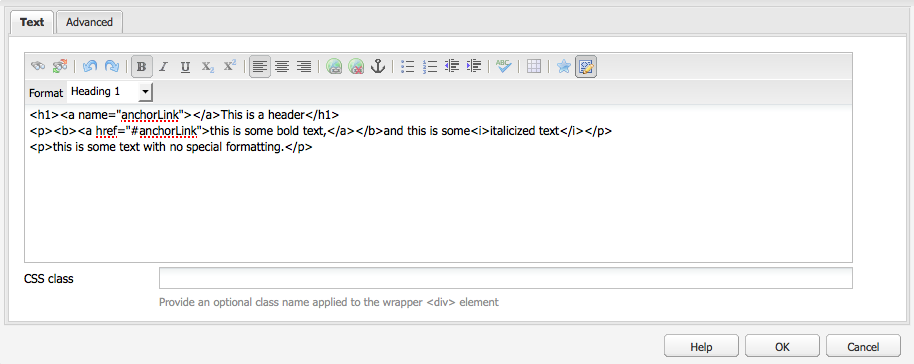
Located near the top of the In-Component Editor is a Rich Text Editing toolbar. Use this toolbar to format the text you wish to place on your page.
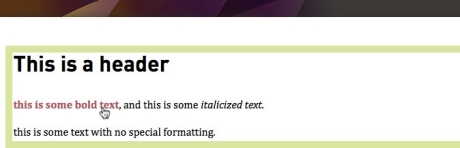
This is not a "what you see is what you get" or "WYSIWYG" editor - you must click OK to see what the text actually looks like. This is in accordance with SFU's Common Look and Feel style that AEM sites use, defining the look of text and headers.
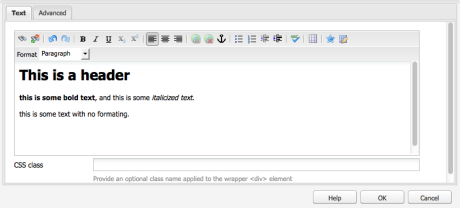
Note: To single space text, use the "Shift + Return" keys to move to the next line.
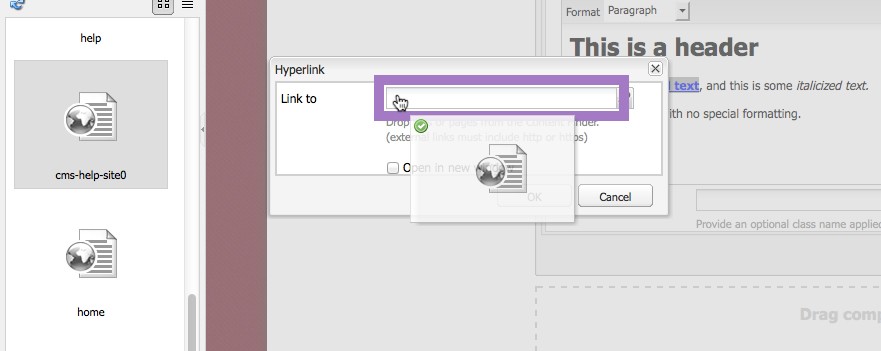
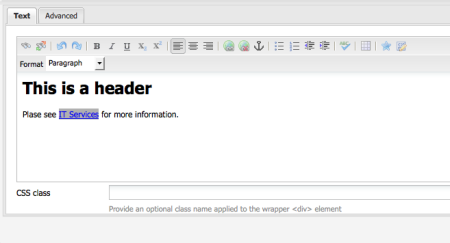
You can create links to other AEM pages by using the drag-and-drop feature of the Content Finder.
To do this, start by using the Pages tab of the Content Finder to search for the page you want. Next, open up your text field and highlight the text you want to be a link, then click the link button. Click and drag the page you want from the Content Finder into the Link To field, and drop it when it turns purple.
Note that if there are links in your text, and you need to break up the text component into smaller pieces, copy (right click, choose Copy) the entire text component and paste a copy of it, removing text content as needed from the two components. If you copy just a portion of text within the text component, any links in the text will be changed and will not link correctly in the pasted version.
Anchor Tags
Anchors are little markers in the In-Component editing of the Text component that can be linked to from elsewhere on the page. Authors can create a short list of headings at the top of a page that, when clicked on, make the page 'jump' to the section of the page that it is referring, or 'anchored', to.
The links at the top of this page are a good example; they do not leave this page, but they take the visitor to anchors at Text Component Editing Options, In-Component Editing, Bulleted and Numbered Lists, Source Edit (HTML), and In-Place Editing.
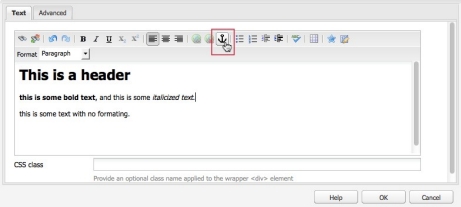
To create an anchor, first place your text cursor in the text where you would like the anchor to be. Then click on the Anchor symbol.
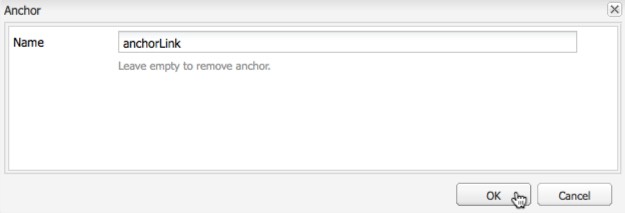
In the Anchor field, give that location one unique word or compound word (case-sensitive). Click OK.
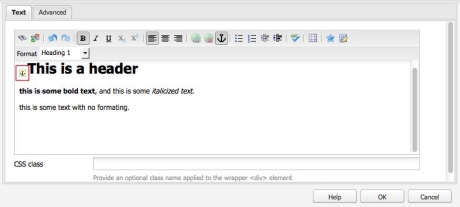
A little yellow square with an anchor symbol should appear in the text, where your cursor was placed earlier. Clicking on this symbol will bring up the previous dialogue, allowing you to change the name of the anchor.
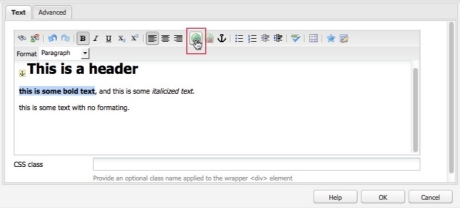
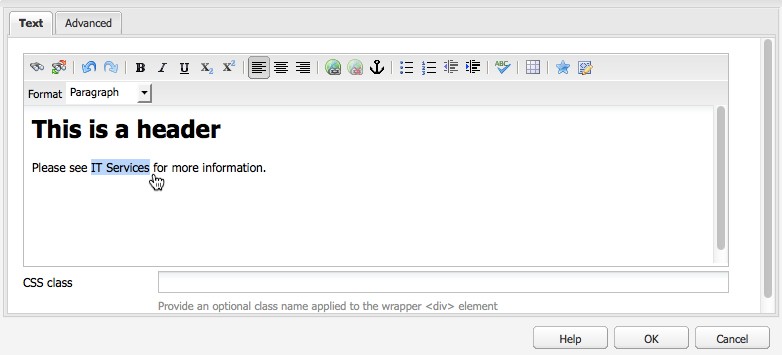
Elsewhere on your page where you need to link to that section, write some text that you would like to link to that section. Highlight that text, and click on the link button.
Type a hash symbol, also known as a number sign (#), immediately followed by the unique word given to that section. It will become a link that will go to that section when clicked on.
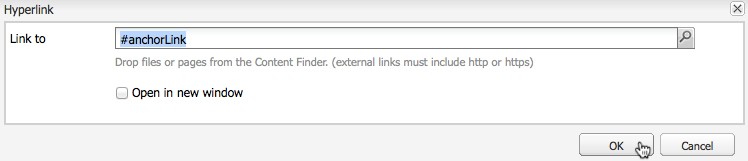
That text is now a clickable link that is anchored to the location on the page specified earlier.
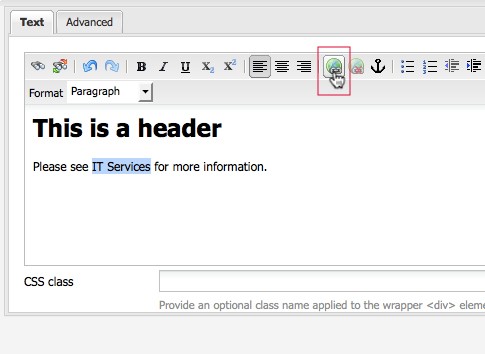
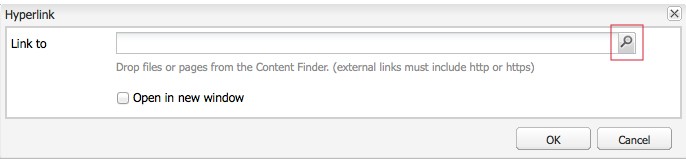
Click on the globe icon on the upper right hand corner of the rich text edit window.
Note: The "unlink" icon, the globe with the red "x", is located next to "link" icon.
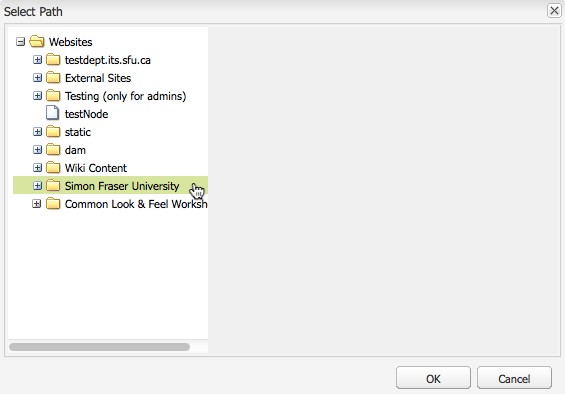
Click on "Simon Fraser University" to expand all pages. Browse to and select the desired page. Click Ok.
Note: If you would like to link to a document that you have uploaded to your DAM, click on the "dam" folder and navigate to and select the document.
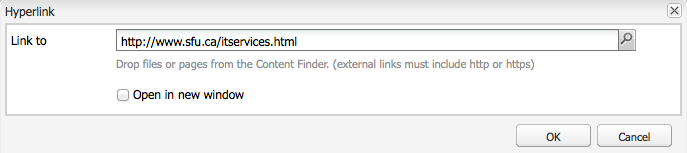
The text is now successfully linked to the web address.
To create bulleted or numbered lists, open up your text field and then click on the bullet button.
- Your text field will immediately start to make bullets like this one.
- Push Enter to create a new bullet, or push it twice to end the list
Like this. To start a numbered list, click on the numbered list button right beside the bulleted list button.
- And then start to type your list, creating new items by pushing enter.
- Or ending the list by pushing it twice.
Below is a picture of the bulleted and numbered list buttons.

Source Edit (HTML)
If you wish to edit the HTML in the Text component, click on the very last option in the Rich Text Editing toolbar. This will toggle Source Edit.
Note: The Text component (in-component or source edit mode) is not appropriate for handling complex HTML functionality - it is only for displaying text, and in some cases, images or tables. If you wish to embed External Web Applications or other code, use the HTML component or the External Feed Component as necessary.

You may then edit any HTML tags in the Text component. If you wish to return to rich text editing, click on the Source Edit button in the toolbar again.
Note: AEM will strip out certain HTML tags in Source Edit. To ensure that all changes in HTML are preserved, use the HTML component.
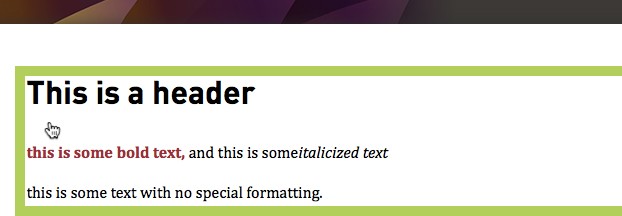
Once you have finished editing, click OK on the bottom of the editor to save.

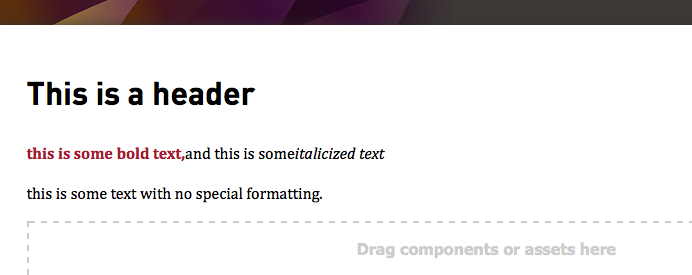
After clicking OK, your changes to the text will appear in the styles defined by your site's look and feel. Changes to individual components are automatically saved in AEM; there is no need to save the entire page.
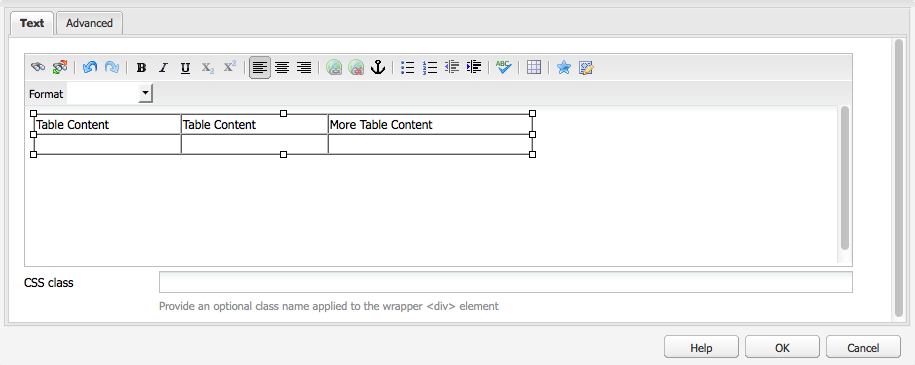
You can use the Text Component to insert tables into your text, and to edit existing tables. This is the preferred method of using tables in AEM.
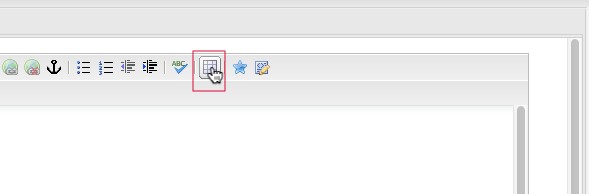
To insert a table, click the Table button on the Text Component's toolbar.
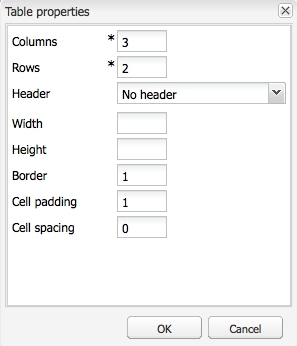
In the dialog box that appears, enter the values for your table, and click OK.
You can now enter text into the cells of your table, and use all of the text editing component options on your table. To edit the properties of your table, right-click it at any time.
In-Place Editing
In the current version of AEM, In-Place Editing is only available for the Text component.
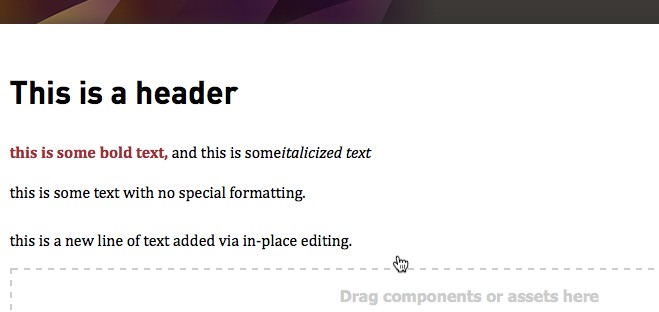
You can use In-Place Editing to edit Text Components to edit text quickly and easily, without having to launch the editing window. This is ideal for quick edits to content.
To activate In-Place Editing, click once on the component to select it. A dark green border should appear, indicating that you have selected the component.
Click on the component again after a brief pause, and the border will turn orange. (Note: This is what is referred to as a "slow double click", as performing a normal double click will launch the In-Component Editor).
The Rich Text Editing toolbar will also appear near the top of the Editing Window.
You may then begin editing the text within the dark green border, and use the options in the Rich Text Editing toolbar.

Once you have finished editing your text, simply click off of the Text component to save your changes. The green border will disappear, indicating that In-Place Editing is no longer activated.
For more tips and examples of Text component usage, see the Text Component page located under the Components section of this site.