Discrete Symmetry Lesson One
Objectives
Big Idea – We can describe, measure, and compare spatial relationships.
- to build on students' knowledge of line symmetry and develop students' reasoning with properties of symmetry
- to develop an understanding of reflectional symmetry (e.g., what you do on one side, you do on the other)
- to develop students’ positional language (e.g., beside, on top of, under, in front of, up, down, away from, toward)
1. The moving of the squares helps students see the functional relationship between a square and its image.
a. For example, you might hear students say, “If you move the blue square along the line, then the other blue square will move along the line.”
2. Informal descriptions of properties that coordinate students’ visual impressions with geometric language.
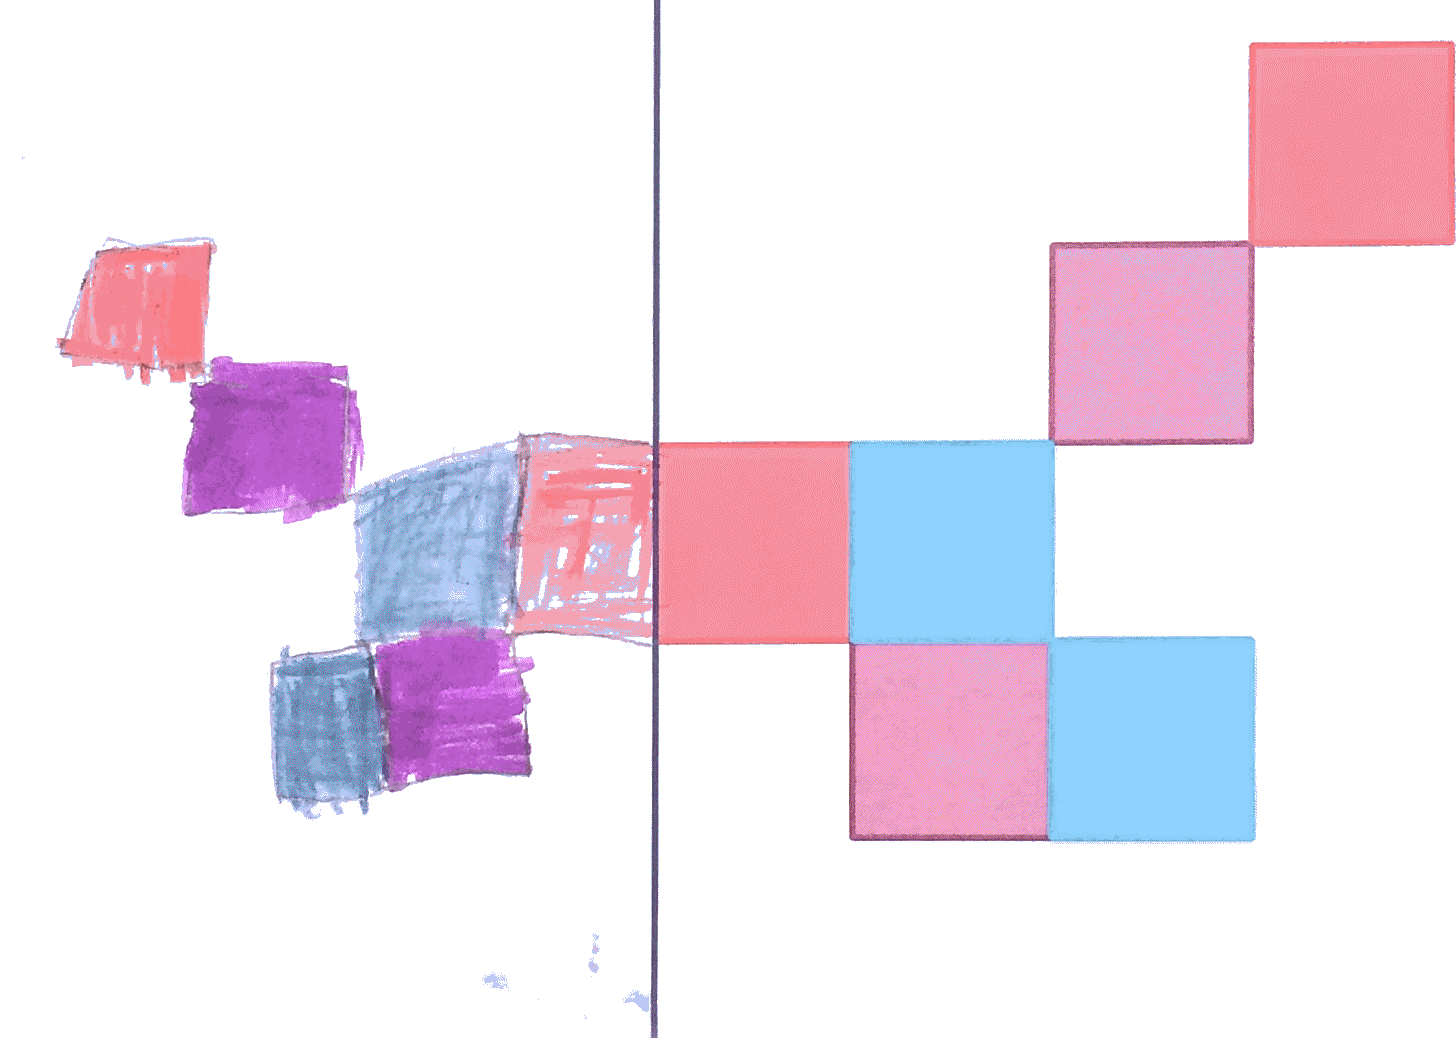
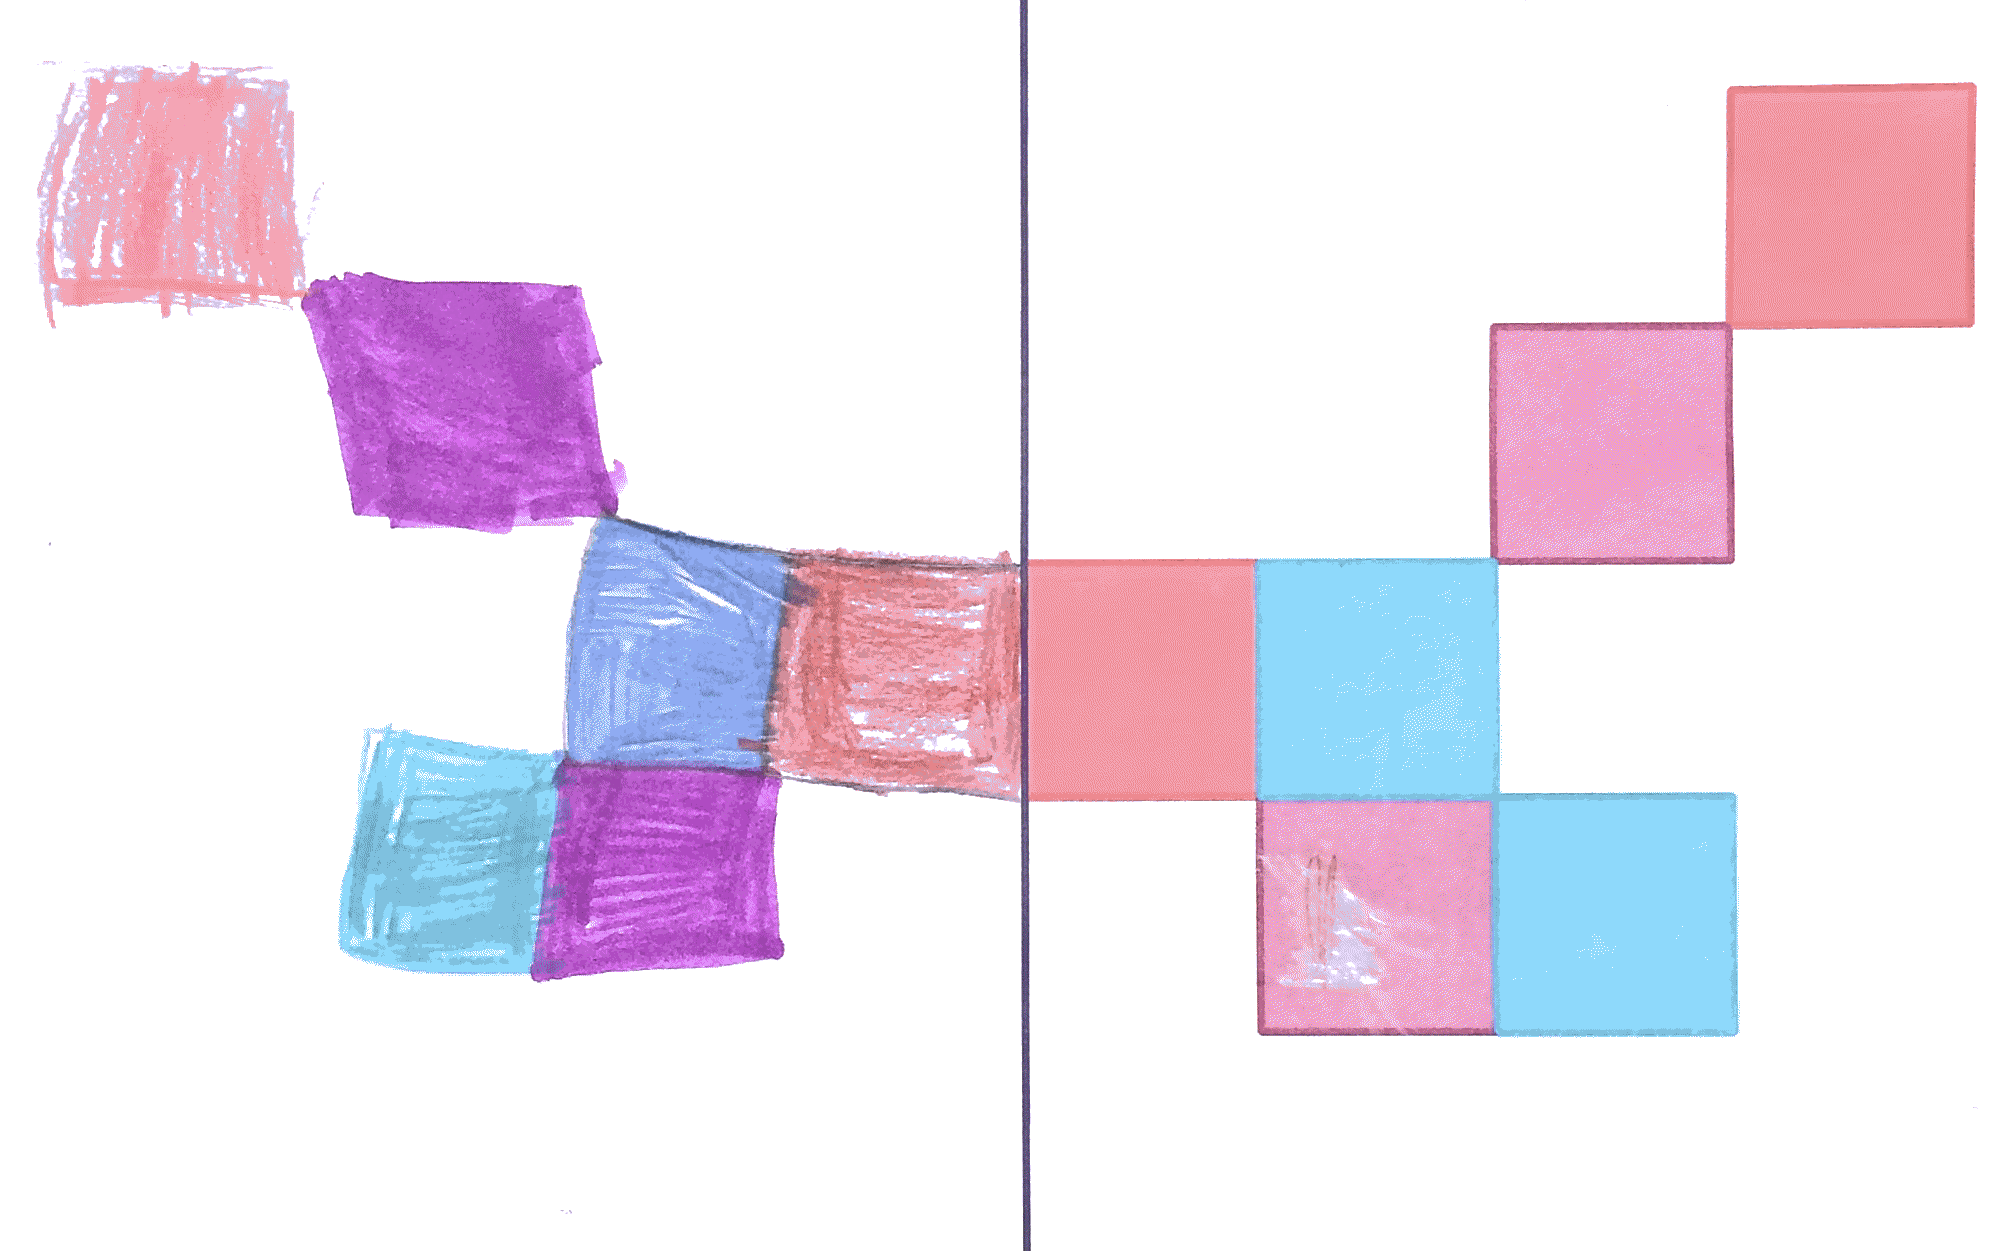
a. Students’ initial descriptions might be “One side of the line is the same as the other”.
b. Students’ may see the spaces between the squares as ‘white squares’.
c. Students will gain an awareness of the property of equidistant. You might hear them say, “A square on one side of the line should be the same distance away from the line as a square on the other side of the line”
d. Students will gain an awareness of the property of perpendicularity. You might hear them say, "A square on one side of the line should be at the same level as a square on the other side.”
e. Students might express these ideas through gestures as well as words.
You do not need to teach the formal property names but help the students begin to articulate their visual awareness.
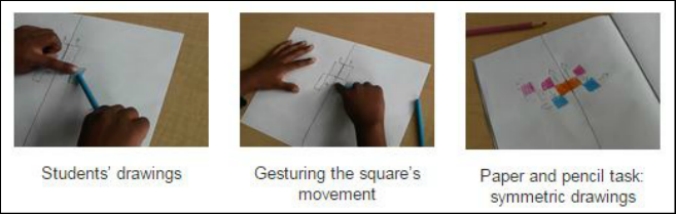
Activity – Whole Group
- Project the Symmetry Machine SketchPad file and ask the students to observe and describe what happens when you move a few squares.
- Have volunteers choose a square and predict what will happen when they move it.
- Have volunteers explore moving the squares around, creating patterns. Use their descriptions and predictions to emphasize the motion of the squares in relation to the line of symmetry (the square moves along, away from, or toward the line).
- Work together to move the squares so that each row is the same colour.
- As partners, or whole group, hand out copies of the eight remaining exploring sketches for students to recreate and discover which are symmetric (and can be recreated on the Symmetry Machine) and which are non-symmetric (and cannot be recreated).
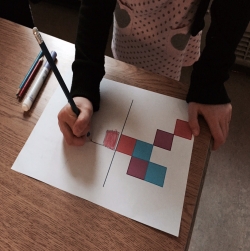
Assessment - Individual or Partner
- Have the students draw symmetric configurations that the Symmetry Machine could produce. Or for further challenge, encourage the students to draw a symmetric figure without the template.
Sample Student Work