Calendar Navigation
Outlook Web App
Using a desktop application?
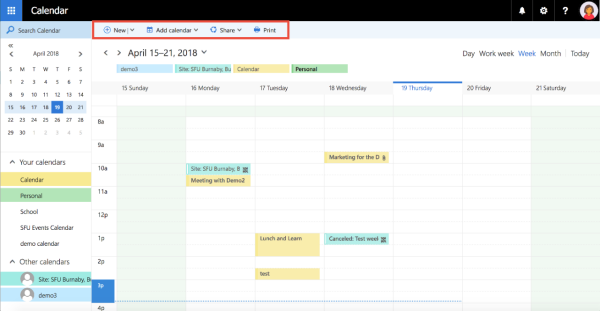
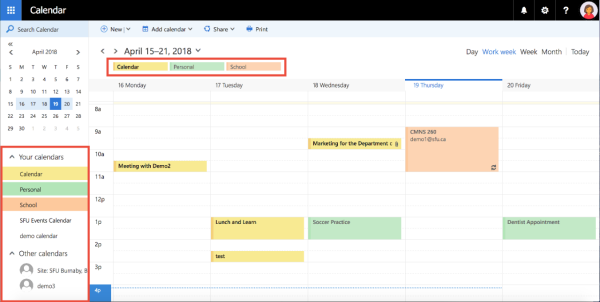
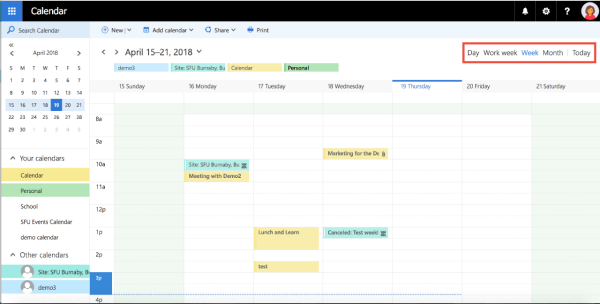
The Outlook Web App provides a number of different options for calendar views. You can switch between these by clicking the Day, Work Week, Week, and Month buttons on the top-right hand side of your calendar. Clicking the Today button will bring you back to the current date.
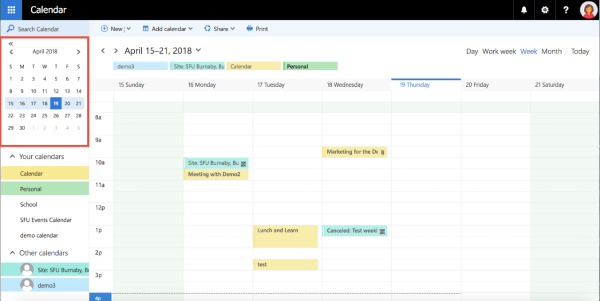
Mini Calendar
The mini calendar in the top left-hand corner of the navigation pane in the calendar module allows you to easily navigate through different months and years as you may need. Clicking on a date in the mini calendar will take you to that date in your main calendar, where you can then create meetings/appointments for that date.
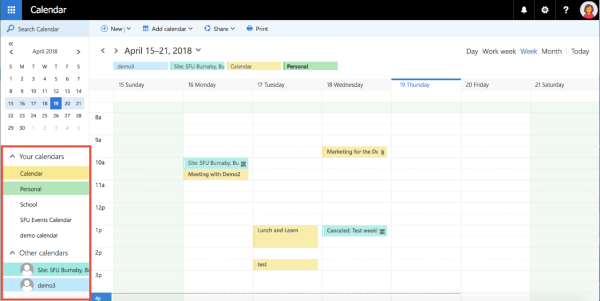
Overlaying Calendars
As you select calendars from your calendar list in the navigation pane, the events within those calendars will begin to be displayed and overlay onto your calendar. You will see the names of the calendars that are overlaid listed above your calendar and their corresponding events will display within the calendar view. Events within different calendars will be coloured differently depending on the colour of the calendar they were created in.