Modifying Appointments
Outlook Web App
Click below for instructions on how to make changes to meetings, including cancelling a meeting, in the Outlook Web App (OWA).
Using a desktop application?
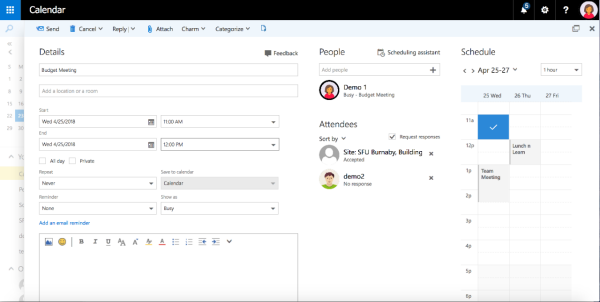
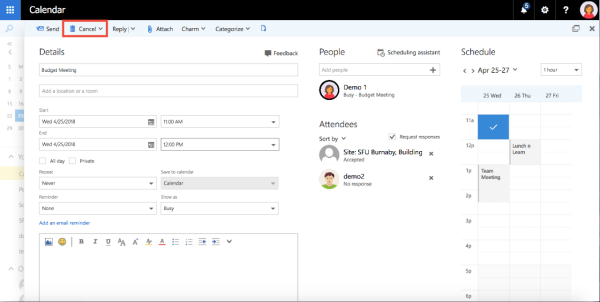
2. This will then open up a composing window similar to the one you see when you create a new appointment/meeting. Here you can modify any details of the meeting that you wish to change, such as the date/time, location, or body of the meeting.
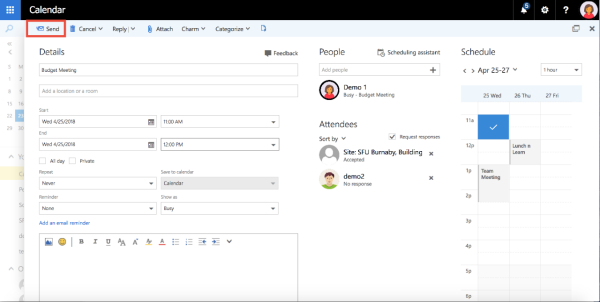
3. Once you are finished modifying the meeting, click Send in the top left-hand corner to send an update to your meeting attendees.
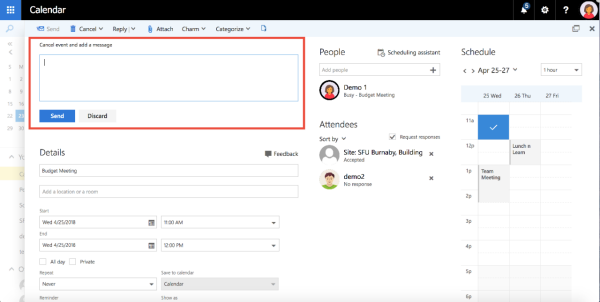
2. This will open a drop-down menu with two options: Edit the cancellation before sending or Send the cancellation now. If you select Send the cancellation now, your meeting cancellation message will be sent immediately.
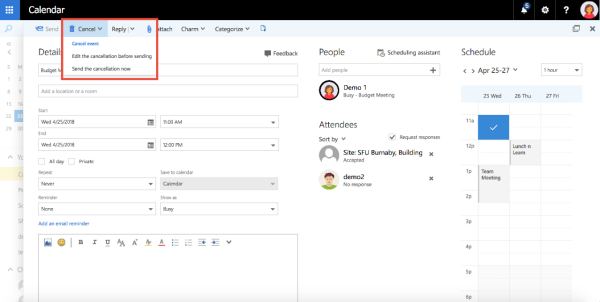
3. Should you choose to edit the cancellation before sending, a text box will appear allowing you to add a message indicating why the meeting has been cancelled. Click Send when you are finished composing your message to send the cancellation.