Import Footage
Once you start to work with FCP, the very first thing you will do is probably to import your footage to the program, so you can start your editing or compositing. There are two kinds of importing.
1. Import digitally coded/mastered digital files (such as AVI, MOV, JPG, TIFF, WAV) from a local/external drive
2. Capturing video from tapes
Importing
To import a digital file from your computer simply go to File>>Import>>Files.
If you have arranged your clips into a folder, you can use Import>>Folder to import everything within that folder.
Capturing
First you will have to film your own footage using a digital video camera and record it onto a mini-DV tape. Once you have your on footage on the mini-DV tape set the video camera to playback mode and attach it to the computer with a firewire cable. Once the camera is ready, open Final Cut Pro (not before). If you are already in FCP, save and quit and then open it up again so that the software can recognize the camera (or deck). To access the capture mode from the main menu go to File > Log and Capture.
1. If you see VTR OK near the bottom of the screen that means it is ready to capture;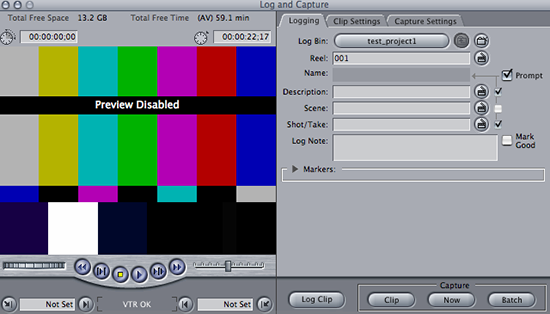
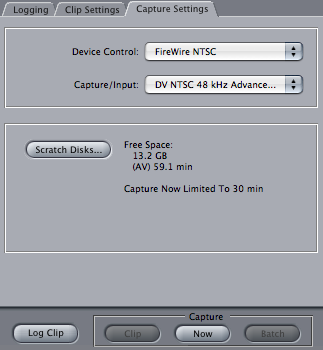
2. Just before you start to capture, you should go to capture settings to make sure that you choose the correct video format and you have enough space on selected hard drive to store your footage.
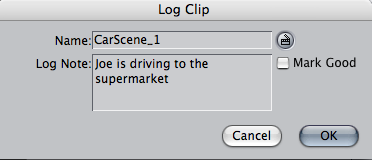
3. To keep your files organized, you should always give a meaningful name to your footage. Click on Log Clip and name your footage.
Begin to capture by clicking NOW about 5 seconds before the shot you’re trying to capture. When you are shooting, be sure to leave at least 5 seconds of unbroken time code before the shot you want to use.
Avoiding Timecode Breaks
Each frame of a video is identified using a number as a timecode. On your camcorder, the timecode indicator shows the length of you recording. However, the timecode on a tape could be inconsistent. For example, suppose you record 1 minute of video, then fast forward 10 seconds, then start recording again. Sometime, the timecode could count up to 60 second then start over at 00 second again. This is usually referred as Timecode Breaks.
When you capture a tape with timecode break, it will automatically stop as it encounters a timecode break. One of the solution to avoid Timecode Breaks is pre-timecode your tapes before shooting. What you need to do is, placing the lens cap on the camcorder and start recording from the start of the tape all the way to the end. You should do this in a quiet, darkened room in case the lens cap leaks a little light. As the black video is recorded onto the tape, consistent timecode is also recorded on the entire tape from start to finish. If consistent timecode is recorded on the entire tape, timecode breaks are not likely to occur when you use the tape later to record real video.
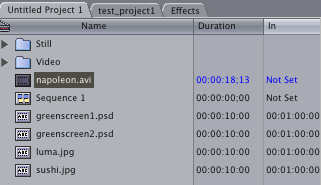
Organizing Your Project
Once you start to do editing and compositing, you will probably end up with many different kinds of files. It is always good to keep your files organized so you can find the shot you want quickly, instead of wasting your time.
In the Project Panel, create bins (folders) for different kinds of files. For example, set up one folder for all your still images and another for all your video footage. Keyboard: Apple + B or File > New > New Bin to create folders.