Contact Lists & Contact Groups
Outlook for PC
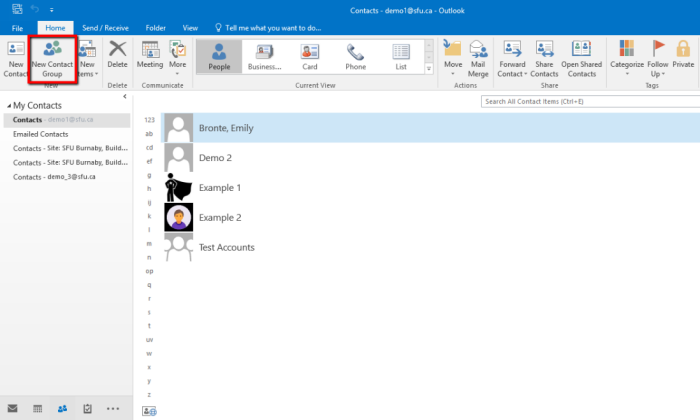
Learn how to use the Contact Group feature in the Outlook 2016 for PC application.
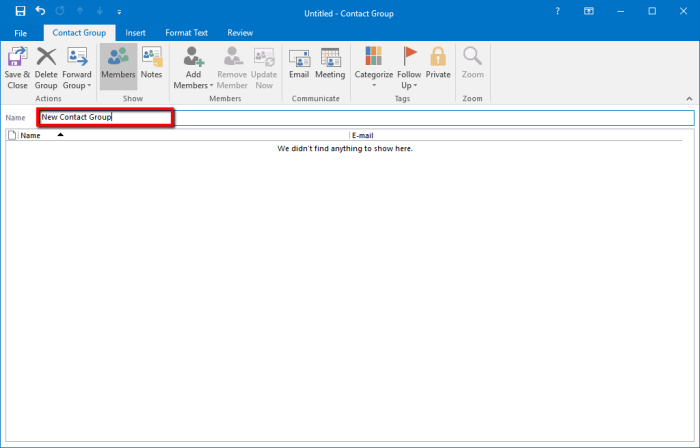
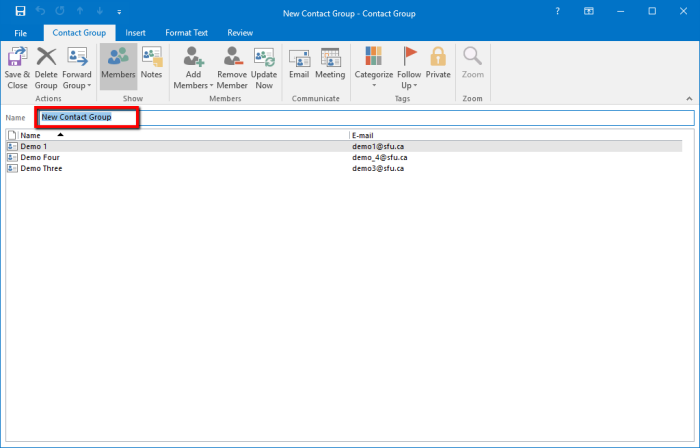
2. This will open a new window where you can create your contact group. In the Name box, type a name for your contact group.
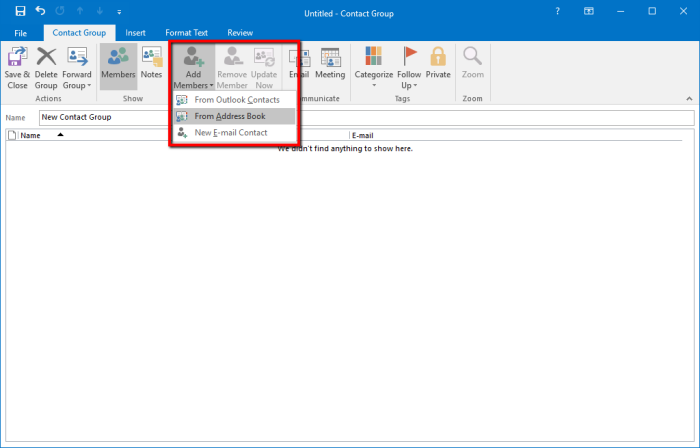
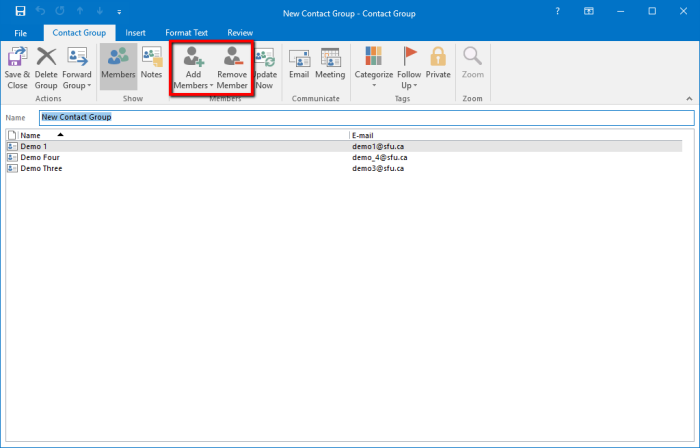
3. To begin adding users to your contact group, click Add Members in the ribbon. This will bring up a drop-down menu with options of where to select users to add. To add people using the GAL, click From Address Book.
4. Search for the people you wish to add and double-click each person to add them. They will show up in the box at the bottom of the window, beside Members -> . Once you've selected everyone you wish to add, click OK at the bottom of the window.

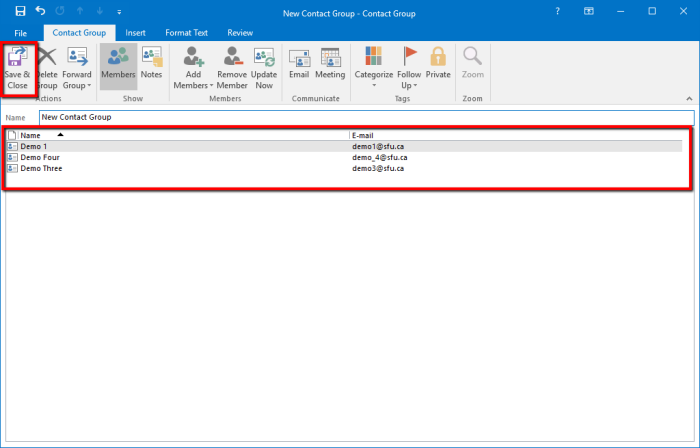
5. You will then see those users listed in your contact group. Click Save & Close in the ribbon to finish.
1. Begin composing a message as usual. In the To field, type in the name of your contact group.
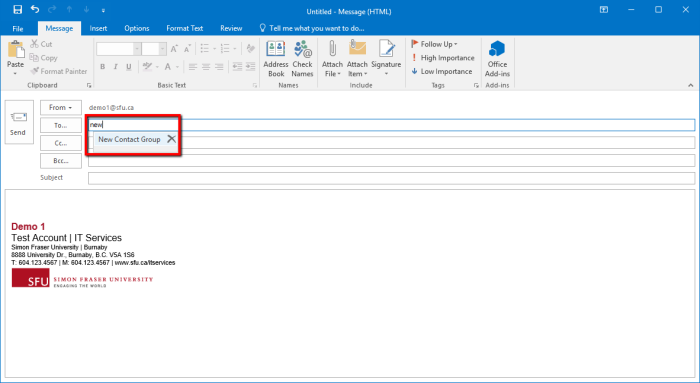
2. When the name of the group appears as a suggestion, hit Enter or Click the group name to add it to the list of recipients.
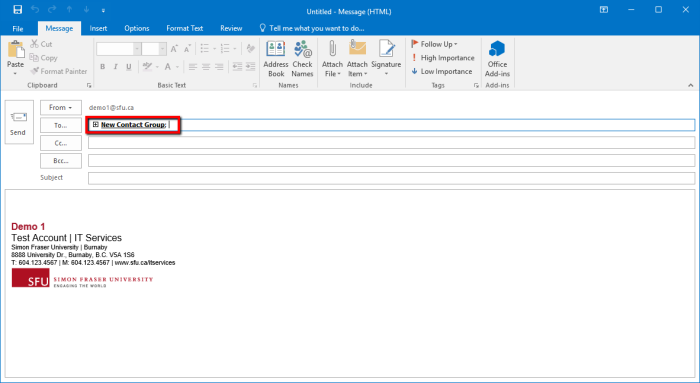
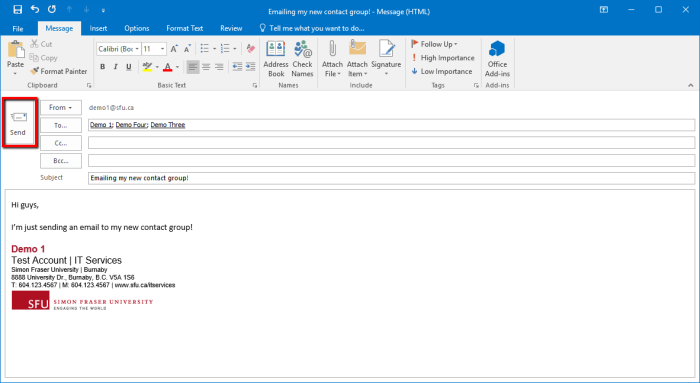
3. If you wish to expand the contact group and see all the members that you are sending the email to, click the small + beside the name of the contact group in the To field.

4. Compose your message as normal and hit Send when you are ready to send the email.
1. In the People module, find your contact group within your contact list and double-click it.
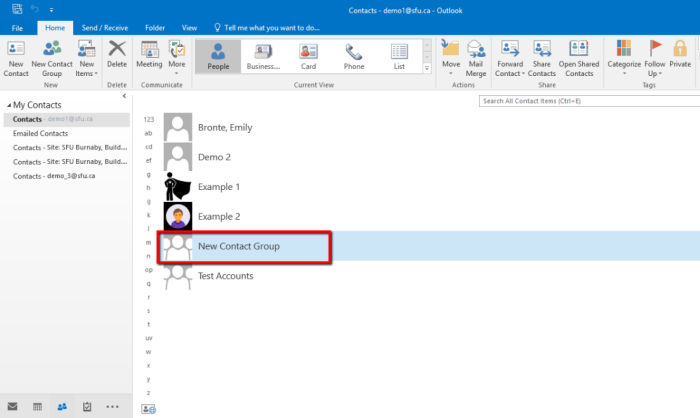
2. This will open the same window you saw when creating the contact group. Here you can add people to your contact group by clicking Add Members in the ribbon, or remove members by selecting them in the list and clicking Remove Member in the ribbon.
3. You can also change the name of the contact group by simply typing in the Name field. Save your changes by clicking Save & Close in the ribbon.
4. To delete the group, click the Delete Group button in the ribbon.
