
- Engage C&M
- Brand
- Campus Communications
- Media & News
- Social
- Web
- Events Calendar
using campaigner
Campaigner is a full-featured email marketing tool for creating, scheduling and monitoring your email campaigns. It will help you build and implement a robust evaluation strategy for your email communication plan.
Using the drag and drop editor
How to use an email campaign
- Go to Email Campaigns
- Click the drop-down arrow on the “New Email Campaign” button and select “Drag & Drop Editor”
- Choose “Saved Templates,” then select “Drag & Drop Template v1”
- Click “Next”
- Name your email campaign and click the green checkmark to apply the changes

SFU BRAND FONT FORMATS
Here is a list of the file formats accessible through the Drag & Drop Template:
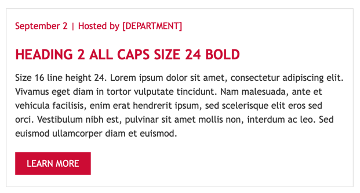
- Title - Trebuchet; size: 32; colour: #CC0633
- Date - Trebuchet; size: 16; colour: #CC0633
- Intro - Trebuchet; size: 18; colour: #333333; line height: 27
- Heading 1 - Impact; size: 32; colour: #CDCDCD; ALL CAPS
- Date - Trebuchet; size: 16; colour: #CC0633
- Heading 2 - Trebuchet; size: 24; colour: #CC0633; ALL CAPS; bold
- Body - Trebuchet; size: 16; colour: #333333; line height: 24
- Heading 3 - Trebuchet; size: 18; colour: #CC0633; ALL CAPS; bold
- Month - Trebuchet; size: 16; colour: #A6192E
- Event and date - Trebuchet; size: 16; colour: #333333
- Button - Trebuchet; size: medium; colour: #CC0633
The headings, text and buttons have all been formatted with the proper spacing. Use the duplicate function to ensure your new blocks have the correct spacing between them.
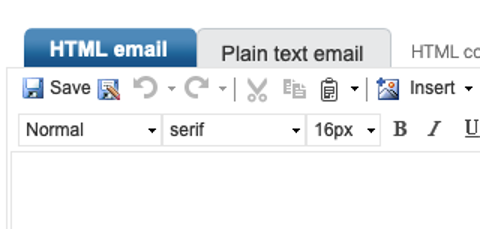
Editing content blocks
- Adding a content block: Click and drag the content block you need (e.g., Text, Image, Button) and place it within the email canvas on the left side of the screen
- Editing an existing text block: Click on the text block once and start editing/typing. Do the same with image blocks to add/replace an image. (Make sure your images are already uploaded to the Media Library.)
- Deleting a content block: Hover over the block and click the “Trash Can” icon that appears on the right side of the block.
- Duplicating a content block: Hover over the block you want to duplicate and click the “Copy” icon. Using the duplicate function will keep all settings to ensure consistency across the template.
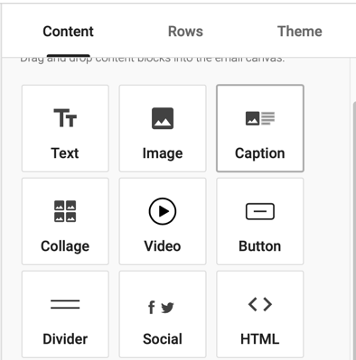
For more information on content blocks, visit the Campaigner Knowledge base.
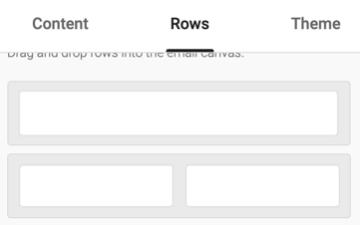
ADDING ROWS
While we recommend keeping your newsletters to one column (this allows the template to be more responsive and accessible), you can add rows (similar to columns in AEM) to create multiple columns.
Drag and drop rows into the email canvas just as you did with the content blocks.
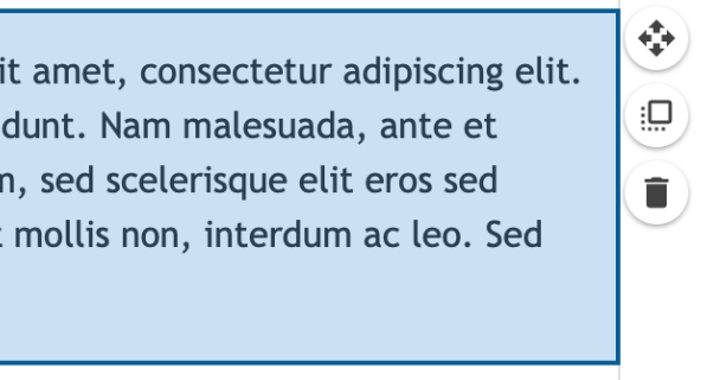
Adding borders around content blocks
Within Rows, you can also add a thin outline around content blocks to make the content stand out, e.g.:
- Click on the relevant row
- Under row properties, edit the border style (colour: #DDDDDD; thickness: 1; solid line)
- When you're finished, you can have the option to “Preview & Test” your email campaign or click “Next” to continue
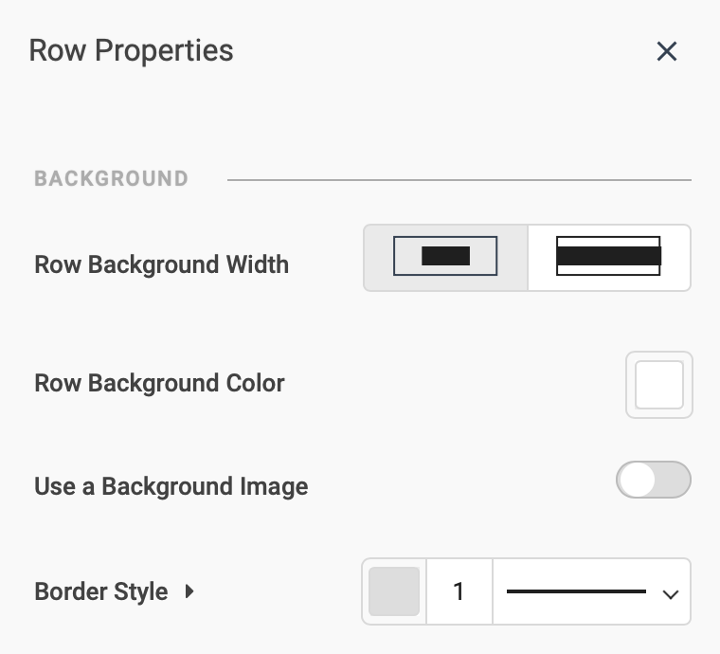
To add border styles to your row: edit the border style (colour: #DDDDDD; thickness: 1; solid line).
EDITING PLAIN TEXT
Recipients who don’t have HTML enabled in their email program/app see a plain text version of your email. This is automatically generated in Campaigner. Plain text emails don’t display any images or text formatting (i.e., heading styles, bold, italics, etc.).
If needed, you can edit the plain text version of your email:
- Pay particular attention to the spacing between content
- After you make any changes click “Next”
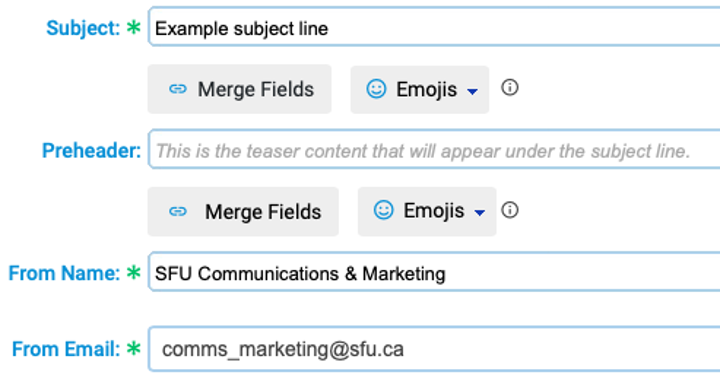
Editing Subject Line / Preheader / From
Ensure you add a unique “Subject” and “Preheader” for each email, as well as setting a consistent “From Name” and “From Email” address.
When done, click “Save Draft.” You also have the option to “Preview & Test” if needed.
Select recipients / schedule / send
When you're ready to send or schedule your email campaign, follow these steps:
1. Click “Select Recipients” and choose a list(s) of recipients

2. Click “Schedule & Send” to send your email campaign now or select a specific date and time.
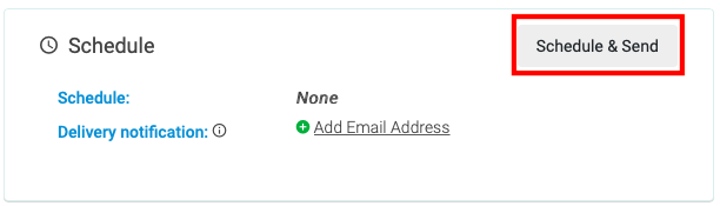
If you're not ready to send or schedule the campaign now, you can always come back to it later to edit it.