Sharing Calendars
Outlook for PC
The links below provide instructions on how to both share your calendar and accept and view calendars shared with you in the Outlook 2016 for PC desktop application.
Sharing & Delegation
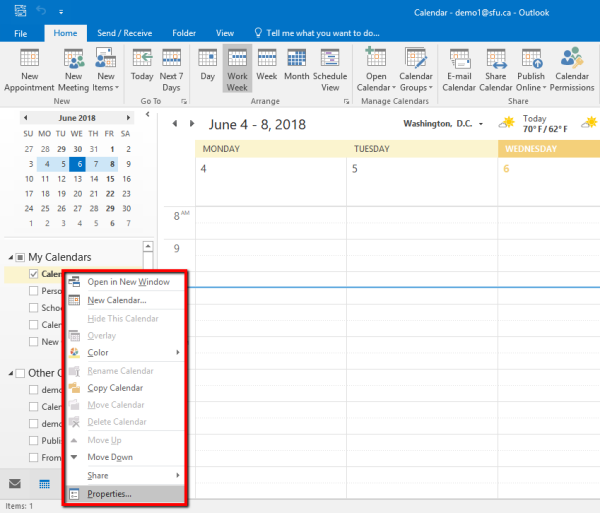
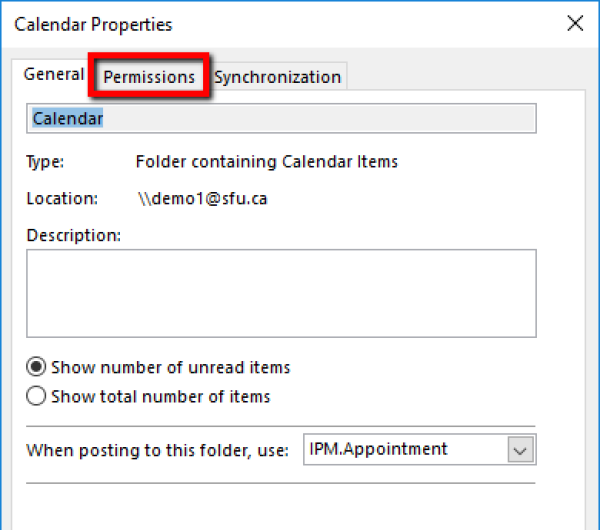
1. Right-click on the calendar that you wish to share and select Properties... In the Calendar Properties window, click the Permissions tab to change the calendar permissions.
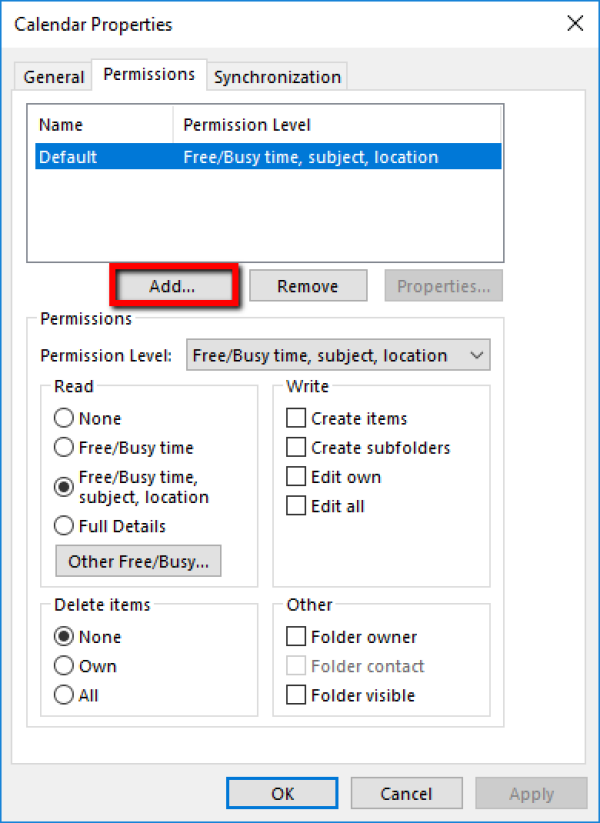
2. This will open the calendar permissions window. Click Add... to add a new user to share your calendar with.
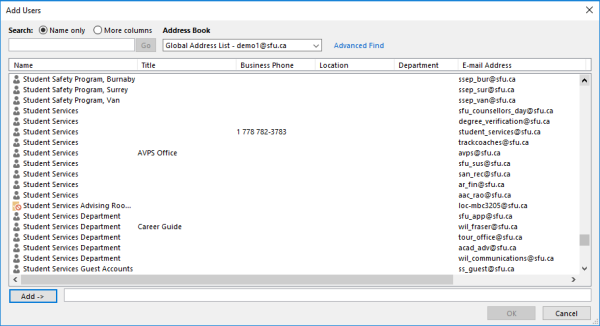
3. The Global Address List will appear and you can select the user you are looking for from the list, then click OK at the bottom.
4. That user will then be added to the list of users at the top of the window. Select an appropriate permission level using the permission level drop-down list. The checkboxes below will change to reflect the actions a user can perform with each level. Click OK at the bottom of the window to finish.

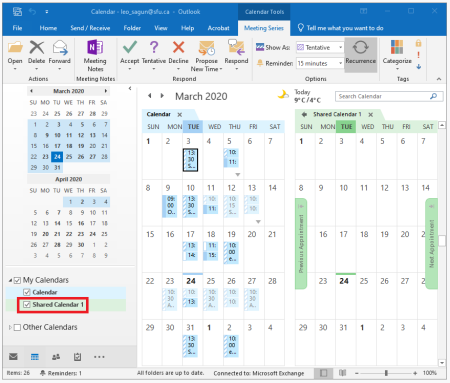
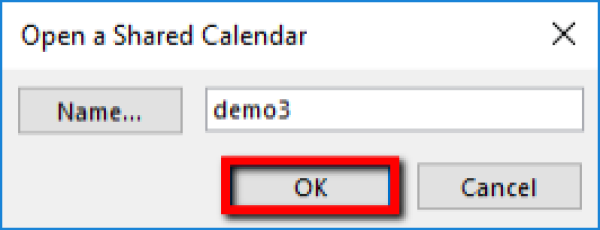
2. This will open an Open a Shared Calendar window. Type the user's name into the field, or click the Name.. button to find them in the Global Address List. Click OK when finished.
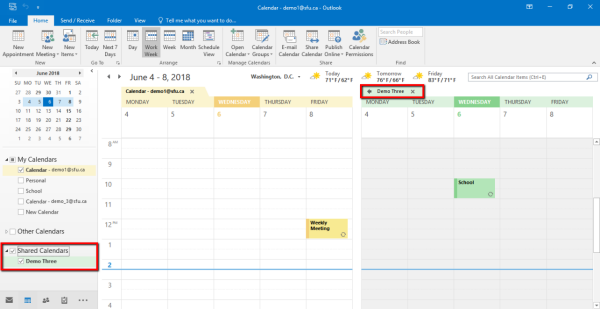
3. That user's calendar will now appear in your calendar list in the navigation pane, under Shared Calendars.
Note: Exchange may automatically send you an email from a user that had previously shared a calendar with you. The email will have the subject “I’d like to share my calendar with you”. To restablish this shared calendar, click the ‘Accept’ button in the body of the email.