Activating a Page
When you make modifications to your pages, you will need to activate the page in order for the changes to appear on your live website. There are several ways to activate a page in AEM.
- Activating a Page Using the WCM
- Activating a Page from the Editing Window
- Activating and Deactivating at a Later Date
Activating a Page Using the WCM
In the WCM left panel, click to select the parent of the page(s) you wish to activate. The child pages (i.e., pages nested under the parent page) will display on the right panel.

Next, select one (or shift + click to select more than one) page in the right panel for activation.

With the pages still selected, click Activate on the toolbar above.

Once the status indicated under the Published column changes from grey (green, or red depending on the page's original status) to green, your page has been activated and the changed are now live.
Note: If the status is orange, it indicates that activation is progress. Click the Refresh button at the top left to update the status.


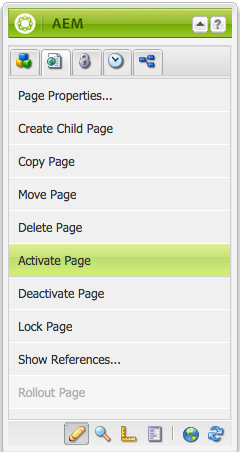
Click Activate Page.
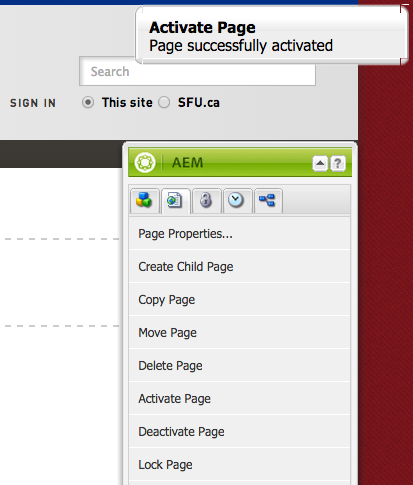
Once you page has been successfully activated, a prompt will appear briefly on the upper right corner of your page with the message "Page successfully activated".
Activating and Deactivating at a Later Date
Pages can be set to automatically activate or deactivate at a later date in the WCM. This is useful when creating a form that is scheduled to accept submissions within a specific time frame, such as for a workshop registration form. A single page can have both a scheduled activation and scheduled deactivation, which would result in a set time frame a page is live.
1. Activating a Page at a later date
In the WCM, highlight the page. Click the toggle arrow beside Activate and then in the drop-down menu click Activate Later...

Click the calendar icon and in the drop-down calendar select the preferred date to activate the page.

Click the down arrow icon and in the drop-down select the preferred time to activate the page.

Click OK and the page will automatically activate at the chosen time.
Note: If you make a change to the page after scheduling an activation, the change will not appear on the live page when the scheduled activation occurs. Only changes before the Activate Later... button was clicked will show on the live page. If you wish to have the change appear when the scheduled activation occurs, setup another scheduled activation and set the time a little later than the first scheduled activation.
2. Deactivating a Page at a later date
In the WCM, highlight the page. Click the toggle beside Deactivate and the drop-down menu will appear, then click Deactivate Later...

In the Deactivate Later prompt select the preferred date and time. Click OK and the page will automatically deactivate at the chosen time.
3. Check Activation/Deactivation Status
In the WCM, check the Status column for the activation/deactivation tasks you have assigned to a page. In the example below, the scheduled activation and deactivation is visible by hovering over the status icon.
