Creating Appointments
Outlook Web App
The instructions below outline the basics of creating appointments/meetings in the Outlook Web App (OWA).
Using a desktop application?
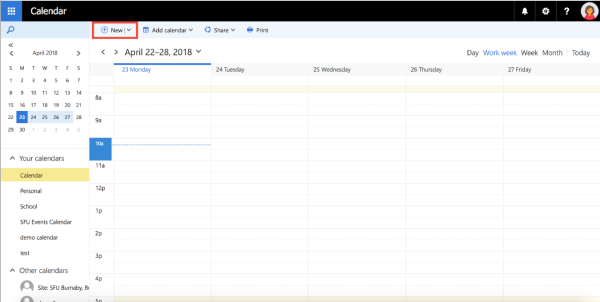
1. Click the + New button in the calendar ribbon.
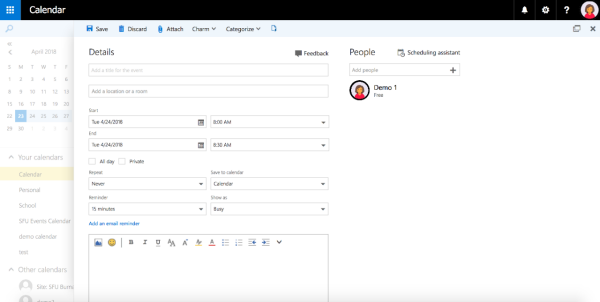
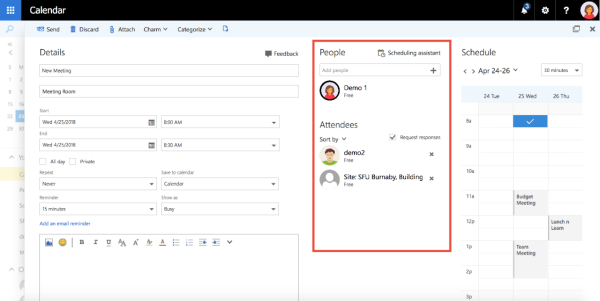
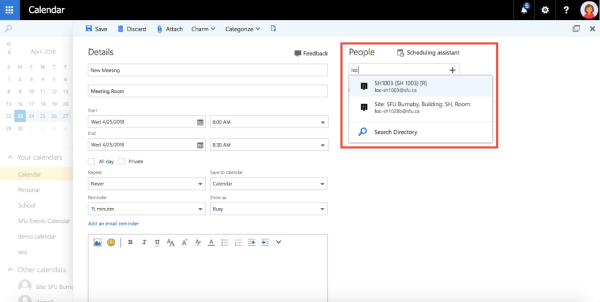
2. This will open a meeting composition window where you can set details such as the title/subject of the meeting, the location of the meeting, and the start and end time. Here you can also set what the meeting will show as (i.e., Free, Busy, Away) and what the reminder settings for that meeting will be.
In the Save to calendar drop-down menu, you can change which calendar you are booking the meeting into.
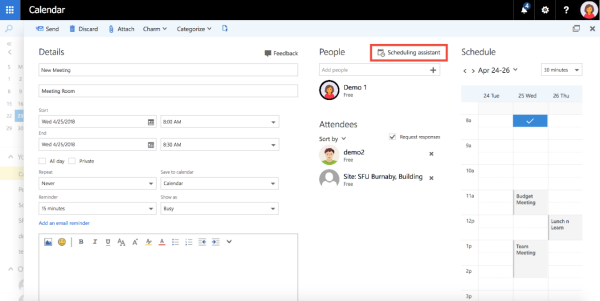
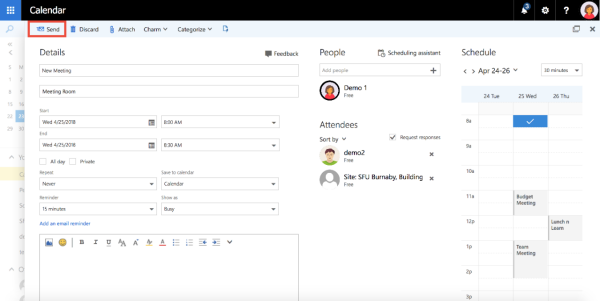
2. This will show your attendees' free/busy information all in one view, along with any rooms or resources you would like to book.
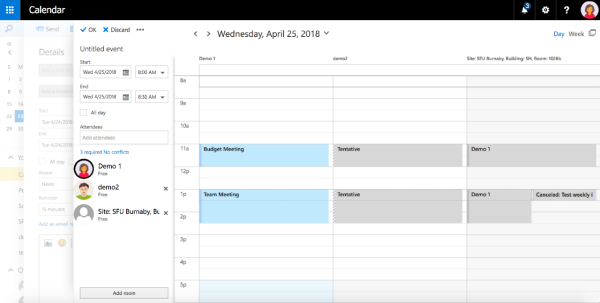
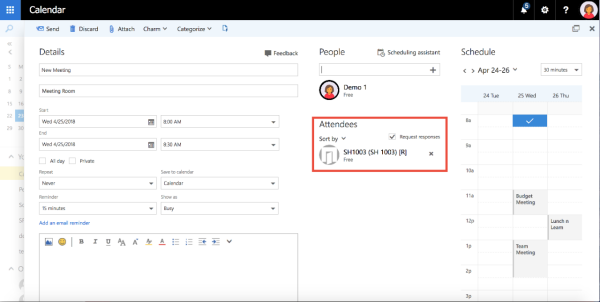
3. Your attendees will be listed on the left-hand side, along with any rooms/resources you have added, with their free/busy information listed vertically on the right-hand side.
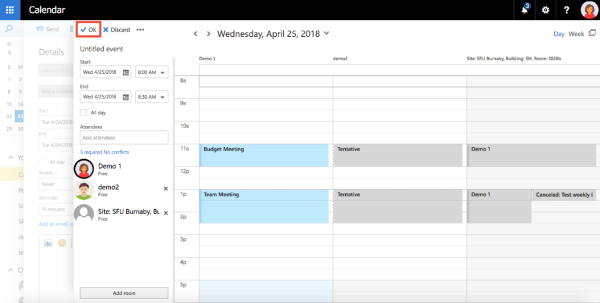
4. You can also add additionally attendees, rooms, or resources within the scheduling assistant as well as changing meeting details such as the date and time of the meeting. When you are done viewing the scheduling assistant, click OK.
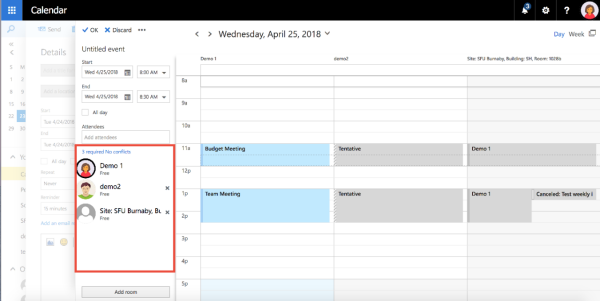
2. When you select a room, it will be added to the Attendees list and you will see whether it is free or busy at the time of your meeting. You can then type in the name of the room in the location field to inform your attendees of the location of the meeting.
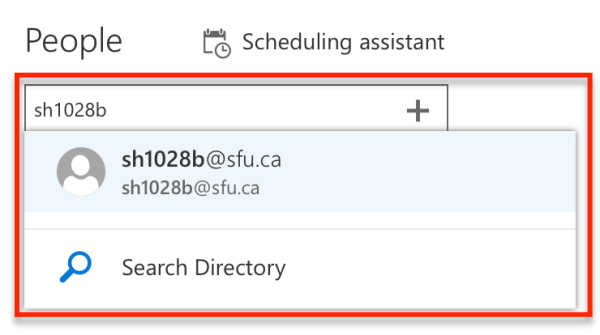
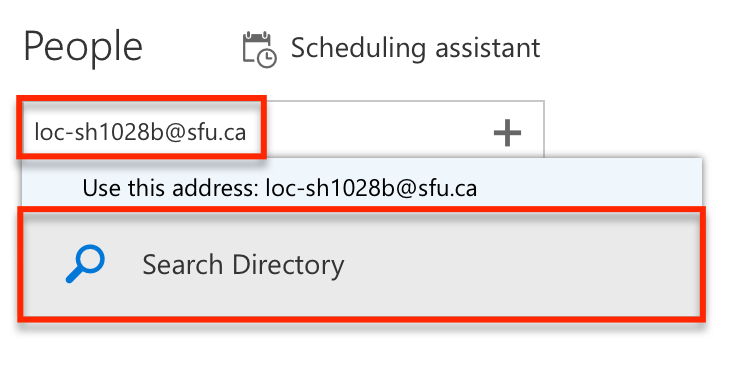
3. If the location/resource account does not show up when typing it into the People field, try typing in the location/resource's email account. For example, if the room is SH1028b, try typing loc-sh1028b@sfu.ca.
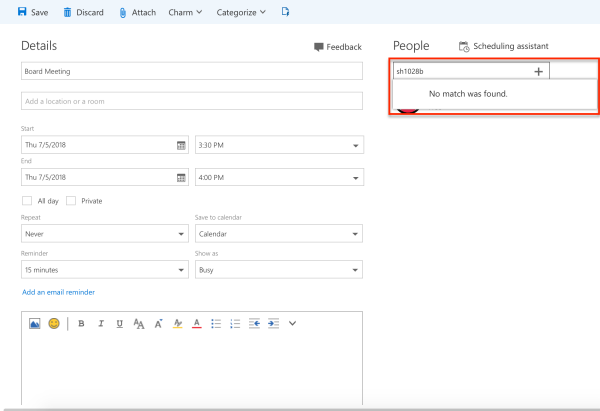
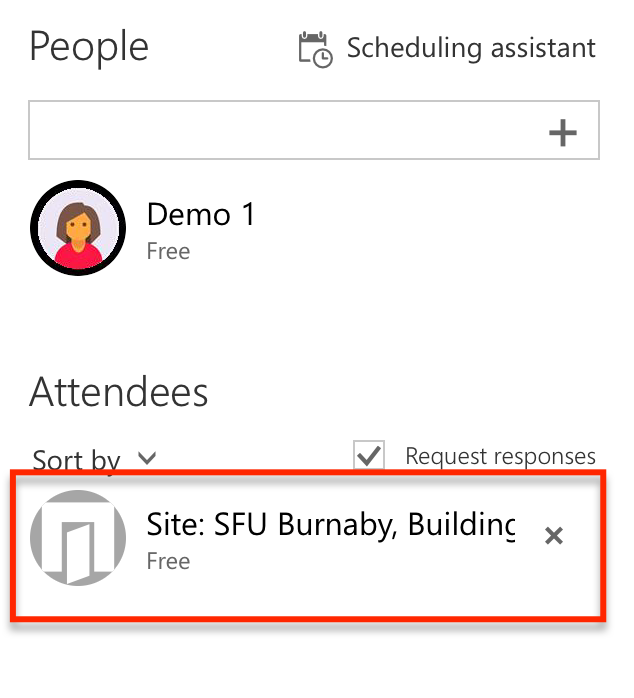
4. You will then be able to type in the shorter location/resource name to book it in the future.