- Engage C&M
- Brand
- Campus Communications
- Media & News
- Social
- Web
- Events Calendar
Images
Adding images can help bring life to the page and break up text-heavy pages, when done properly. Well-crafted photos also play an important role in bringing our brand DNA to life.
Below are examples of how to use and display images for different purposes.
Text and Image Component
Text and image component places text around the image, either beside it or wrapped around the image. On mobile the image is stacked above the text.

Lorem ipsum dolor sit amet, consectetur adipiscing elit. Phasellus scelerisque sit amet justo quis bibendum. Phasellus ex ligula, elementum vel elit sed, tempus finibus libero.
Vivamus a tempus orci, eu tristique neque. Morbi auctor dolor mi, vestibulum blandit tellus tempor sit amet. Ut libero mi, posuere sed tempor rutrum, mattis at erat. Donec ut tellus nunc. Nunc sit amet magna eu lectus pharetra sagittis. Proin tincidunt lacus eget quam rutrum, eu volutpat tortor vulputate.
Donec eleifend placerat lorem sit amet pretium. Mauris aliquet felis sed ex volutpat sodales. Lorem ipsum dolor sit amet, consectetur adipiscing elit. Phasellus scelerisque sit amet justo quis bibendum. Phasellus ex ligula, elementum vel elit sed, tempus finibus libero.
How to
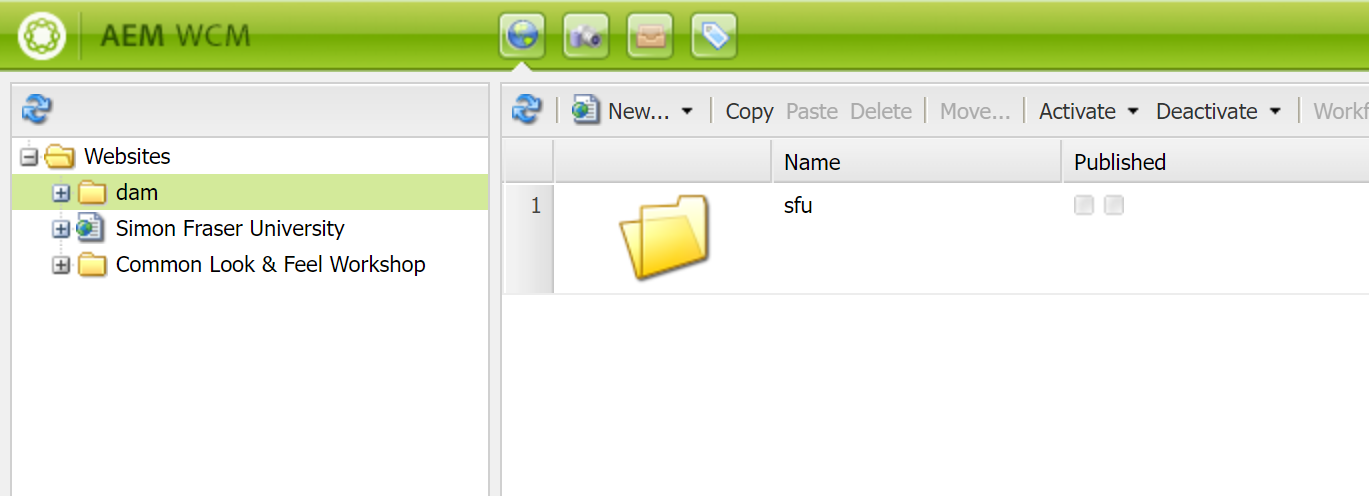
1. Upload an image to the DAM
See guidelines on adding an image
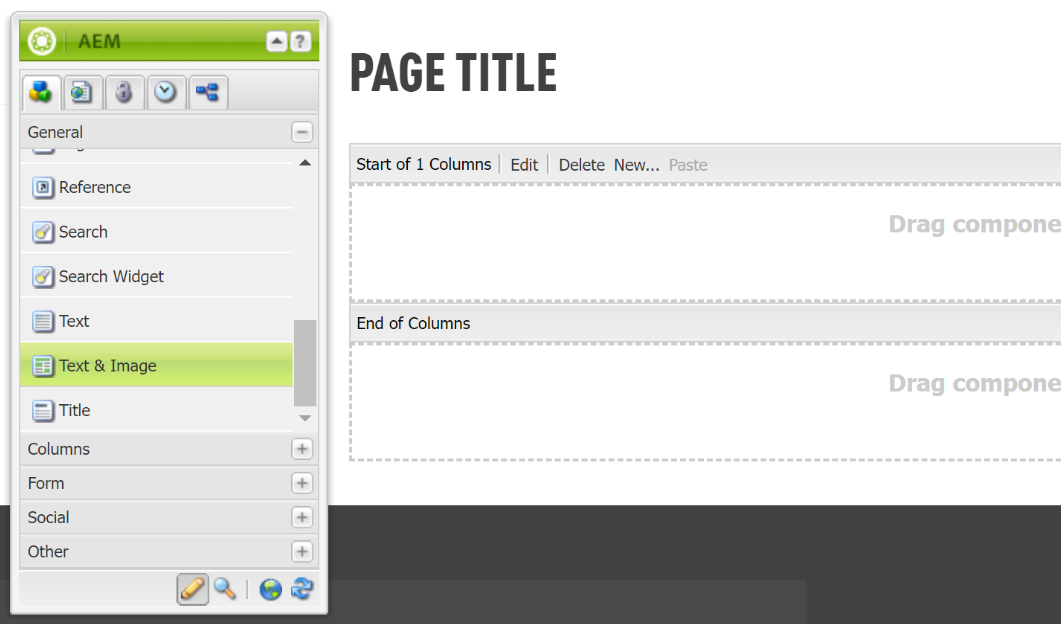
2. Add Text and image component
- a. Navigate to the page you want to place an image
- b. Add the text and image component onto the page
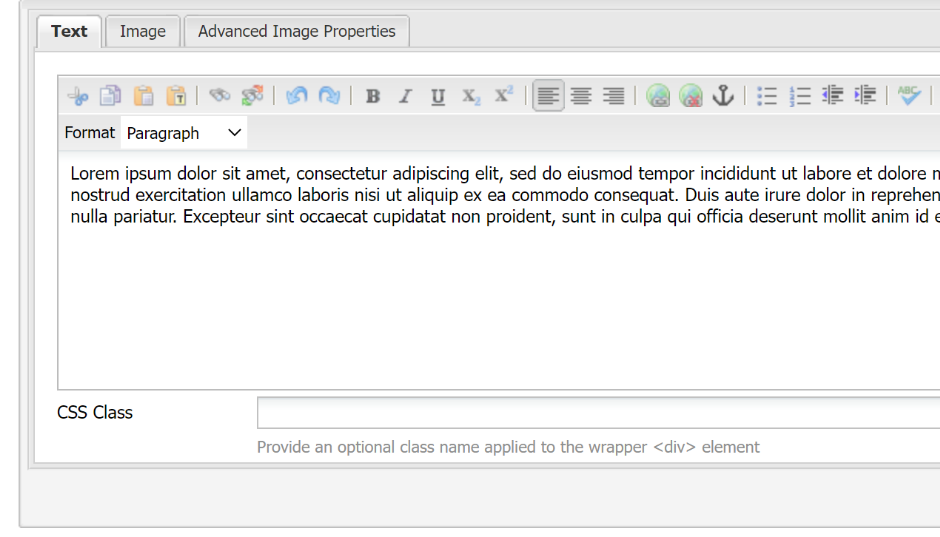
3. Add Image to Text and image component
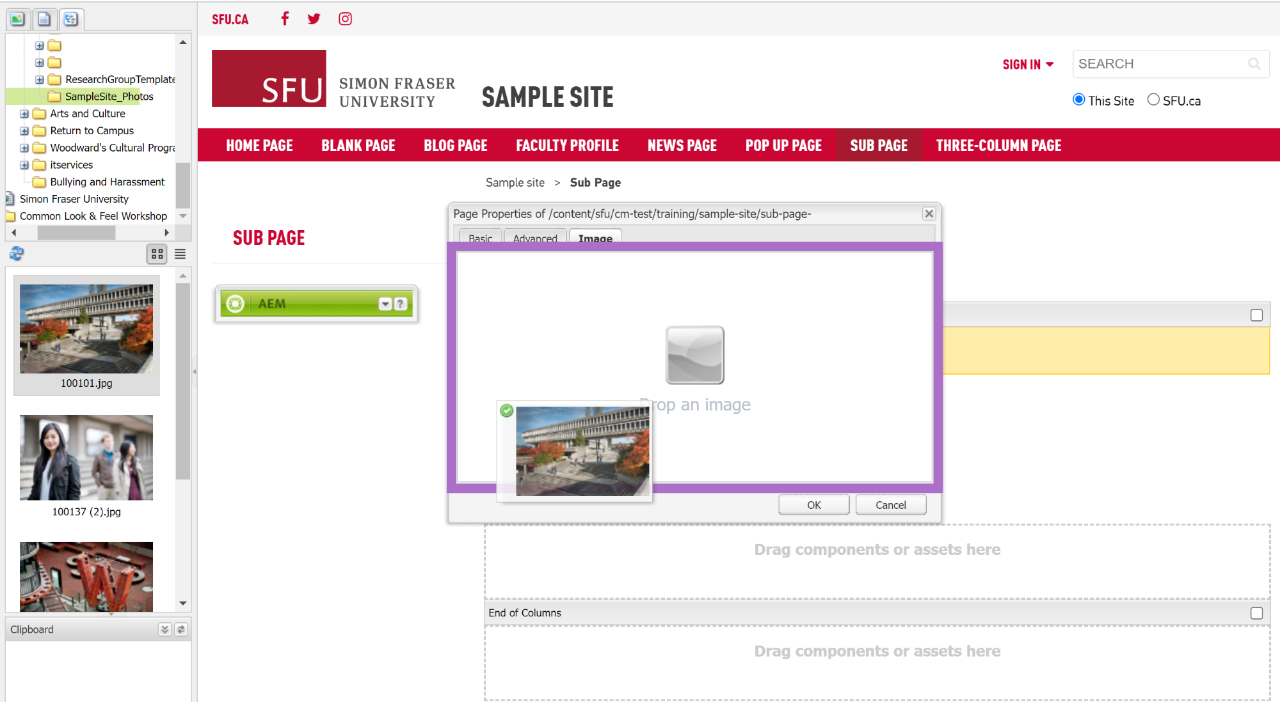
- a. Open the image component
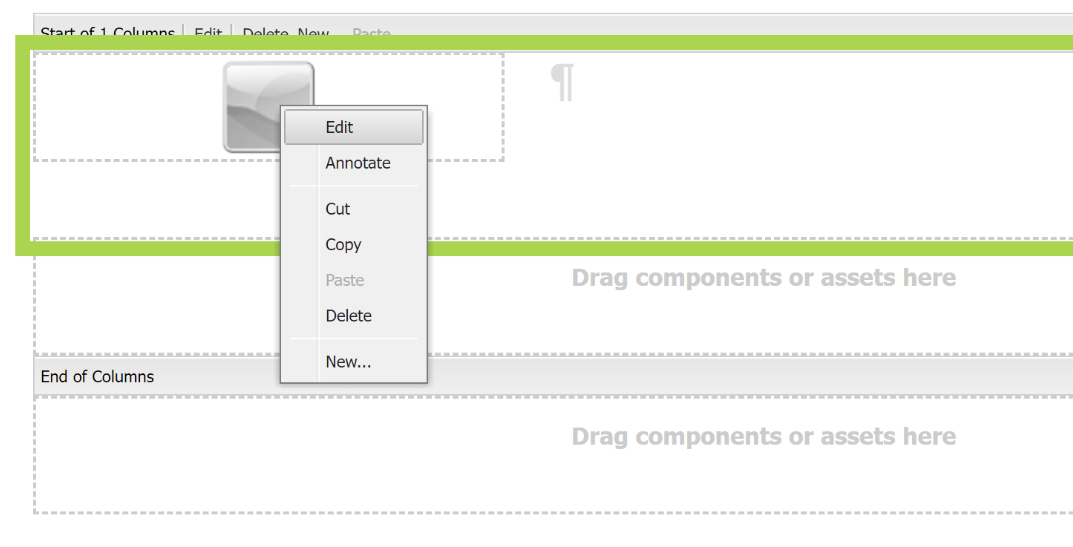
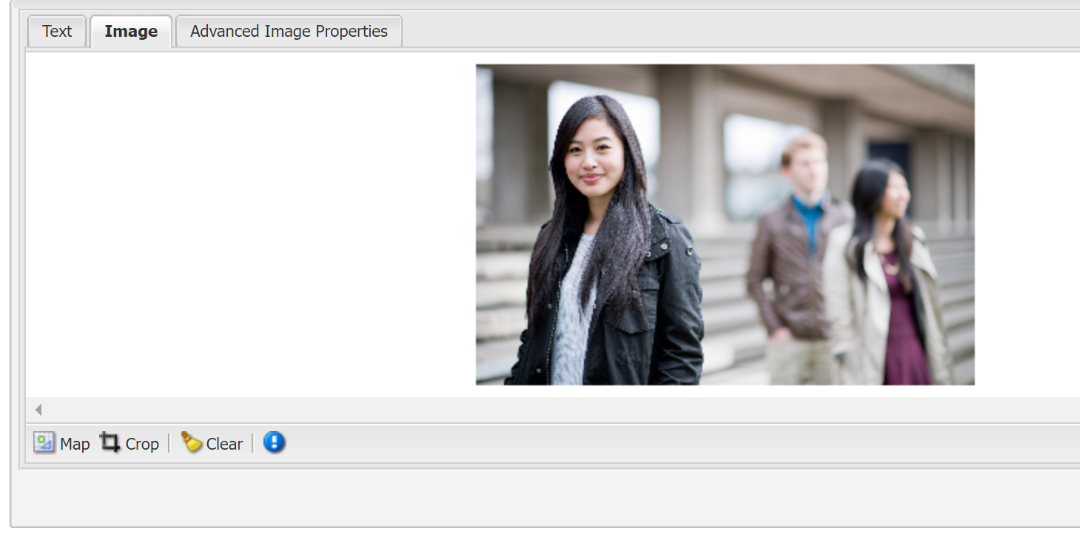
- b. Find the photo you uploaded from the DAM and drag it into the image area
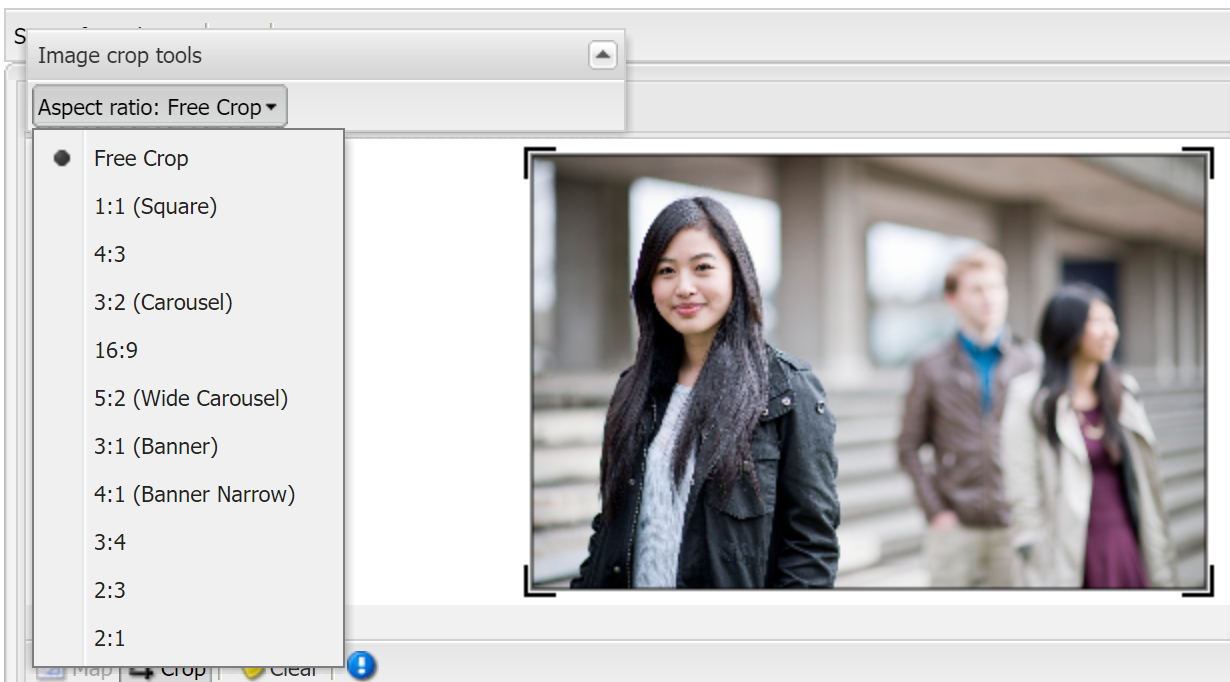
- c. You can crop the image by selecting the crop tool. The cropping tool provides a few sizing options. Select each size to see a preview of the crop. The crop size can also be modified by dragging on the corner of the crop marks.
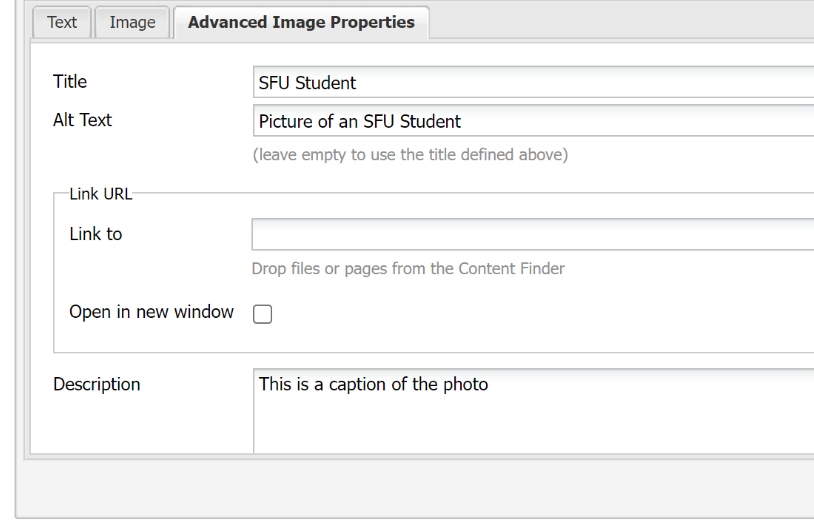
- d. Add in an Alt tag under the Advanced Image Properties tab under Alt Text field
Important:
Make sure to add an alt tag for the image. Alt tags will display when the image cannot be displayed for technical reasons. It is also used for visually impaired people who cannot view the image. In this case it is best to put a description of the image for an alt tag, (ex. Students smiling and sitting outside on a sunny day)
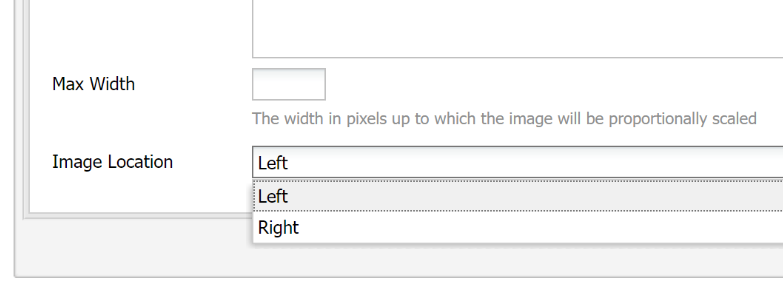
4. Set options for text and image component
Select if you want the image to display on the right or left side of the text, under the Image Location field of the Advanced Image Properties tab
Add text to “text tab” of the component
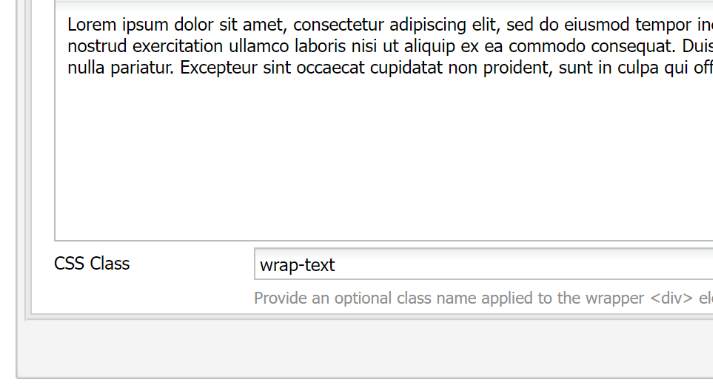
5. Apply style class for one of the following options:
Styles
- Wrap-text - wraps text around the image.
- Overlay styles - The Text and image component can be used to create Banner Images by applying class names. See Banner Images.