Accessing a location/resource account
Outlook Web App
Location/resource owners can log into the location/resource accounts they own through their personal accounts in OWA. From there, they can share the calendar of the location/resource with several managers. Managers can then add these shared calendars into their personal OWA accounts in order to manage bookings.
- Log into a location/resource account as an owner
- Share a location/resource calendar with a manager
- Add a location/resource calendar as a manager
Using a desktop application?
- Outlook for PC
- Outlook for Mac
As the owner of a location/resource, you can log into the location/resource account through your personal account through OWA.
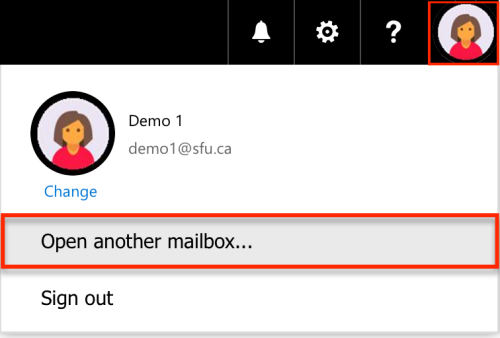
1. Log into your personal account in OWA at mail.sfu.ca . Click the Profile Photo in the top right hand of the screen, then select Open another mailbox...
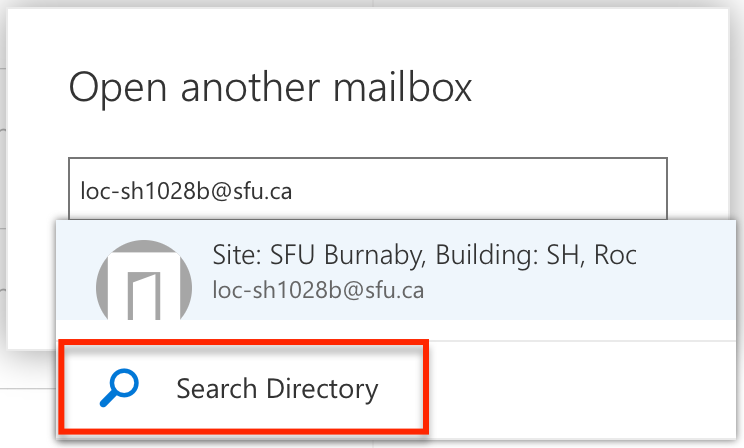
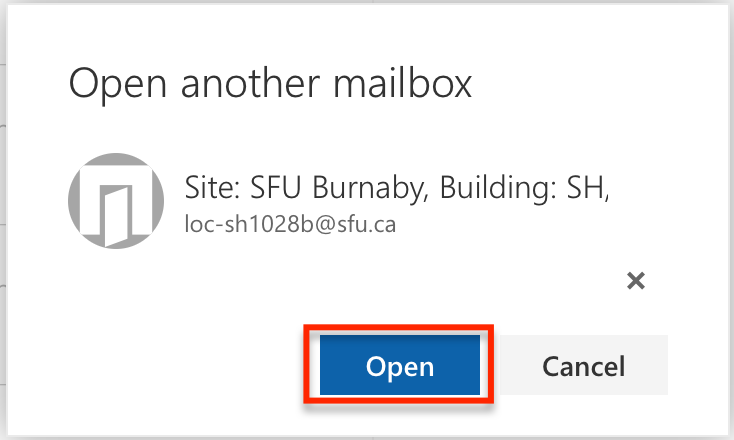
2. A window will appear. Type in the email address of the location/resource account that you own, then press Open. If this is your first time logging into this location/resource account, you may need to type in the email address and press 'Search Directory'. A new tab will open with the location/resource account's mailbox.
3. If the location/resource account does not show up when typing it into the 'Open another mailbox' field, try booking that location into a calendar appointment first, then trying to open its mailbox again. This "caches" the location/resource account, which then enables the system to locate the account when typing it into the 'Open another mailbox' field.
If anyone other than the owner of the location/resource manages the account, they will need the location/resource account's calendar shared with them. This can only be done by the location/resource account owner, as they are the only person who has Full Access to the location/resource account (meaning they can log into the account through their own personal account). Once the calendar is shared with managers, the managers can open the location/resource account's calendar in their own personal account in order to manage bookings.
1. Once you (the owner) are logged into the location/resource account's mailbox (see section above for instructions on this), click the Waffle Icon and click Calendar.
2. You can refer to the Sharing Calendars page for step-by-step instructions on how to share the calendar with a manager and grant Delegate permissions. When you grant a location/resource manager delegate permissions to the location/resource calendar, they will be able to add the calendar to their personal account, manage bookings, and they will receive all meeting invitations and updates for the location/resource calendar.
As a manager of a location/resource account, you will need to add the account's calendar once the owner has shared it with you (see steps above for details).
1. You can refer to the Sharing Calendars page for step-by-step instructions on how to open a shared calendar. Please note: you will need to know the email of the location/resource account in order to open it's calendar. Once the location/resource account's calendar has been added to your account as a shared calendar, you can manage bookings within it.