Composing Messages
Outlook Web App
In this section, learn the basics of composing messages in the Outlook Web Application (OWA).
Using a desktop application?
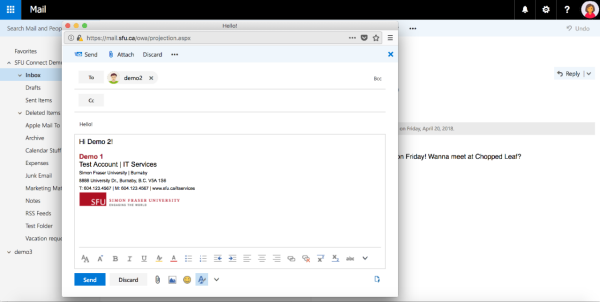
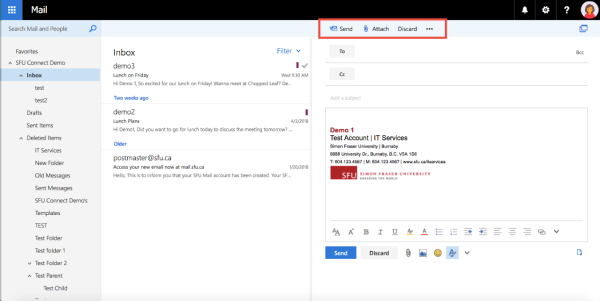
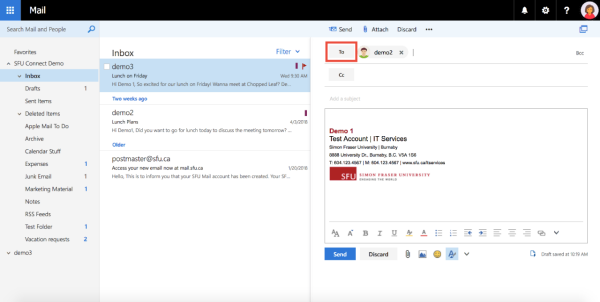
2. This will open a message composition window on the right hand side, beside the message list. The ribbon with basic options (Send, Attach, Discard, etc.) will appear at the top of the message window.
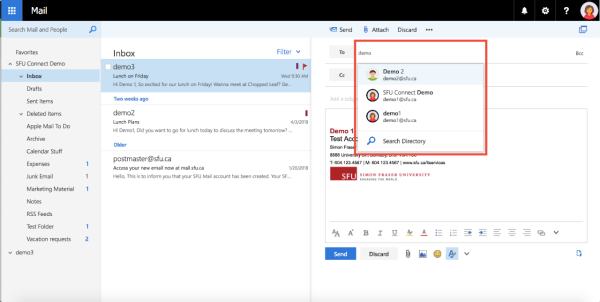
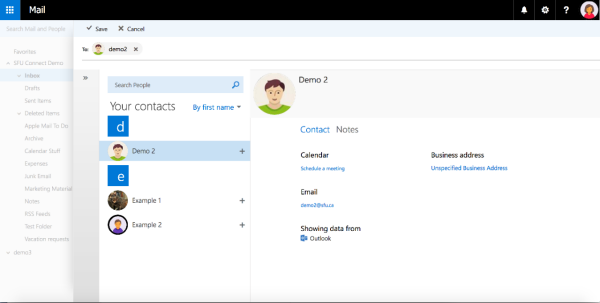
2. Select the person you are looking for, or hit Enter when done, and the email address will turn into an address bubble.
Tip: Pressing control + k will allow you to check the names/addresses that you are typing.

3. You can also click the To button to see a list of your contacts or view the Global Address List. You can do the same with the Cc and Bcc buttons.
- To: Use for all primary recipients. All primary recipients see the entire list of addressees when they read the message.
- Cc: Carbon copy - Lets you send a copy of a message to someone who's interested but is not the primary recipient. All Cc'ed recipients see the entire list of addressees when they read the message.
- Bcc: Blind carbon copy - Lets you send a copy of an email message to someone without his or her address appearing in the copies of the message sent to other recipients.
- To display the Bcc field, click on the Bcc toggle at the end of the To field. The Bcc field will appear below the Cc field.
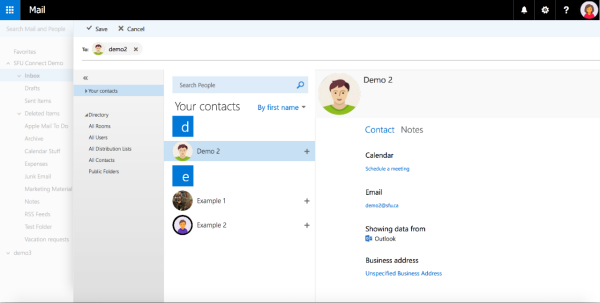
4. This will open a window with contact lists available.
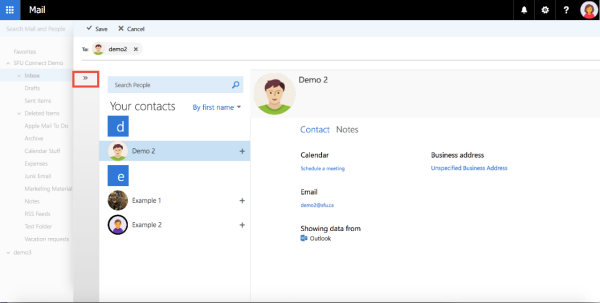
5. Click the >> Icon on the left to see your different contact lists, including the SFU Global Address List (Directory)
Add an attachment
There are various methods to add attachments to email messages. The attachment size is limited to 25 MB, however, this ultimately depends on how your email application encodes the message.
Option 1 - Browse from my computer
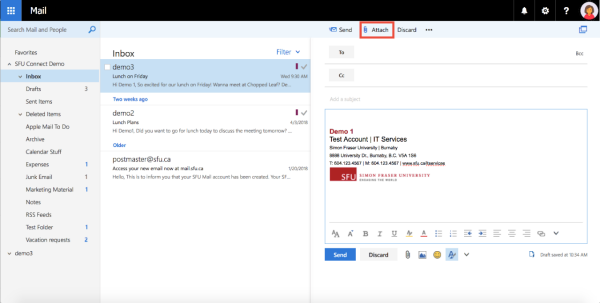
1. To add an attachment to an email message, click the Attach button in the ribbon at the top of the compose window
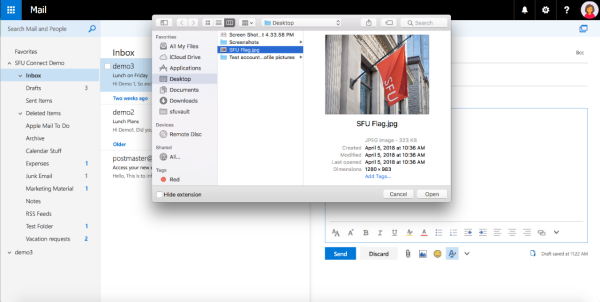
2. This will open up the file explorer on your machine. Navigate through and find the file that you are wanting to attach to the message. Click Open.
Option 2 - Drag and drop
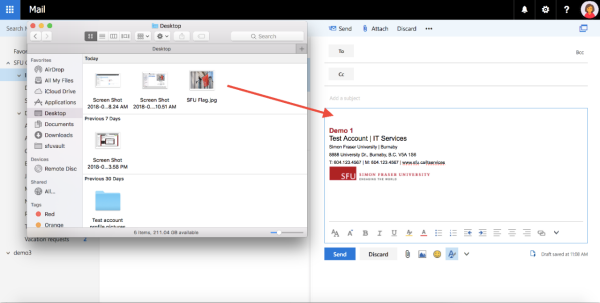
1. Click on a file from your computer's file system, or from the desktop, and drag it into the email window.
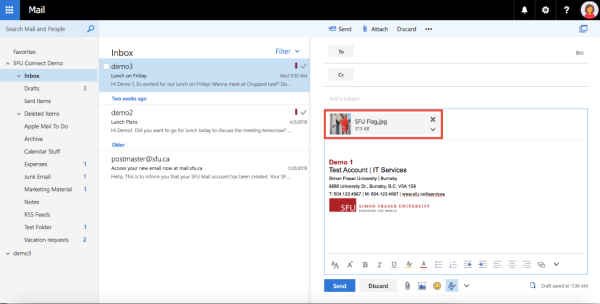
2. The file should automatically upload into your message and appear as an attachment.
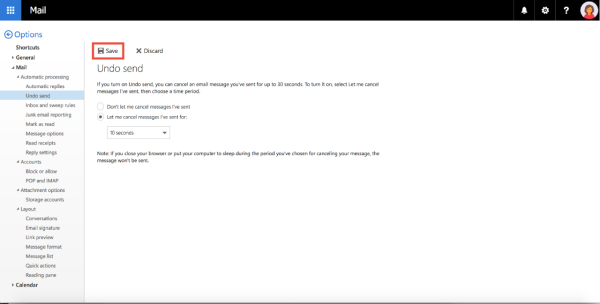
Undo Send
If you sent a message and immediately thought that the message should not have been sent or there was a mistake in it, you can use the Undo Send function.
Undo Send is a countdown that pops-up when the user presses the Send button when composing a new message. You can click Undo to stop the message from being sent. When the timer runs out, the message will send. Undo Send is set to off by default.
To turn on Undo Send:
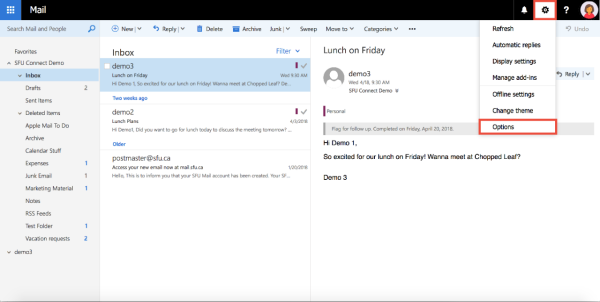
1. Click the Gear Icon in the top right corner, then click Options.
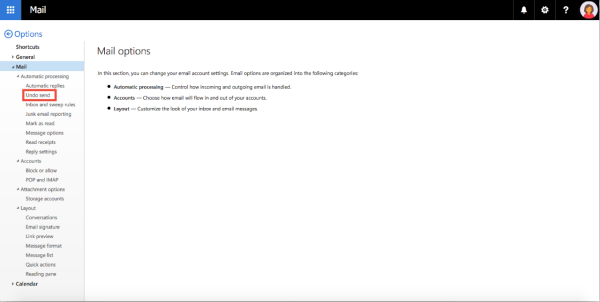
2. Under Mail > Automatic Processing, click Undo Send
3. Select the radio button that says 'Let me cancel messages I've sent for:'. This will turn on Undo Send.
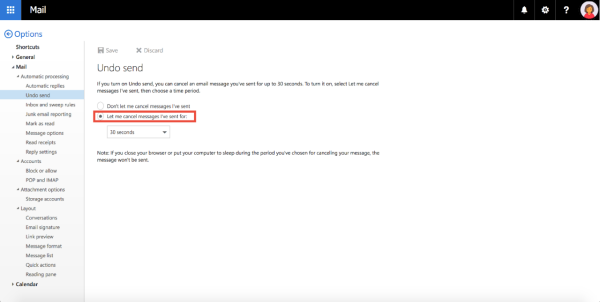
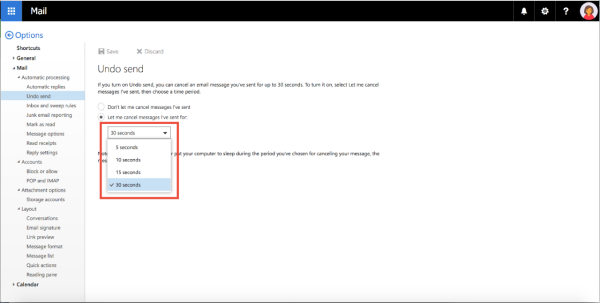
4. In the drop-down menu, select the number of seconds you would like your messages to be delayed for.
5. Click 'Save' in the top left to save these settings and turn on Undo Send.
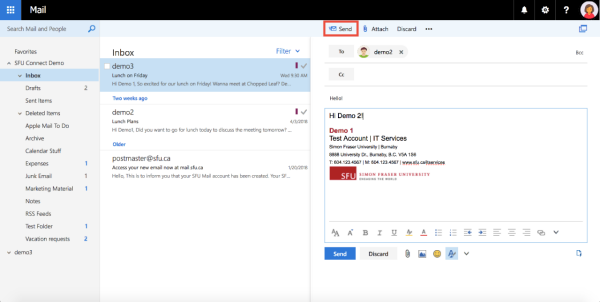
To undo the sending of a message:
1. Compose a message as normal, and click Send.
2. A timer will appear in the top-right corner of your Inbox, with an Undo button beside it. To stop the message from being sent, click the Undo button.
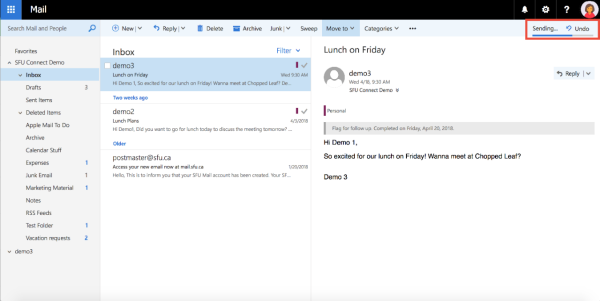
3. This will open the message back up in a composing window, where you can edit it as you like and press Send again, or Discard if you no longer wish to send the message.