7 SE 1941 to Present (Muni)
![]()
San Francisco Photos 22
 Marmon
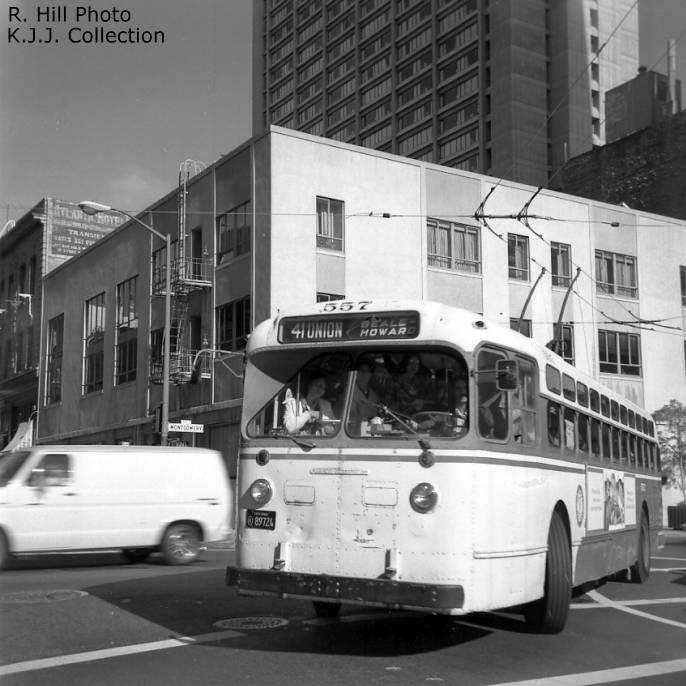
Herrington 557 turning from Montgomery St. onto Clay St. Photo by R. Hill.
Date 1967 or 1975.
Marmon
Herrington 557 turning from Montgomery St. onto Clay St. Photo by R. Hill.
Date 1967 or 1975.
 Overhead
at the junction of routes 22 and 41. The 41 continues straight through on Union
St. The 22 Fillmore turns left here for the Marina returning the same way. The
wires to the right are part of a short turn loop for both lines. This layover
is used in the morning 6 to 9 p.m. for route 41 trolleys from Presidio Garage
going into serve or short turning there, while though trolleys would use the
left wire. Photo by Robert Parks. Date 1 JL 2005.
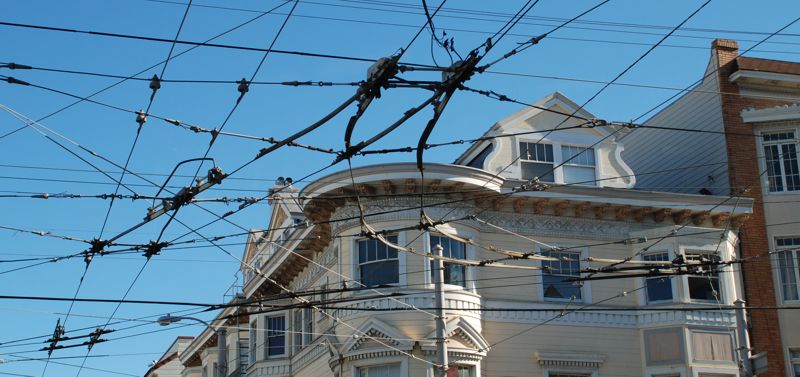
Overhead
at the junction of routes 22 and 41. The 41 continues straight through on Union
St. The 22 Fillmore turns left here for the Marina returning the same way. The
wires to the right are part of a short turn loop for both lines. This layover
is used in the morning 6 to 9 p.m. for route 41 trolleys from Presidio Garage
going into serve or short turning there, while though trolleys would use the
left wire. Photo by Robert Parks. Date 1 JL 2005.
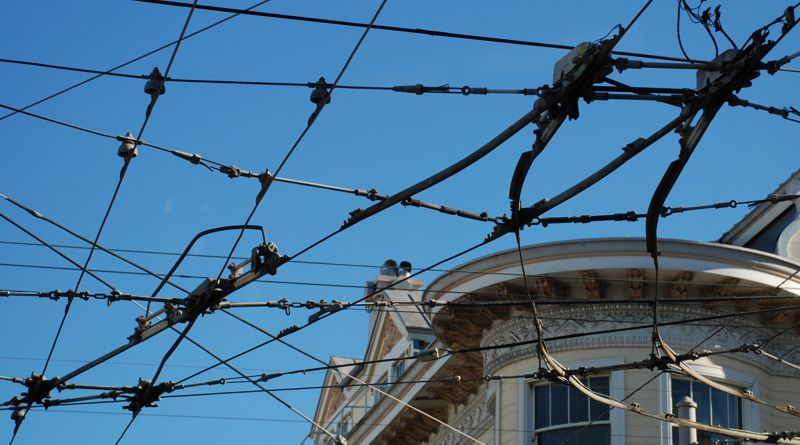 Close
up shot of the above junction. Photo by Robert Parks. Date 1 JL 2005.
Close
up shot of the above junction. Photo by Robert Parks. Date 1 JL 2005.
 The
decorated interior of Robert Parks' trolley ETI 5538 one recent Halloween.
Photo by Robert Parks. Date unknown, circa 2003-2006.
The
decorated interior of Robert Parks' trolley ETI 5538 one recent Halloween.
Photo by Robert Parks. Date unknown, circa 2003-2006.
 Twin
Coach 647 somewhere in San Francisco. Photographer unknown. MR 1964.
Twin
Coach 647 somewhere in San Francisco. Photographer unknown. MR 1964.
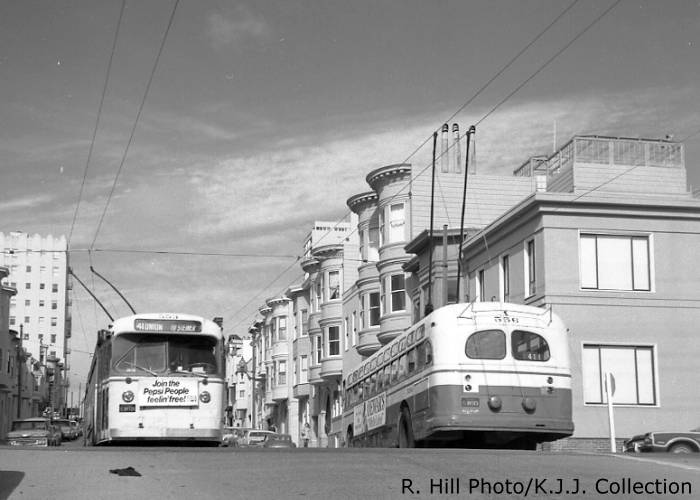 Two
Marmon Herrington trolleys are passing each other on route 41 Union. Photo
by R. Hill. 1967 or 1975. Submitted by Ken Josephson.
Two
Marmon Herrington trolleys are passing each other on route 41 Union. Photo
by R. Hill. 1967 or 1975. Submitted by Ken Josephson.
 One
of the two Flyer E700 trolleys on Route 41 in the financial district. Photo
by R. Hill. 1975. Submitted by Ken Josephson.
One
of the two Flyer E700 trolleys on Route 41 in the financial district. Photo
by R. Hill. 1975. Submitted by Ken Josephson.
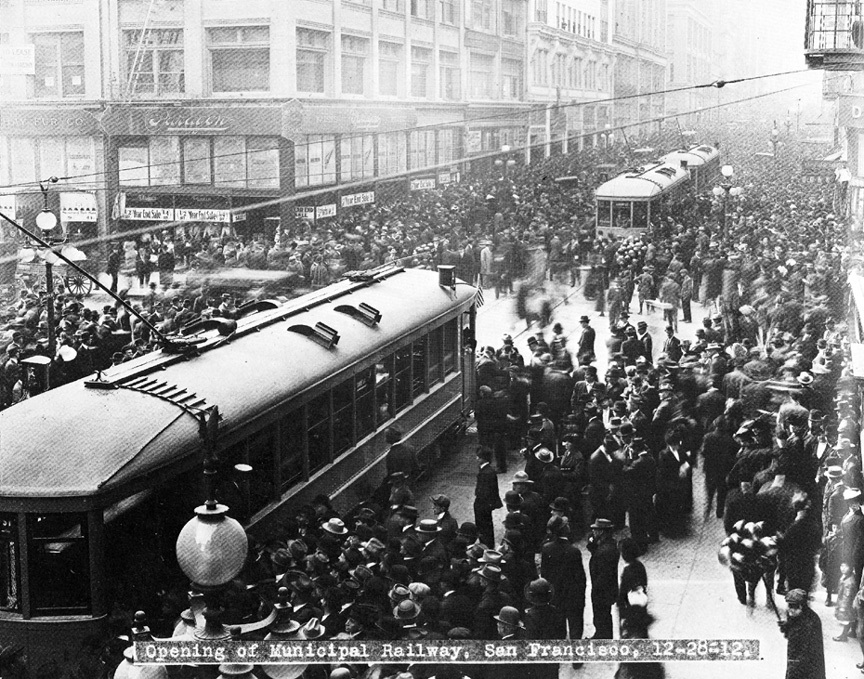 The
first day of service the San Francisco Municipal Railroad six years after the
great earthquake. Photographer unknown. 28 DE 1912.
The
first day of service the San Francisco Municipal Railroad six years after the
great earthquake. Photographer unknown. 28 DE 1912.
HayesScott1941.jpg) Market
St. Railway White Front car 107 on Hayes at Scott St. Hayes St. former had
a steep grade and streetcars could not transverse it. After it was regraded,
the 21 line switched to Hayes in this area. Photographer not known. 1941. Submitted
by Walter Rice.
Market
St. Railway White Front car 107 on Hayes at Scott St. Hayes St. former had
a steep grade and streetcars could not transverse it. After it was regraded,
the 21 line switched to Hayes in this area. Photographer not known. 1941. Submitted
by Walter Rice.
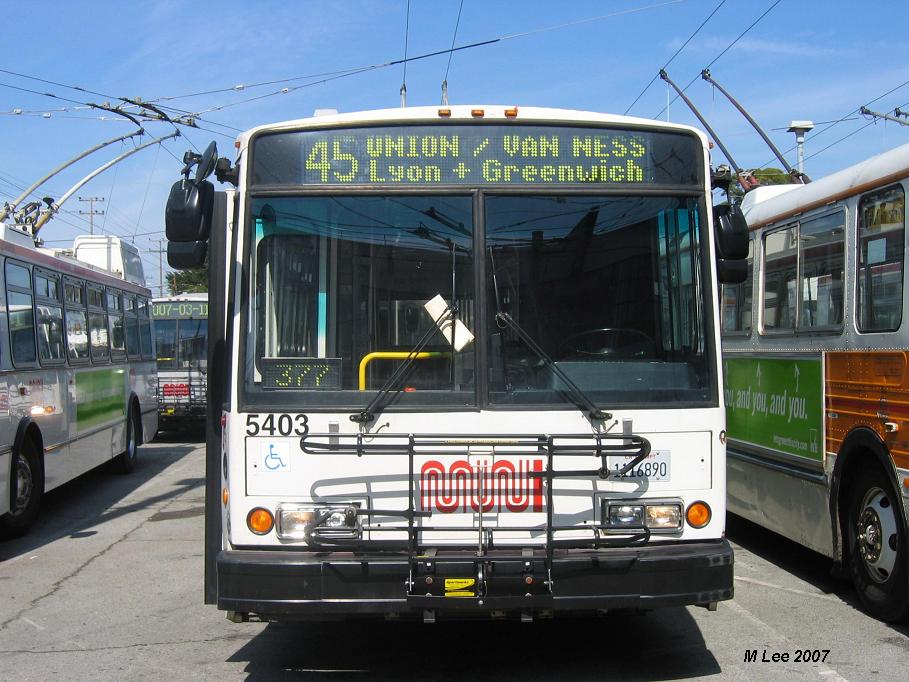 ETI
5403 at Potrero Garage ready to go into service on the 45 Union-Van Ness line
to Lyon and Greenwich terminus. But wait, the old 4cwas permanently rerouted
on 1 OC 1988 and now runs as the 45 Union-Stockton. This was the photographer
playing with the destination signs. Both diseasel busses and trolleys use the
same GPS and sign equipment. It is simpler to do this for economic reasons.
But, why does MUNI need a 45 Union/Van Ness destination at all? Photo by Matt
Lee. 11 MR 07.
ETI
5403 at Potrero Garage ready to go into service on the 45 Union-Van Ness line
to Lyon and Greenwich terminus. But wait, the old 4cwas permanently rerouted
on 1 OC 1988 and now runs as the 45 Union-Stockton. This was the photographer
playing with the destination signs. Both diseasel busses and trolleys use the
same GPS and sign equipment. It is simpler to do this for economic reasons.
But, why does MUNI need a 45 Union/Van Ness destination at all? Photo by Matt
Lee. 11 MR 07.
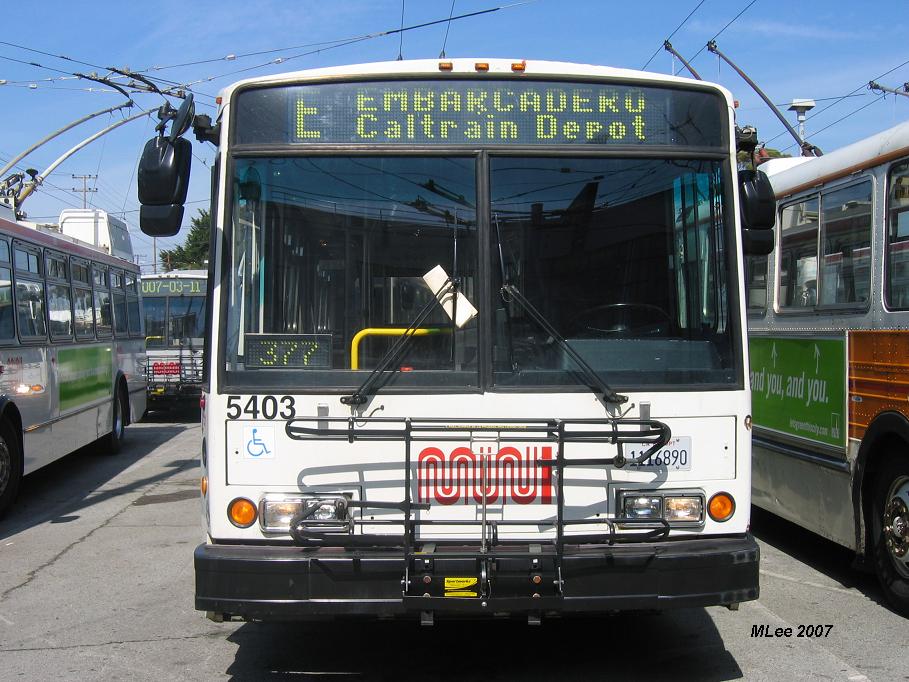 5403
is definite off course now. There are no trolleybus wires on the Embarcadero.
Matt is still playing around with destination signs. Photo by Matt Lee. 11
MR 07.
5403
is definite off course now. There are no trolleybus wires on the Embarcadero.
Matt is still playing around with destination signs. Photo by Matt Lee. 11
MR 07.
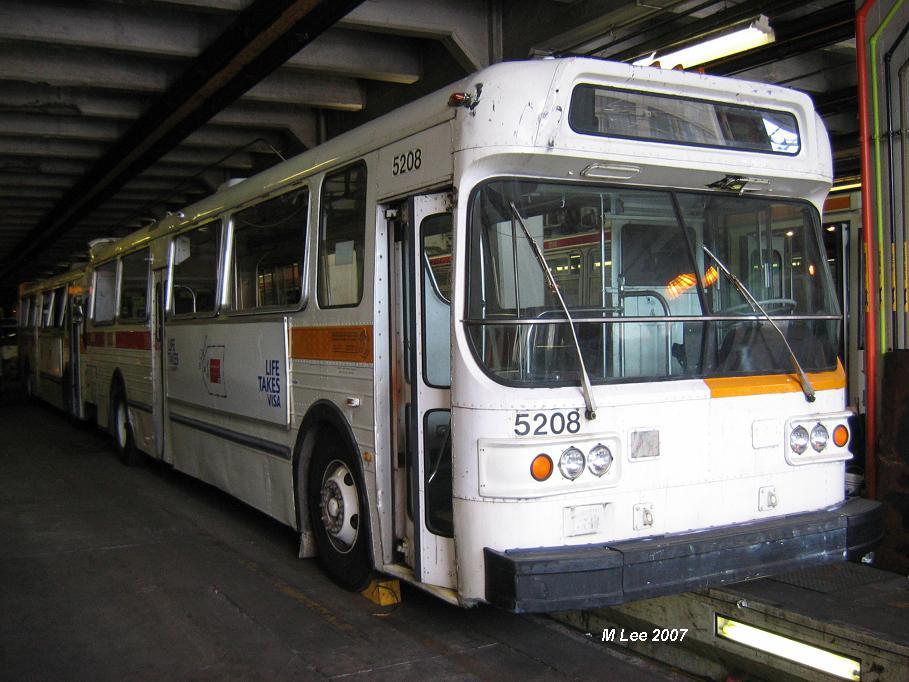 Flyer
E800 5208 on death row at Portero Garage. Photo by Matt Lee. 12 MR 07.
Flyer
E800 5208 on death row at Portero Garage. Photo by Matt Lee. 12 MR 07.
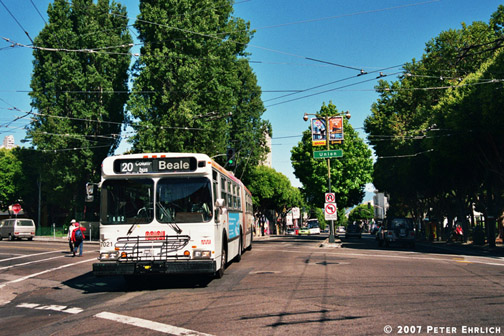 New Flyer articulated 7021 on the first day of service on Route 20 Columbus heading for its downtown terminus a Beale St. The trolley is on Columbus St. at Union St. The 20, 30 and 45 pass through here. Photo by Peter Ehrlich. 2 JL 07.
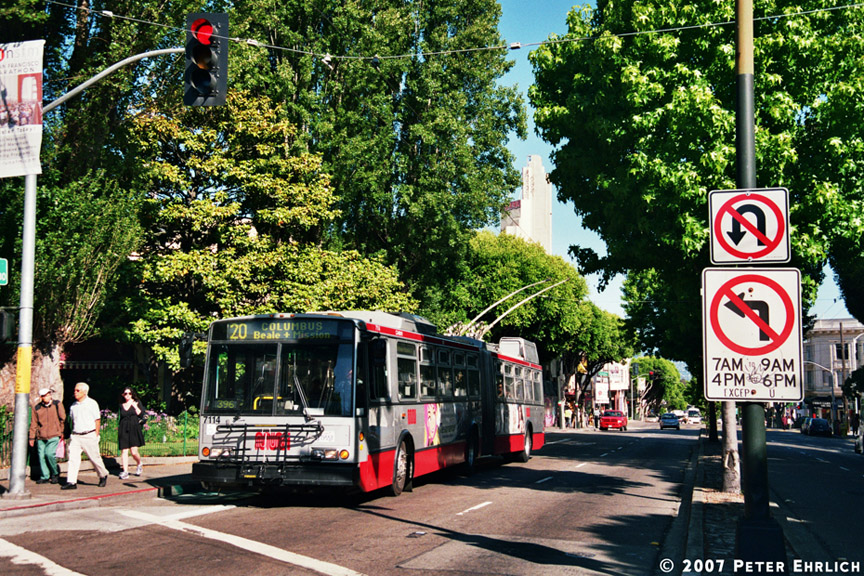 ETI articulated 7114 on the first day of service on Route 20 Columbus at Columbus St. and Union St. Photo by Peter Ehrlich. 2 JL 07.
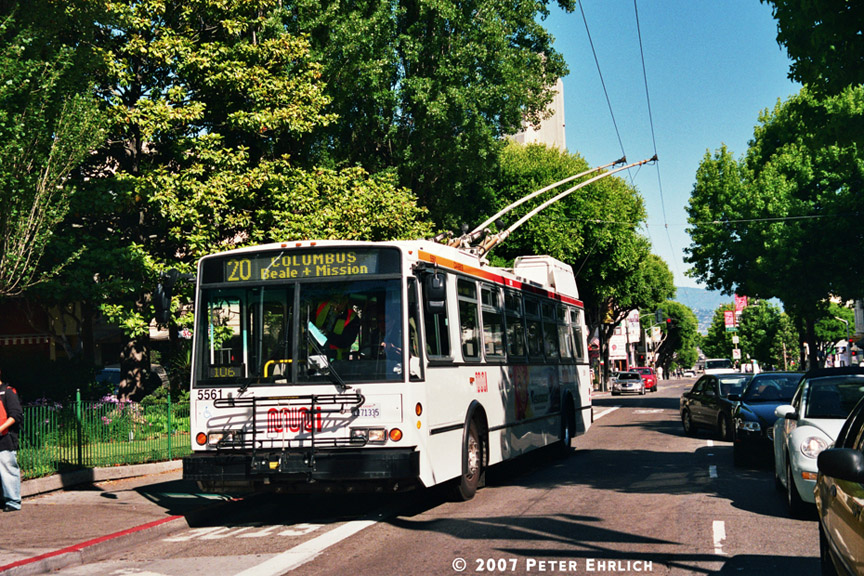 ETI 5561 on the first day of service at Columbus and Union. Photo by Peter Ehrlich. 2 JL 07.
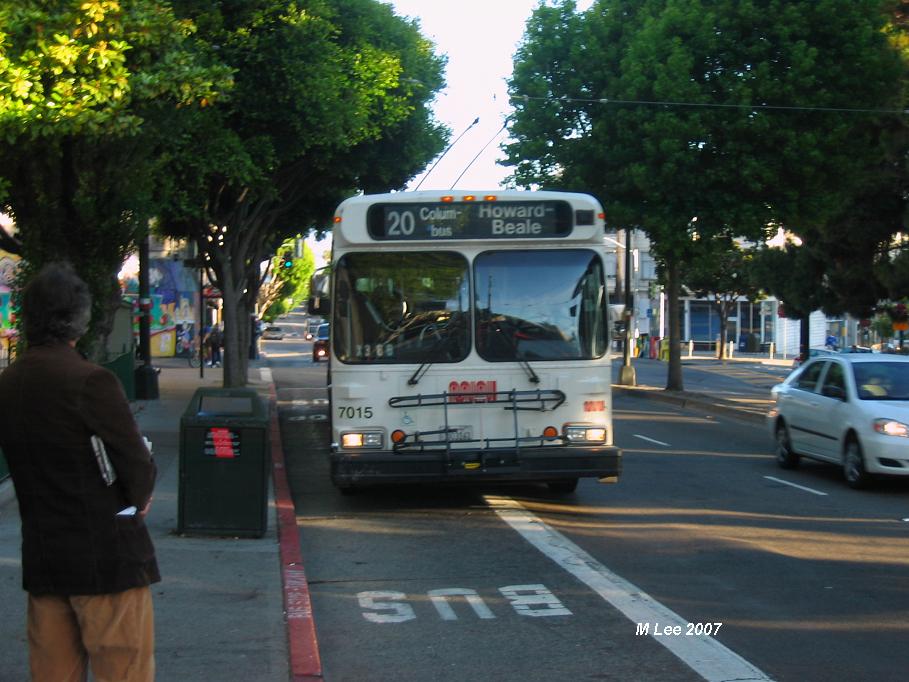 New Flyer articulated 7015 on the first day of service at Columbus and Union. Photo by Matt Lee. 2 JL 07.
 New Flyer 7010 on route 20 on Columbus St. at Stockton St. Photo by Matt Lee. 2 JL 2007.
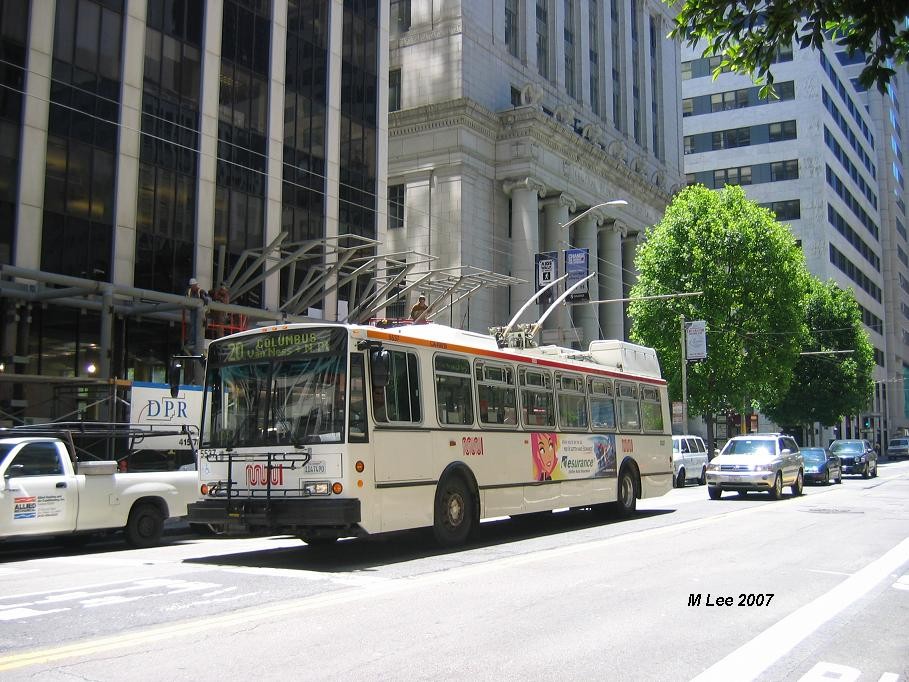 ETI 5537 on Route 20 on Clay St. at Sansome St. Photo by Matt Lee. 2 JL 2007.
![]()
![]()
![]()
This page last updated 28JL 2007