
- Get help
- Services
- Announcements & alerts
- Service outages
- Security alerts
- Major initiatives
- IFMS updates continue to modernize faculty processes
- Introducing Simon Says virtual assistant
- Tech Upgrades to Transform SFU Learning Spaces
- Liam Goundrey: Workplace Excellence in Action
- Automating processes to make everyday tasks easier at SFU
- Building a connected campus with MS Teams
- Modernizing IT for a better SFU
- Improving speed and coverage with network upgrade program
- Using automation to drive efficiency and innovation at SFU
- Welcome to the new SFU Mail: now faster, secure, intuitive
- Reintroducing IT ServiceHub: Your One-Stop IT Support Platform
- Supporting SFU's Digital Transformation with Exchange Online
- Important changes to SFU email practices
- Transforming the SFU experience through digital improvements - Key Initiatives in Progress
- Jovanna Sauro wins SFU Personal Achievement Award
- Improve your cellular coverage by enabling WiFi Calling
- New committee guides transformative changes at SFU
- Expanded identity options for students within SFU applications
- SFU works toward keeping devices out of landfills
- A journey to improved WiFi
- Help us, help you, connect to better WiFi
- IT Services' new support system: ServiceHub
- Information Security Essential Courses
- IT Services leadership announcement
- University Wide Password Change Initiative
- April 2021 technical issue
- Telephone System Core Infrastructure Upgrade
- Decommissioning fraser.sfu.ca
- About
- Information security
Manage MFA Settings
Add or Remove MFA Devices and Apps
If you wish to switch to a different mobile device for multi-factor authentication, follow the instructions outlined below to add your new device and then remove your old MFA device.
Note: If you already have one MFA device and adding an additional device, be sure to review MFA Multi-Device Registration for best practices. Adding additional MFA devices will expose your account to higher security risks than the accounts that are registered with just one device.
Step 1. Log in to the SFU MFA Management App, using your SFU credentials.
Note: If you no longer have access to your old device, you can use one of your emergency login codes to complete the login process.
Step 2. Click the "Add MFA Device" and select if you wish to add a mobile device or hardware token as your MFA device.
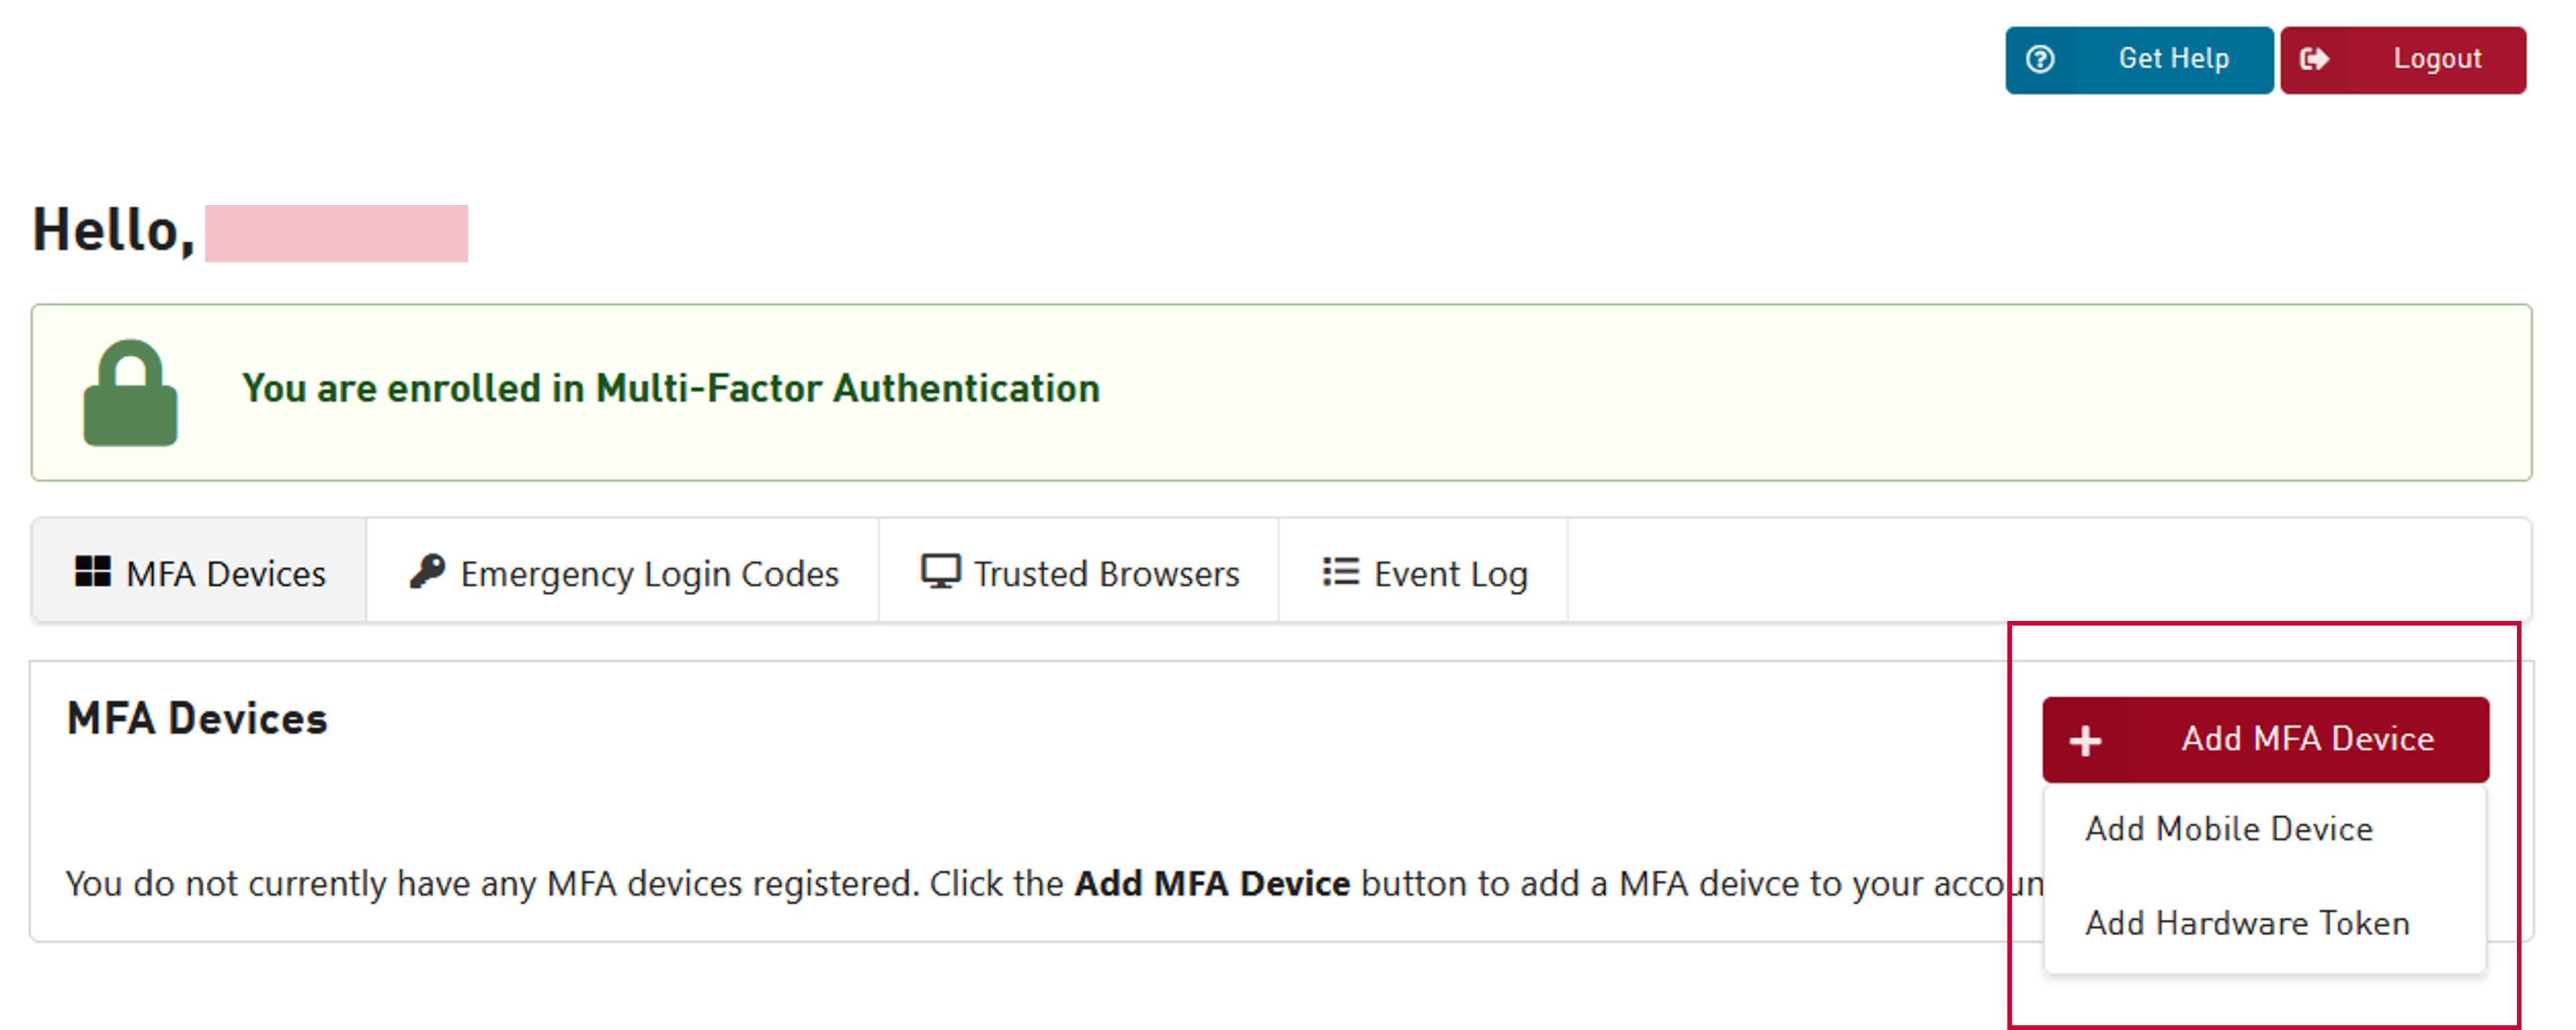
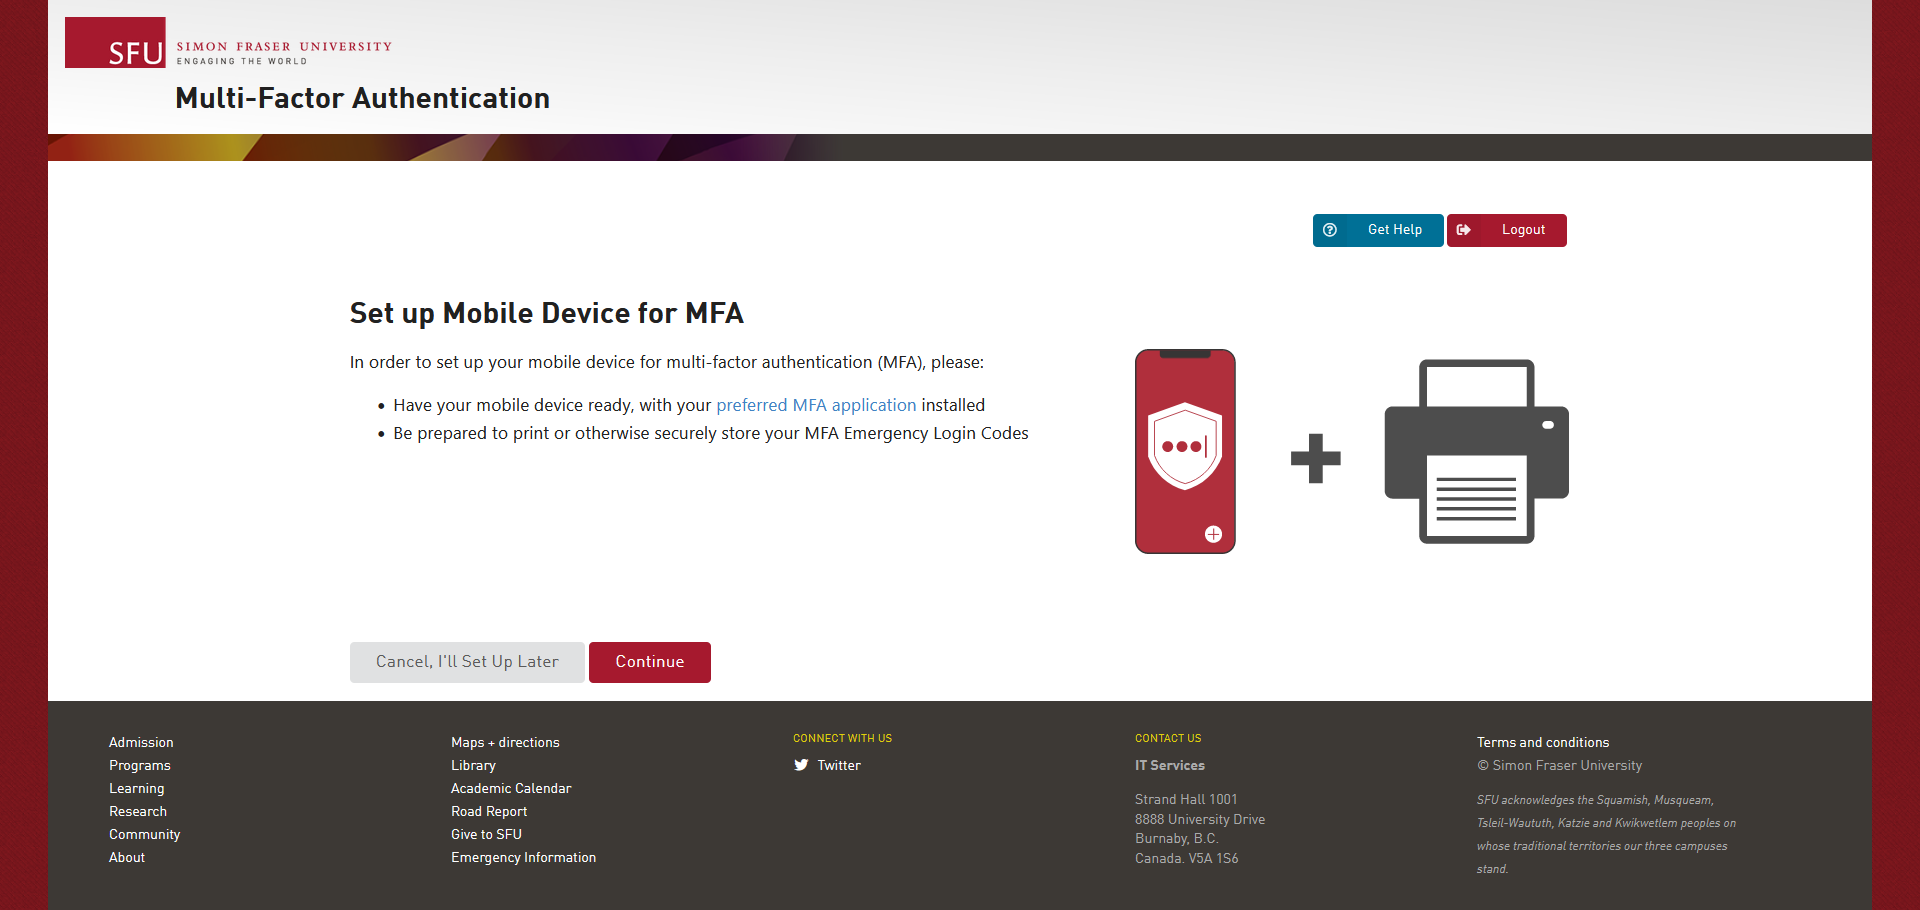
Step 3. Follow the instructions on the screen to complete the process of adding your new device or app.
For additional detailed instructions, visit Setup MFA.
Note: Removing your MFA devices and apps will not turn off multi-factor authentication on your SFU account.
Step 1. Log in to the SFU MFA Management App, using your SFU credentials.
Note: If you no longer have access to your old device, you can use one of your emergency login codes to complete the login process.
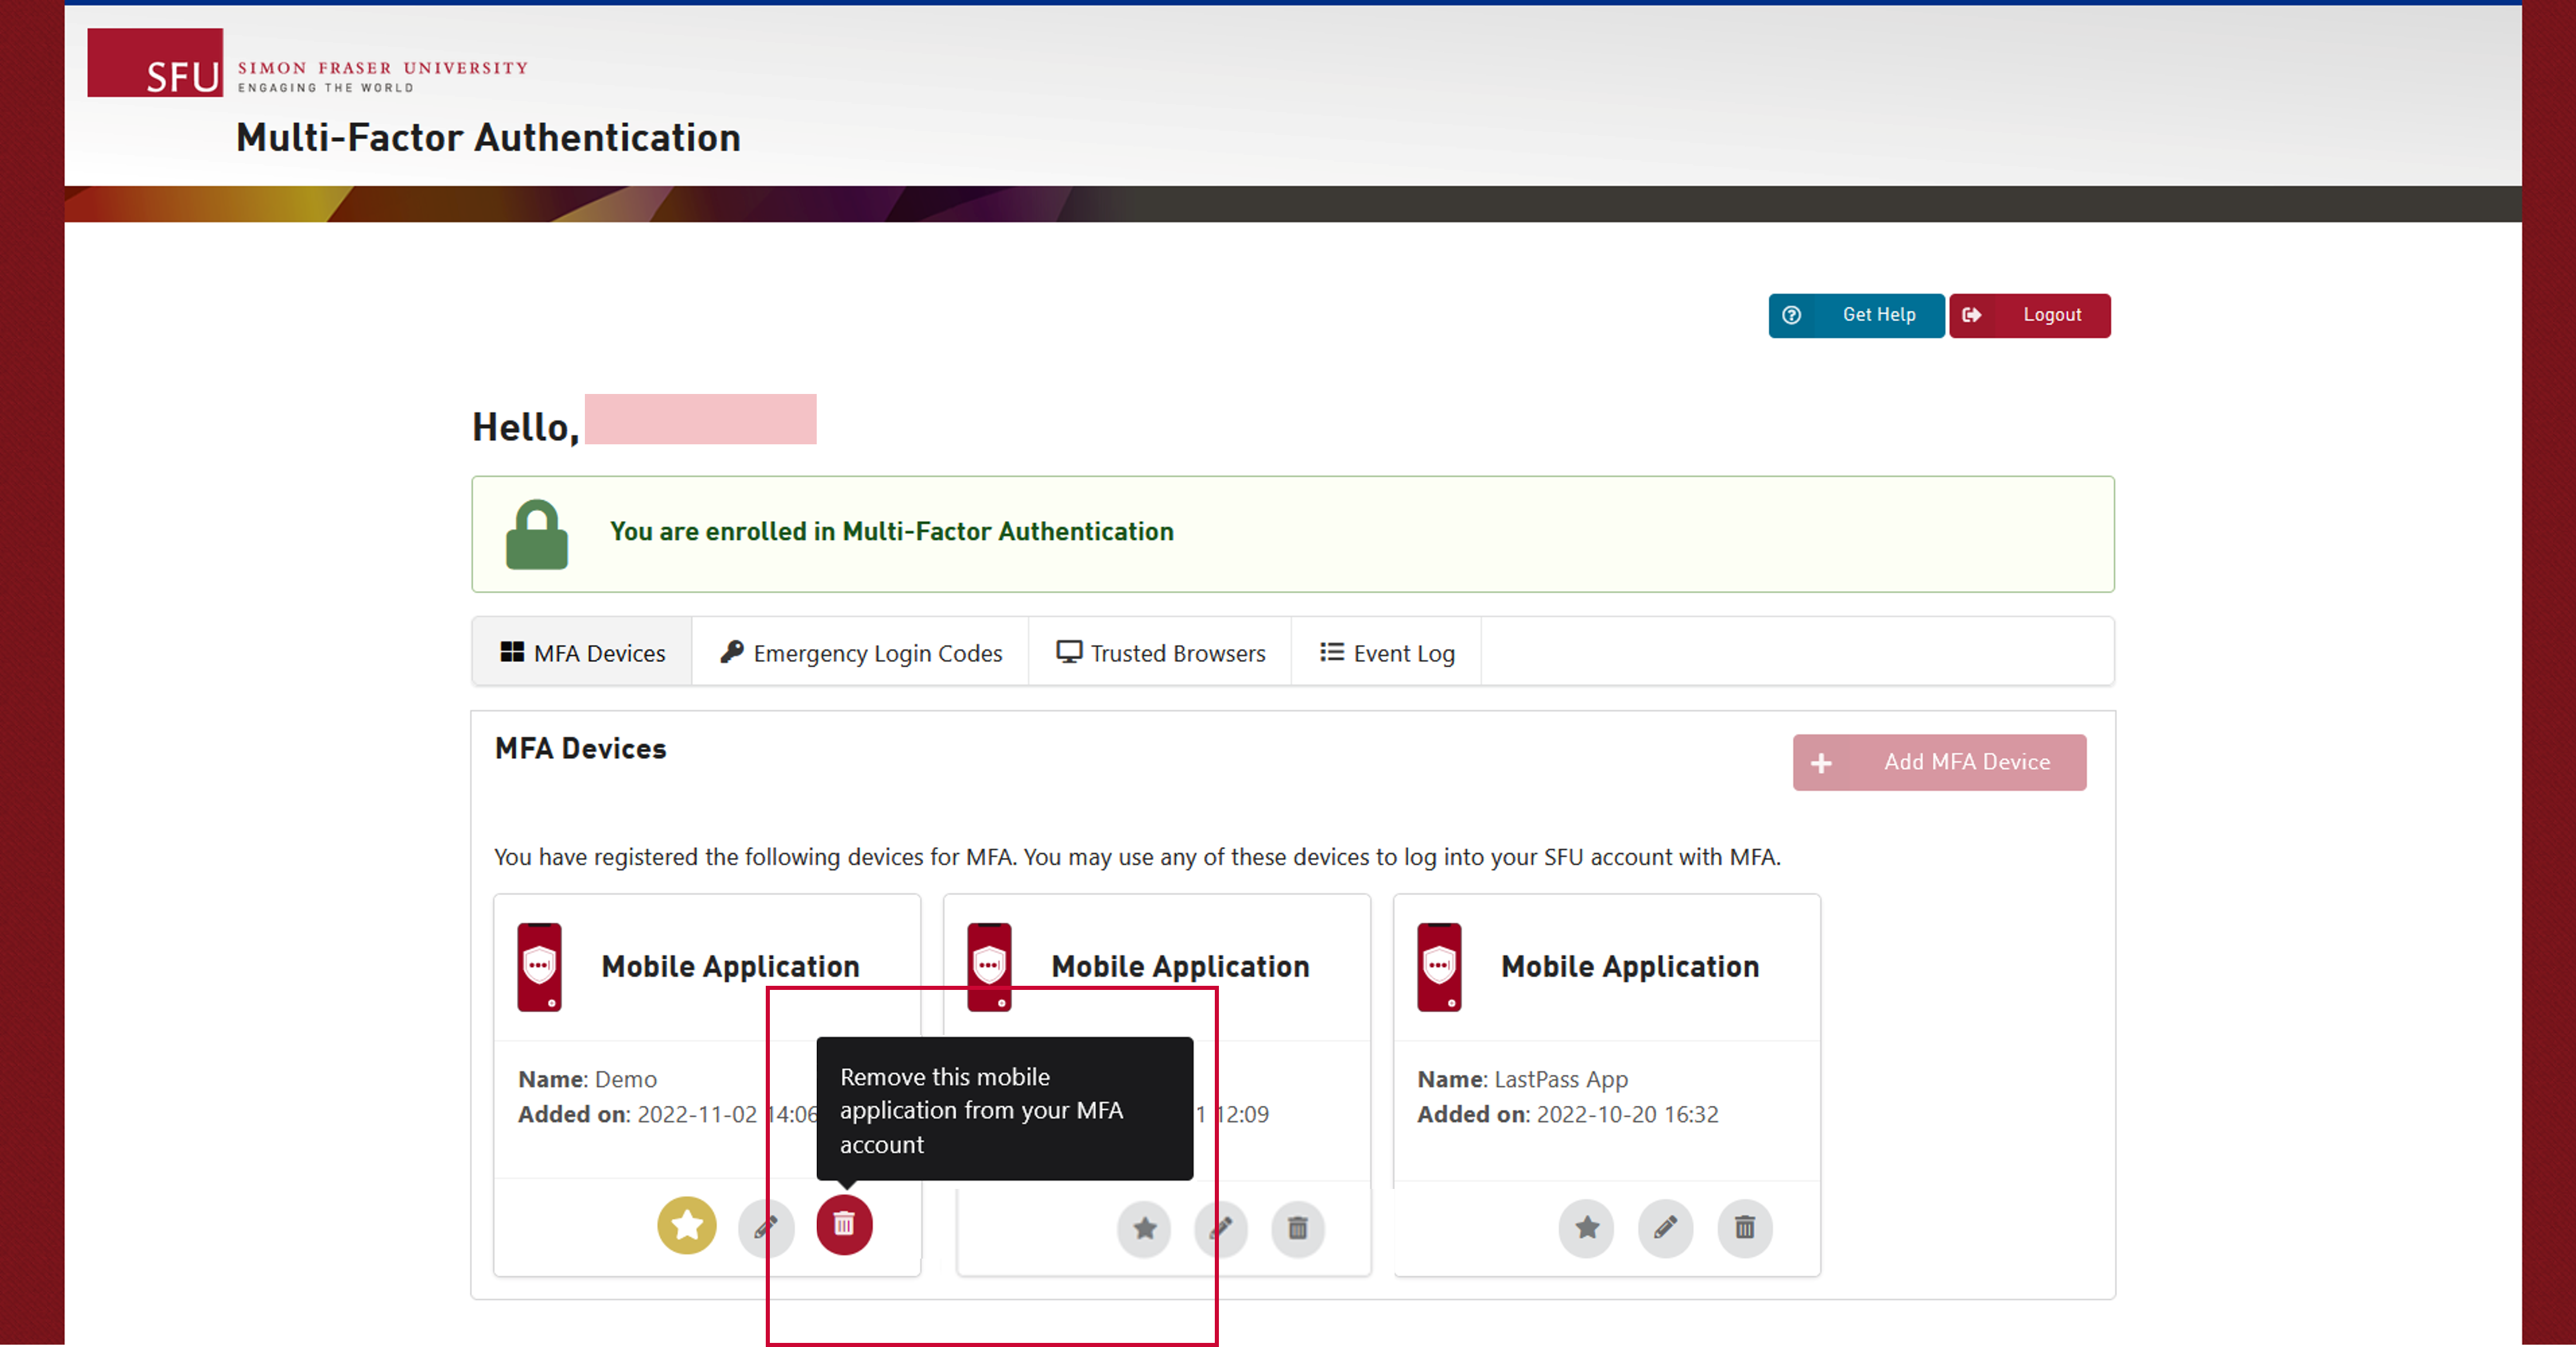
Step 2. On the device or app you wish to remove, select the trash bin button.
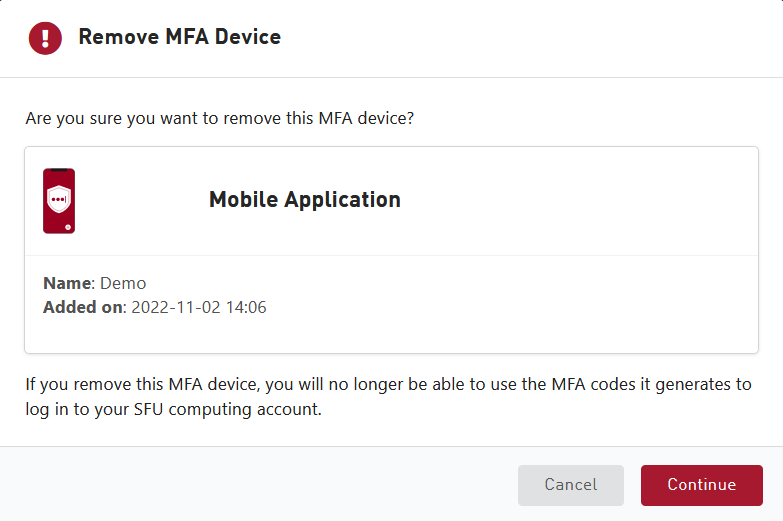
Step 3. Ensure that you are removing the correct device or app. To confirm the removal, select continue.
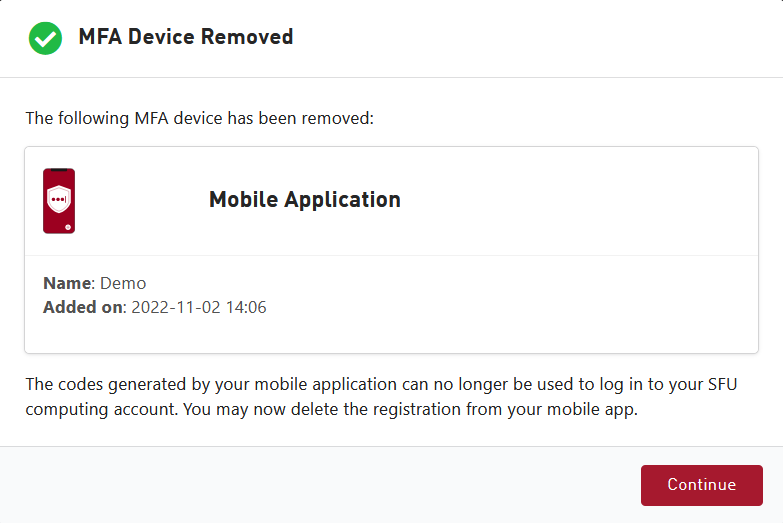
Step 4. You will see a confirmation message that your MFA device or app have been removed.
It will no longer appear on the home page of the MFA Management App and device selection upon MFA login.
Have questions? Please see our collection of FAQs.
Need additional assistance?
- Faculty/staff: contact your department’s IT staff or visit ServiceHub to request for help.
- Students: request help at the ServiceHub for general inquiries or the Centre for Accessible Learning (CAL) for inquiries regarding accessibility accommodations for MFA.