- Engage C&M
- Brand
- Campus Communications
- Media & News
- Social
- Web
- Events Calendar
Using LiveWhale
SFU uses the LiveWhale platform to manage listings on the SFU Events Calendar. Use it to create listings for your events and share the details and links to them on the main SFU Events Calendar, your website and social media.
Need help?
For content questions or strategy consultations, contact digital@sfu.ca. To request an account or receive technical support, please submit a ticket.
Add Event Details
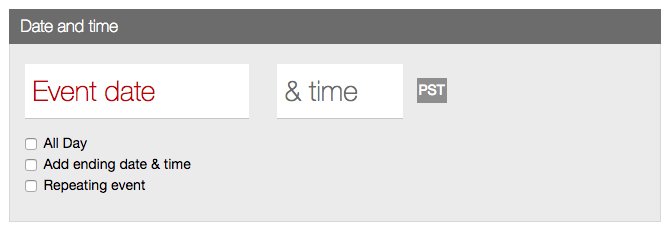
1. Enter the event date and time details.
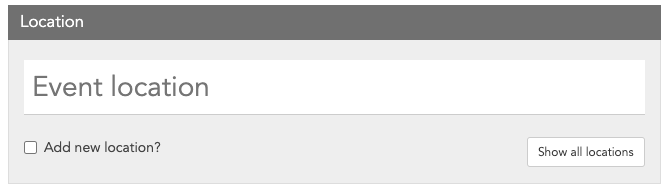
2. Enter the location. If the location is already saved, a map will automatically appear. If not, enter the address and a map will appear.
3. Set the event status to “Live” or “Hidden” by toggling the button between green and red. Note: Always leave the event as “Not archived” to ensure it appears in the SFU Events Calendar.

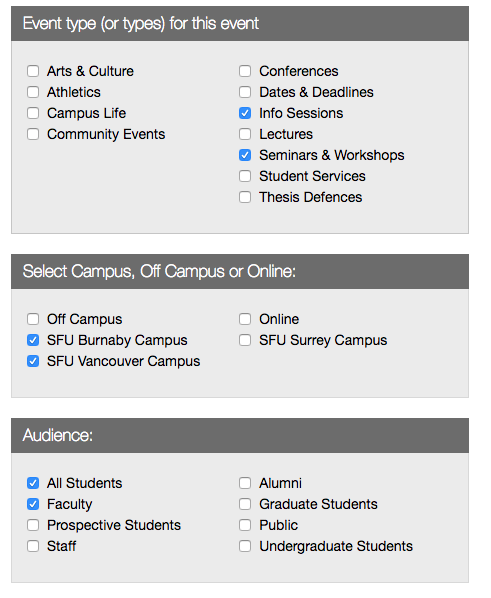
4. Select your event type, location and audience. You can make multiple selections.
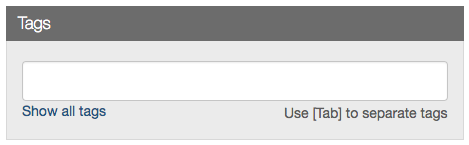
5. Add tags if you want to use the tagging feature in the LiveWhale Calendar component on your AEM website. Tagging is not mandatory, but it can help people find specific events.
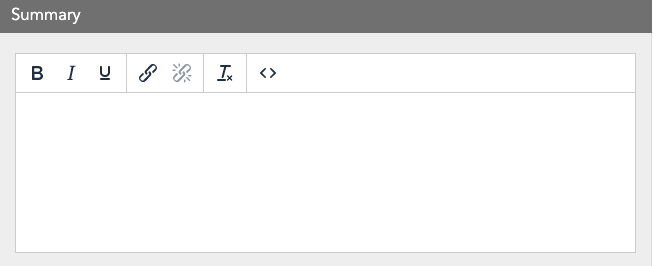
6. Provide a concise summary of your SFU event and its main purpose for your audience. Appeal to the reader by focusing on the value and telling them what they'll get out of attending.
7. Add any other important event details, or a link to another site for event information.

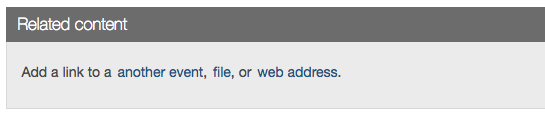
8. Add a link to other relevant events, information, external content or unique websites on your event page that may be useful for your audience. In most cases, this field is typically left empty.
To add related content, hover over the content type and follow the prompts provided:
- Another event (searches for events in Eventbrite)
- File (pop-up appears to add)
- Web address (provides link title and URL)
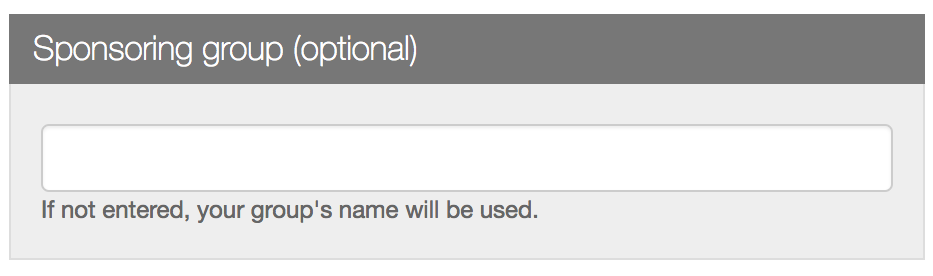
9. Add any sponsor information if you are posting an event for another group. For example, if you (the organizer) are the Department of History and you put Society of Archaeology as the sponsor, the event will show up on the calendar as being hosted by the Society of Archaeology.
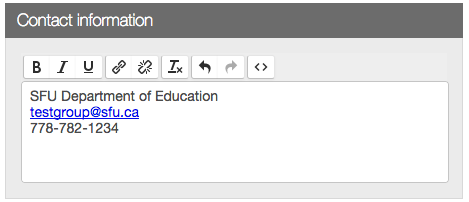
10. Enter event contact information.
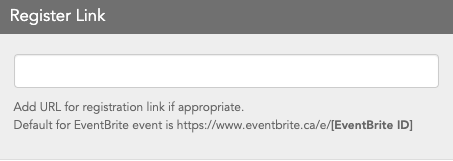
11. If you are coming from Eventbrite, this is where you add the Eventbrite link. Filling in this field will re-direct users to Eventbrite when they click “Reserve Ticket.” If you are only using LiveWhale, you don’t need to enter any registration information.

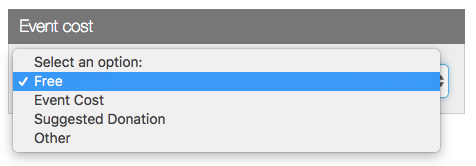
12. If you are coming from Eventbrite, you need to set your event cost. Whatever you select will be shown on the calendar image (see examples).
Note: Events will read as “Ticketed” if registration is required, even if the event is free. Events will read as “Free” if registration is not required, for example if it is a day of note and therefore not something that requires sign-up.